Table of Contents
In-Store Menu Controls
Learn how to set up your Flourish Software In-Store Menu from start to finish. Once you’ve configured your items , categories , and discounts , it’s time to set how your in-store menu looks and how y…
Table of Contents
Once you’ve configured your items, categories, and discounts, it’s time to set how your in-store menu looks and how you want to export or display it.
🚀 Accessing the Menu Preview
Depending on your access level, you can open the in-store menu from any page in the Flourish web application:
- Click the Menu button in the top navigation bar to access the E-Commerce Menu preview.

⚙️ Menu Controls Overview
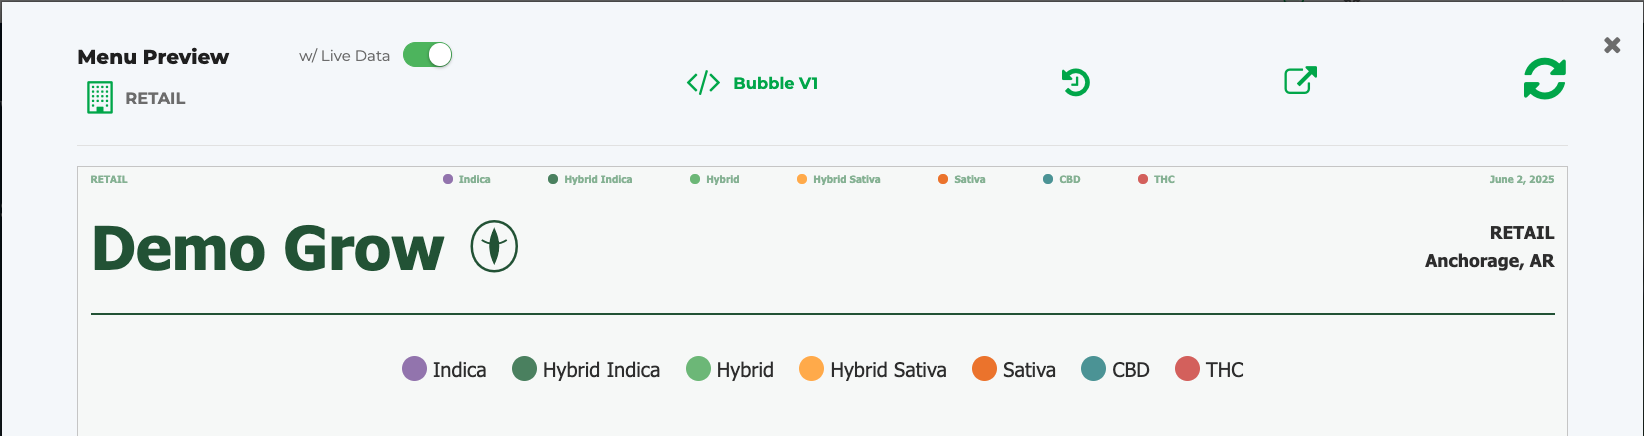
🏪 Store Selector Choose the store you want to preview or configure the menu for. Each store may have its own eligible inventory and discount settings. You can only select stores that you can access. | 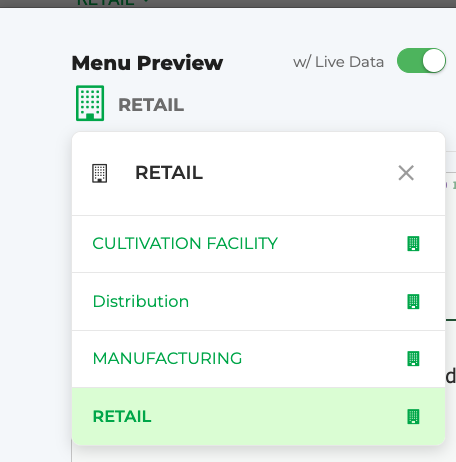 |
🔄 "w/ Live Data" Toggle Enable this to preview the menu with live data. Only items that are available to sell and discounts that are currently eligible will display. | 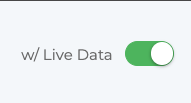 |
🧩 Version Selector and Builder 🔘 Bubble V1 / Bubble V2 Choose between two visual layouts for how the menu is displayed. 🧱 Builder Use the Builder to fully customize your menu layout, including how items and discounts are organized and shown. | 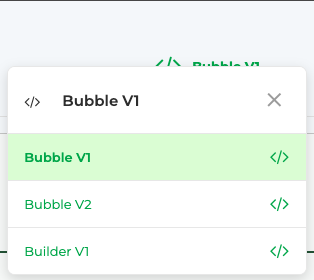 |
⚙️ "Custom Config" When you first open the configuration builder to create a custom version, the system uses a placeholder name—"Custom Config"—for your new setup. This is a temporary default label that helps distinguish it from standard or pre-existing configurations. |  |
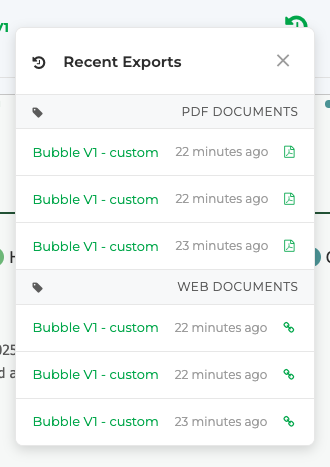
📄 Recent Exports Quickly access your most recent menu exports:
|   |
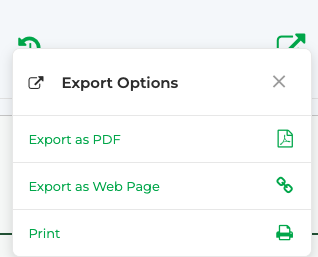
📤 Export Options Choose how you'd like to share or display your menu:
|   |
🔁 Refresh the Menu Click the Refresh button to regenerate the menu based on any changes you've made to items, discounts, or layout settings. |  |
User Access
Explanation of User Access
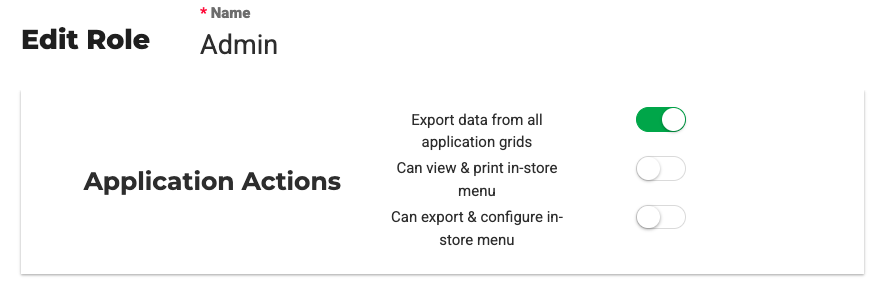
Admins can manage how much access a user has to the In-Store Menu by adjusting two permission toggles:
- Can view & print in-store menu
- Can export & configure in-store menu
These toggles combine to create three distinct access levels:
Access Setting | User Permissions |
No Access • Can view & print in-store menu: OFF • Can export & configure in-store menu: OFF | The user cannot open or interact with the In-Store Menu in any capacity. |
View-Only Access • Can view & print in-store menu: ON • Can export & configure in-store menu: OFF | The user can: • Open the In-Store Menu • Select Facility and Template • Choose configuration (if the template is configurable) • Access the Export History dropdown • View the Preview section The user cannot: • Access the Export/Print dropdown • See or change any configuration values in the left panel |
Full Access • Can view & print in-store menu: ON • Can export & configure in-store menu: ON | The user can: • Open the In-Store Menu • Select Facility and Template • Configure all available settings • Access the Export/Print dropdown • Access the Export History dropdown • View and modify the configuration panel • View the Preview section |
Set The User Access
- Click
 Settings.
 - Select User Roles.
- Make sure to select the facility you need.
- Click the
 icon to CONFIGURE.
 - Locate the Application Settings card.
- Set the access level using both toggles.
- Click Save.
Display of user access
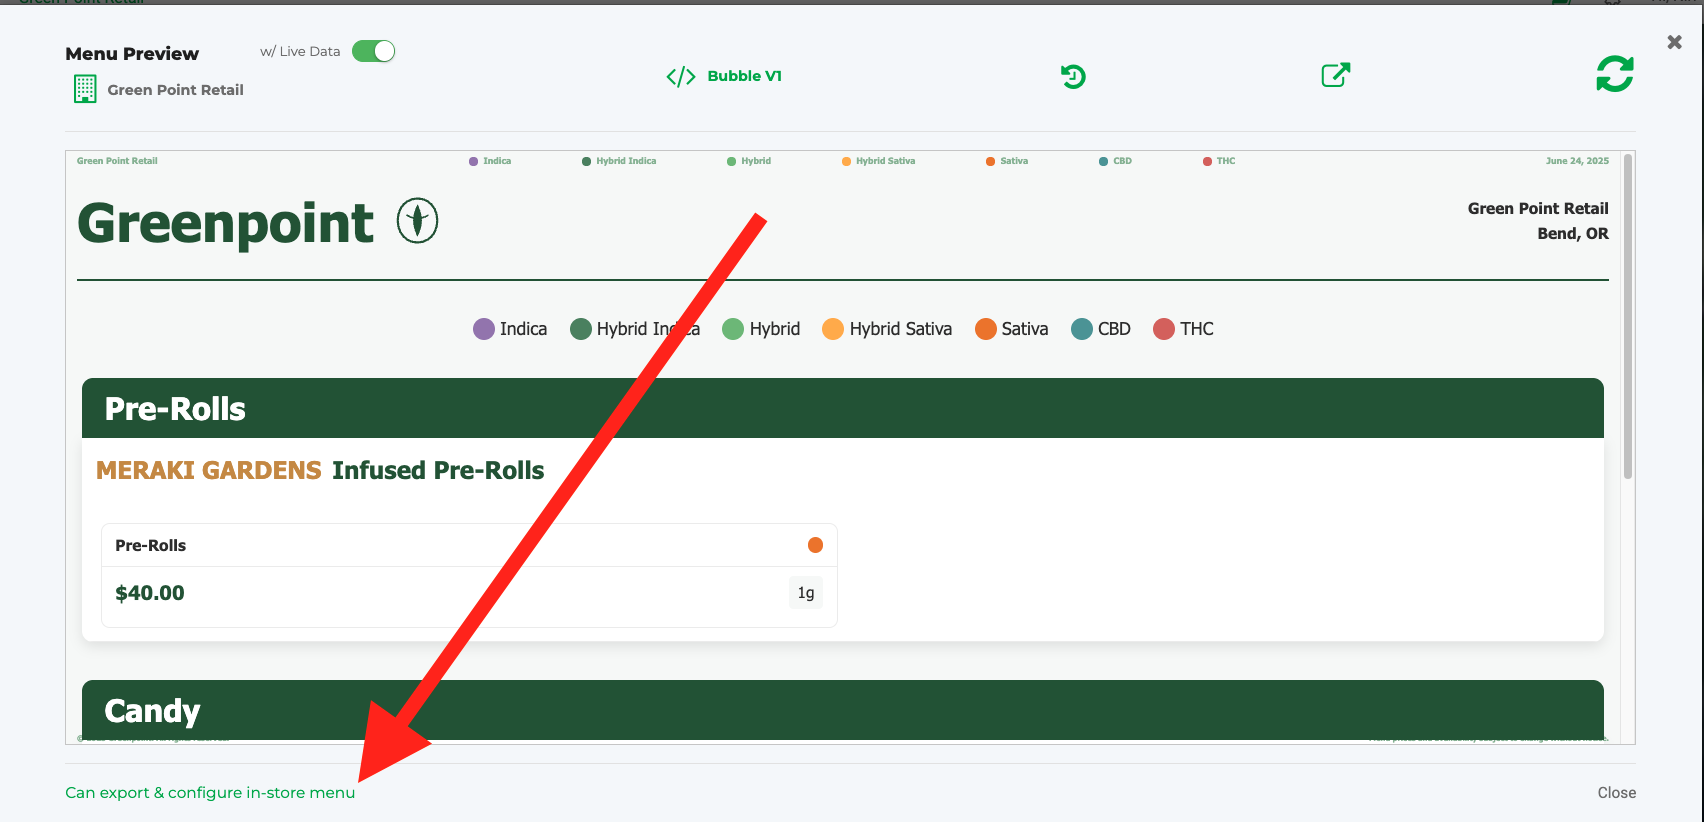
Flourish Displays the user access level in the bottom left corner of the Menu Preview.
 |  |
🧱 Builder Mode
Builder Mode allows you to customize both the layout and content of your in-store menu to align with your brand identity and sales strategy.
Configure option
With Builder Mode, you can:
- Organize items by category, priority, or tag
- Choose which discounts to feature and how they appear
- Customize item display settings such as name, price, and grouping
- Adjust visual layout to fit your store’s aesthetic or display hardware
Use this mode to create a menu experience that’s as functional as it is visually aligned with your store’s goals.
How did we do?
In Store Menu Eligibility: Items and Discounts
