Table of Contents
Creating a Custom Category
By default, Flourish uses a list of simple item categories. If you want your categories to be more descriptive, or if you want to integrate seamlessly with LeafLink , you can create and assign your o…
Table of Contents
By default, Flourish uses a list of simple item categories. If you want your categories to be more descriptive, or if you want to integrate seamlessly with LeafLink, you can create and assign your own custom item categories.
Creating a Custom Category
- Go to Settings > Inventory.
- Select Classes & Categories > All categories.
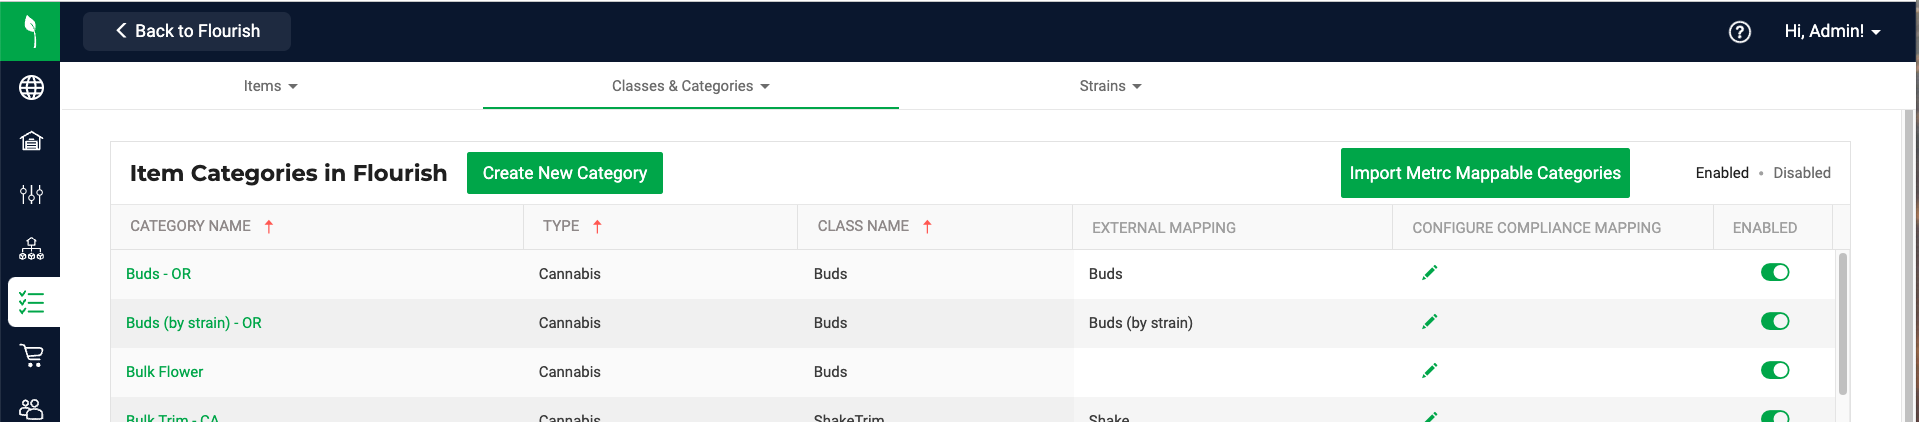
- On the Item Categories in Flourish screen, click the Create New Category button.

- Type the Category Name.
- Select the Item Class.
- Toggle Can Create Plants on if you need to create plants from this item.
- Click Save and wait until you see a success message.
METRC Facilities
Flourish allows you to customize your categories and display a different name than the METRC category. Once you create your custom category, you must map your custom category to the state-designated category METRC allows.
Depending on the state, METRC sets categories for each item. Each category represents a different type of item. Typical categories include:
- Buds/Flower
- Trim
- Concentrates
- Edibles
Import METRC Categories
Before you map your custom category to a METRC category, import the METRC Categories to ensure you have all the current METRC categories to map the category you created.
Please follow the steps below:
- Go to Settings > Inventory.
- Select Classes & Categories > All categories.
- Click
 .
.
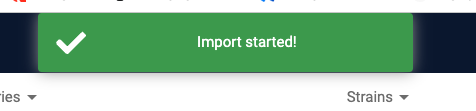
- Flourish displays the action in progress:
Map Your Category
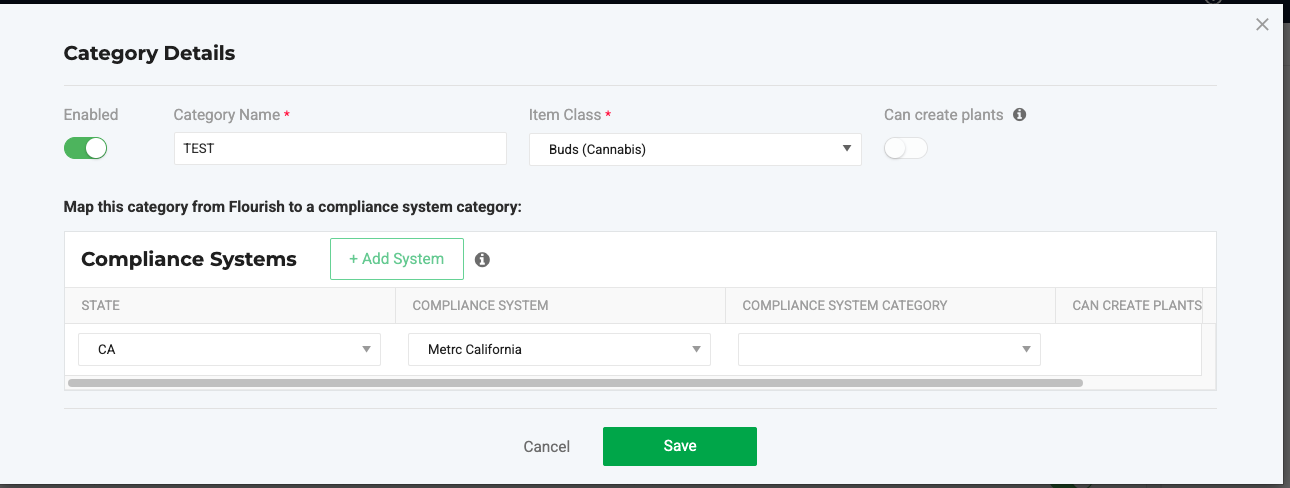
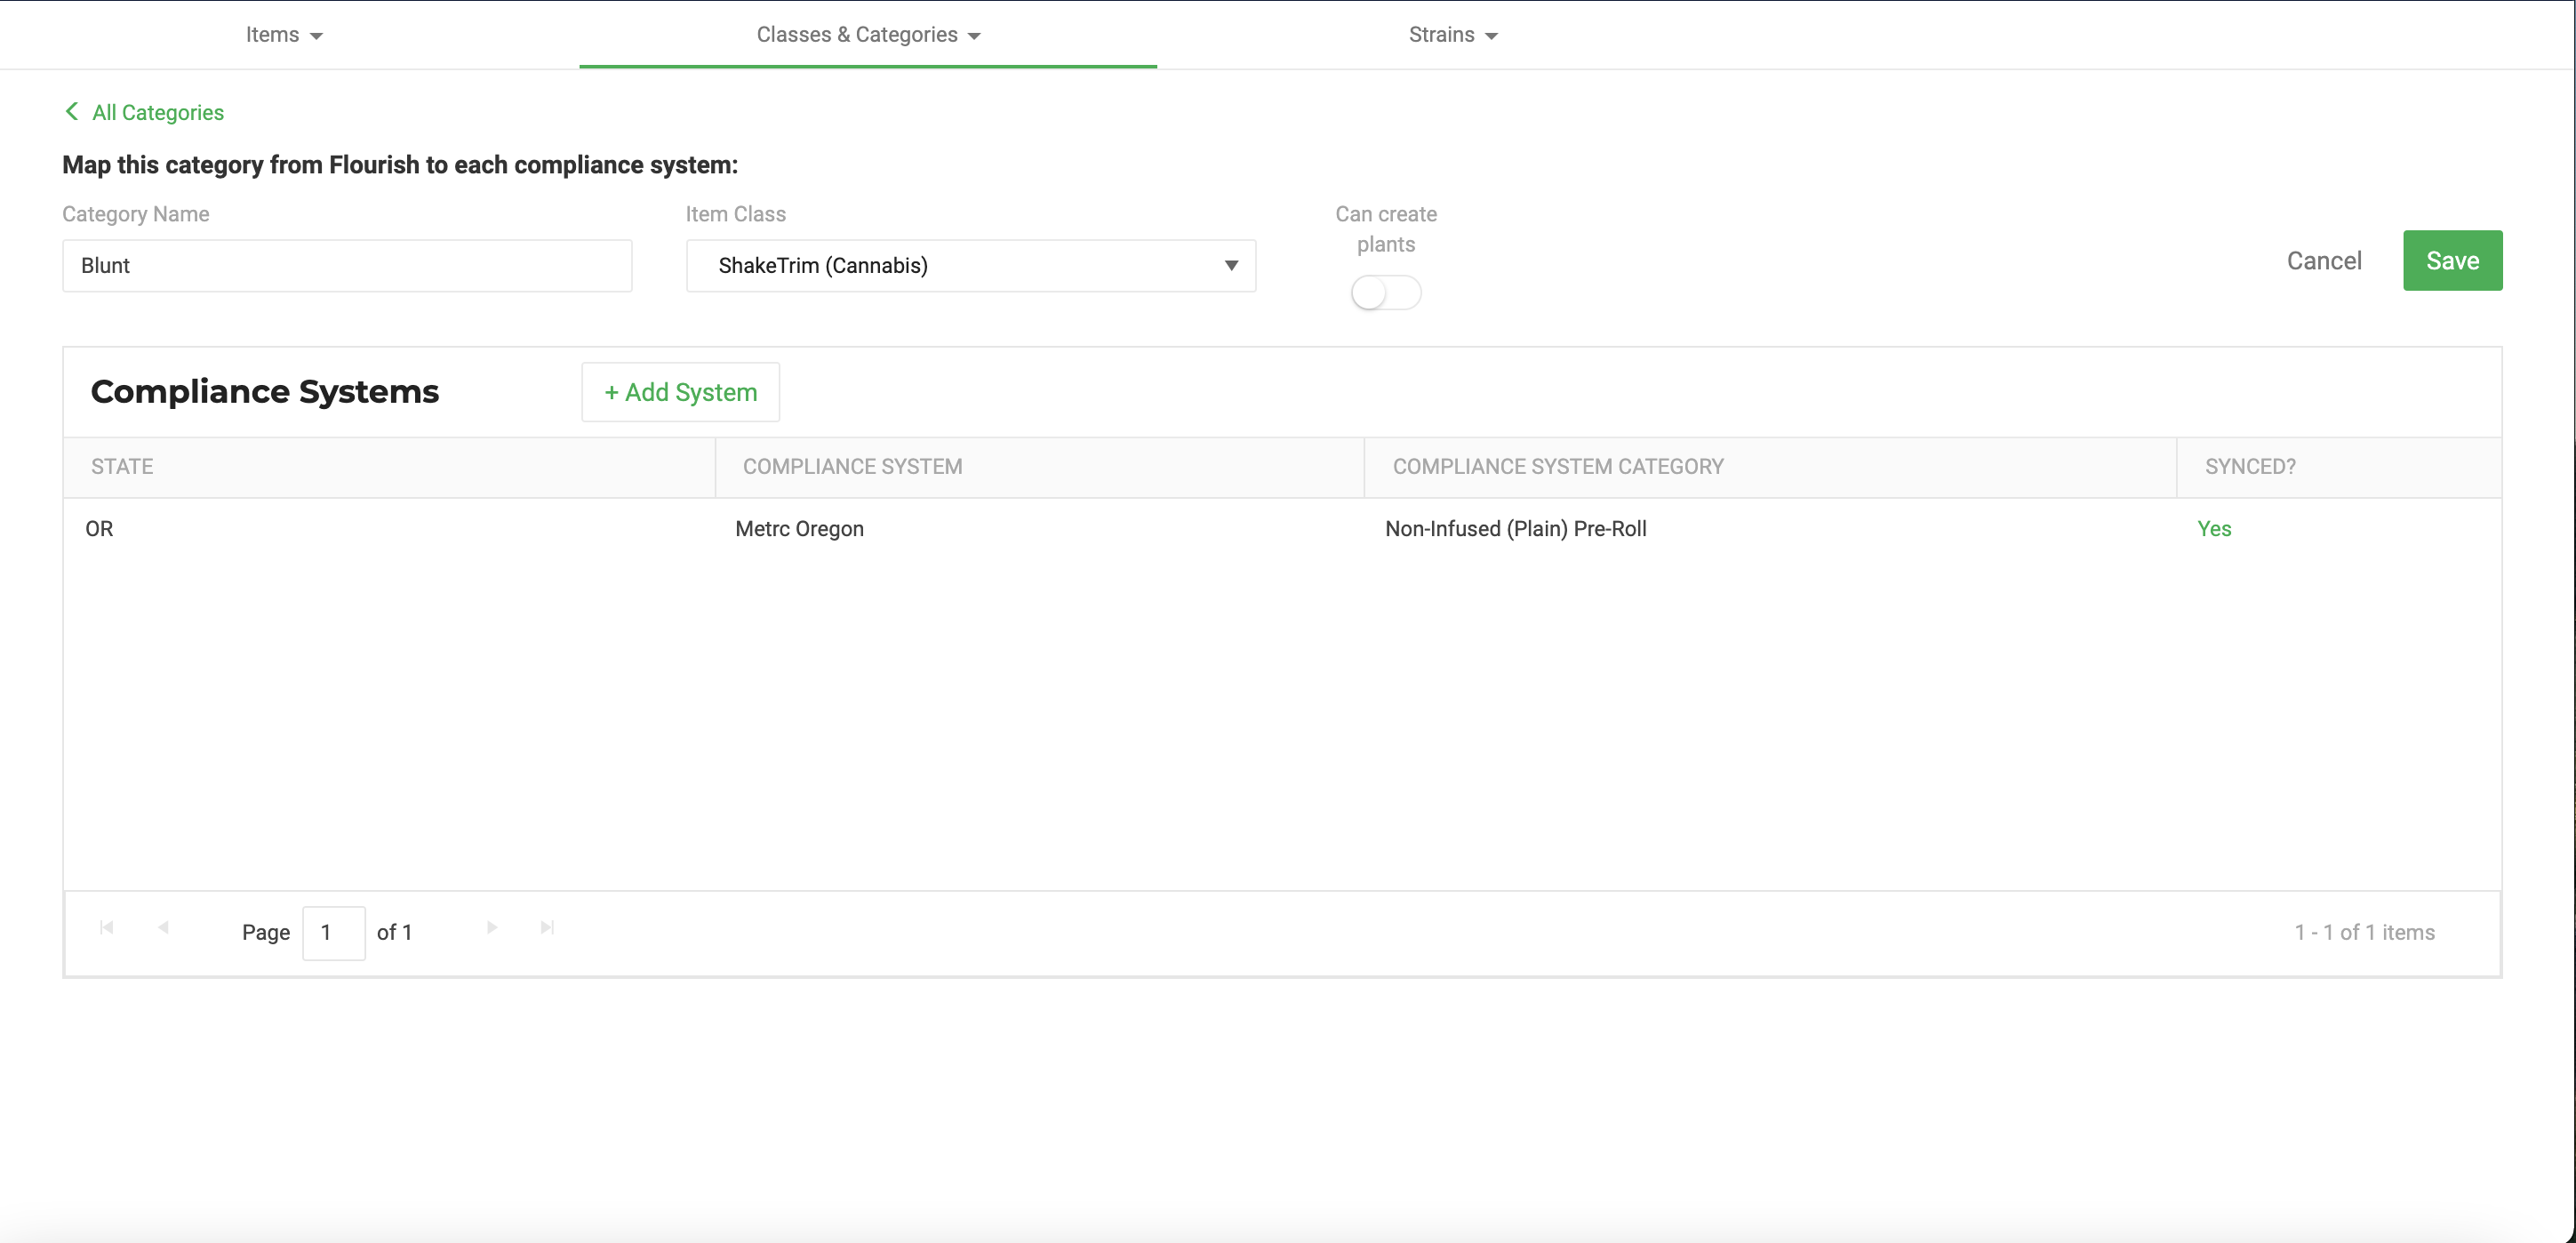
- After you've created your custom category, click the Add System button.
- The STAE and COMPLIANCE SYSTEM populate automatically.
- Select the COMPLIANCE SYSTEM CATEGORY. This is the METRC category you wish to map the custom category to.
- Click Save.
Once the category has successfully synced with METRC, you will see a Yes in the SYNCED? column.
Below is an example of a successful custom category mapping in Oregon.
Custom Categories and Leaflink
- See the instructions above on how to create a Custom Category.
- Check out this video to learn how custom categories help you precisely map Flourish Categories to the Leaflink Sub-Categories:
How did we do?
Package Unit Cost Inheritance and Calculation
Manage Item Ecommerce Names
