Create a Retail Delivery Order
Create a Retail Delivery Order. Purpose. Create a delivery order for a customer before packing the order and assigning it to a retail delivery route. The delivery order identifies where and when to d…
Create a Retail Delivery Order
Purpose
Create a delivery order for a customer before packing the order and assigning it to a retail delivery route. The delivery order identifies where and when to deliver the order, which store fulfills it, and how to contact the customer.
Prerequisites
- The customer must have a profile in Flourish.
- Add the customer's delivery address to their profile before creating the order.
- Confirm the fulfillment store, delivery date, and customer contact details.
- Required permissions: confirm the user permissions for creating and submitting delivery orders.
- Compliance requirements vary. Follow any additional delivery rules documented for your integration (if applicable) and jurisdiction.
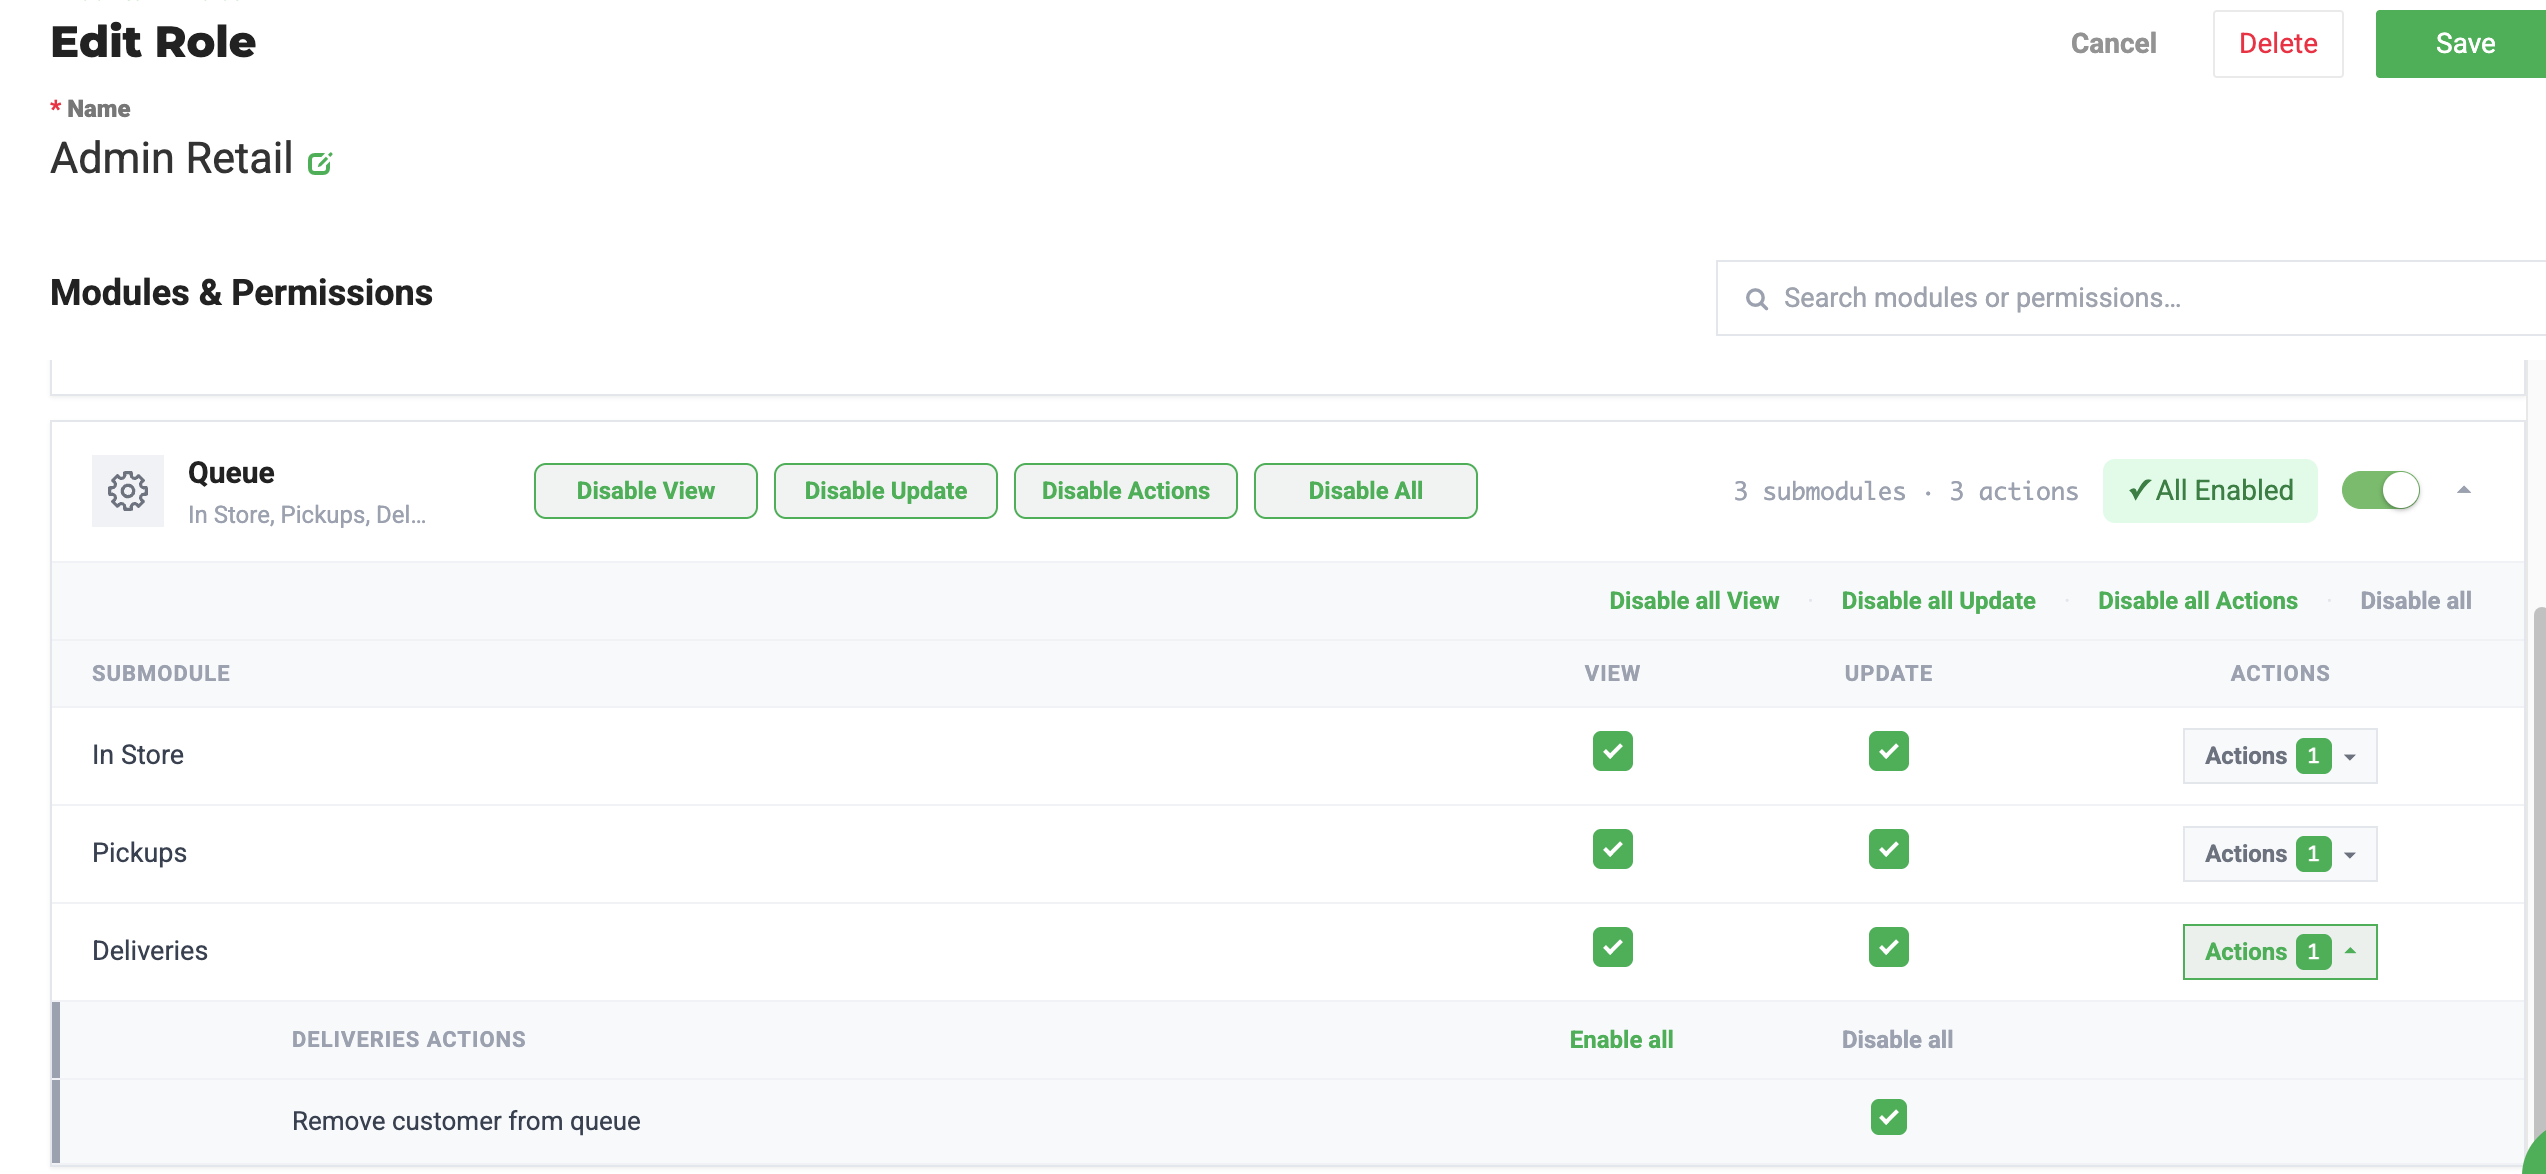
Add or Confirm the Delivery Address
- In Flourish Web, open the customer's profile.
- Click the pencil icon to add or update the Delivery Addresses.
- Click the Save icon.
You can also add an address without leaving the order: from the delivery order screen, click View Profile next to the Address field.
Create the Delivery Order
- In Flourish Web, open Call Center. If your facility does not have a Call Center license, open Retail.
- Select Customers > All Customers.
- Find the customer. If the customer does not exist, create a customer profile.
- From the customer's Action menu, select Create New Purchase.
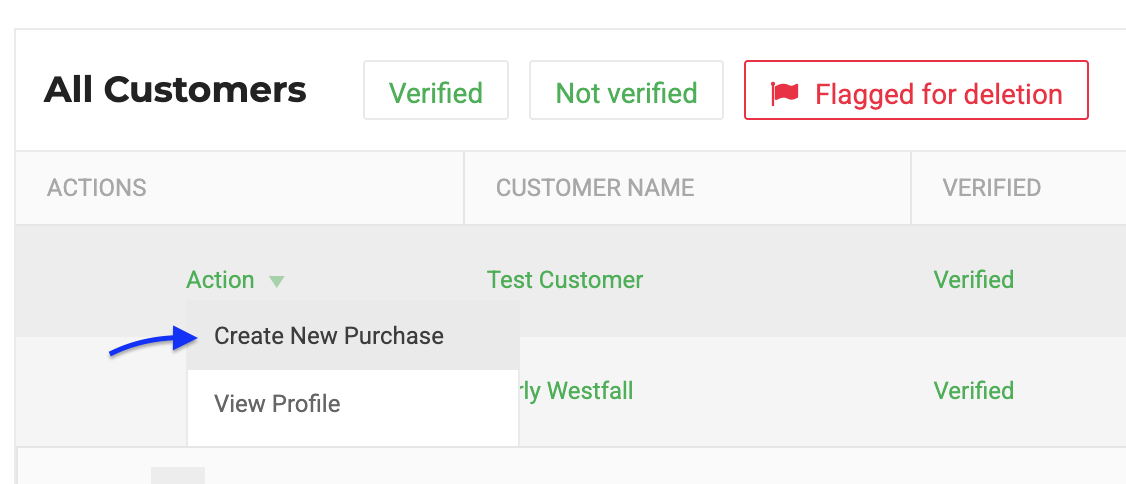
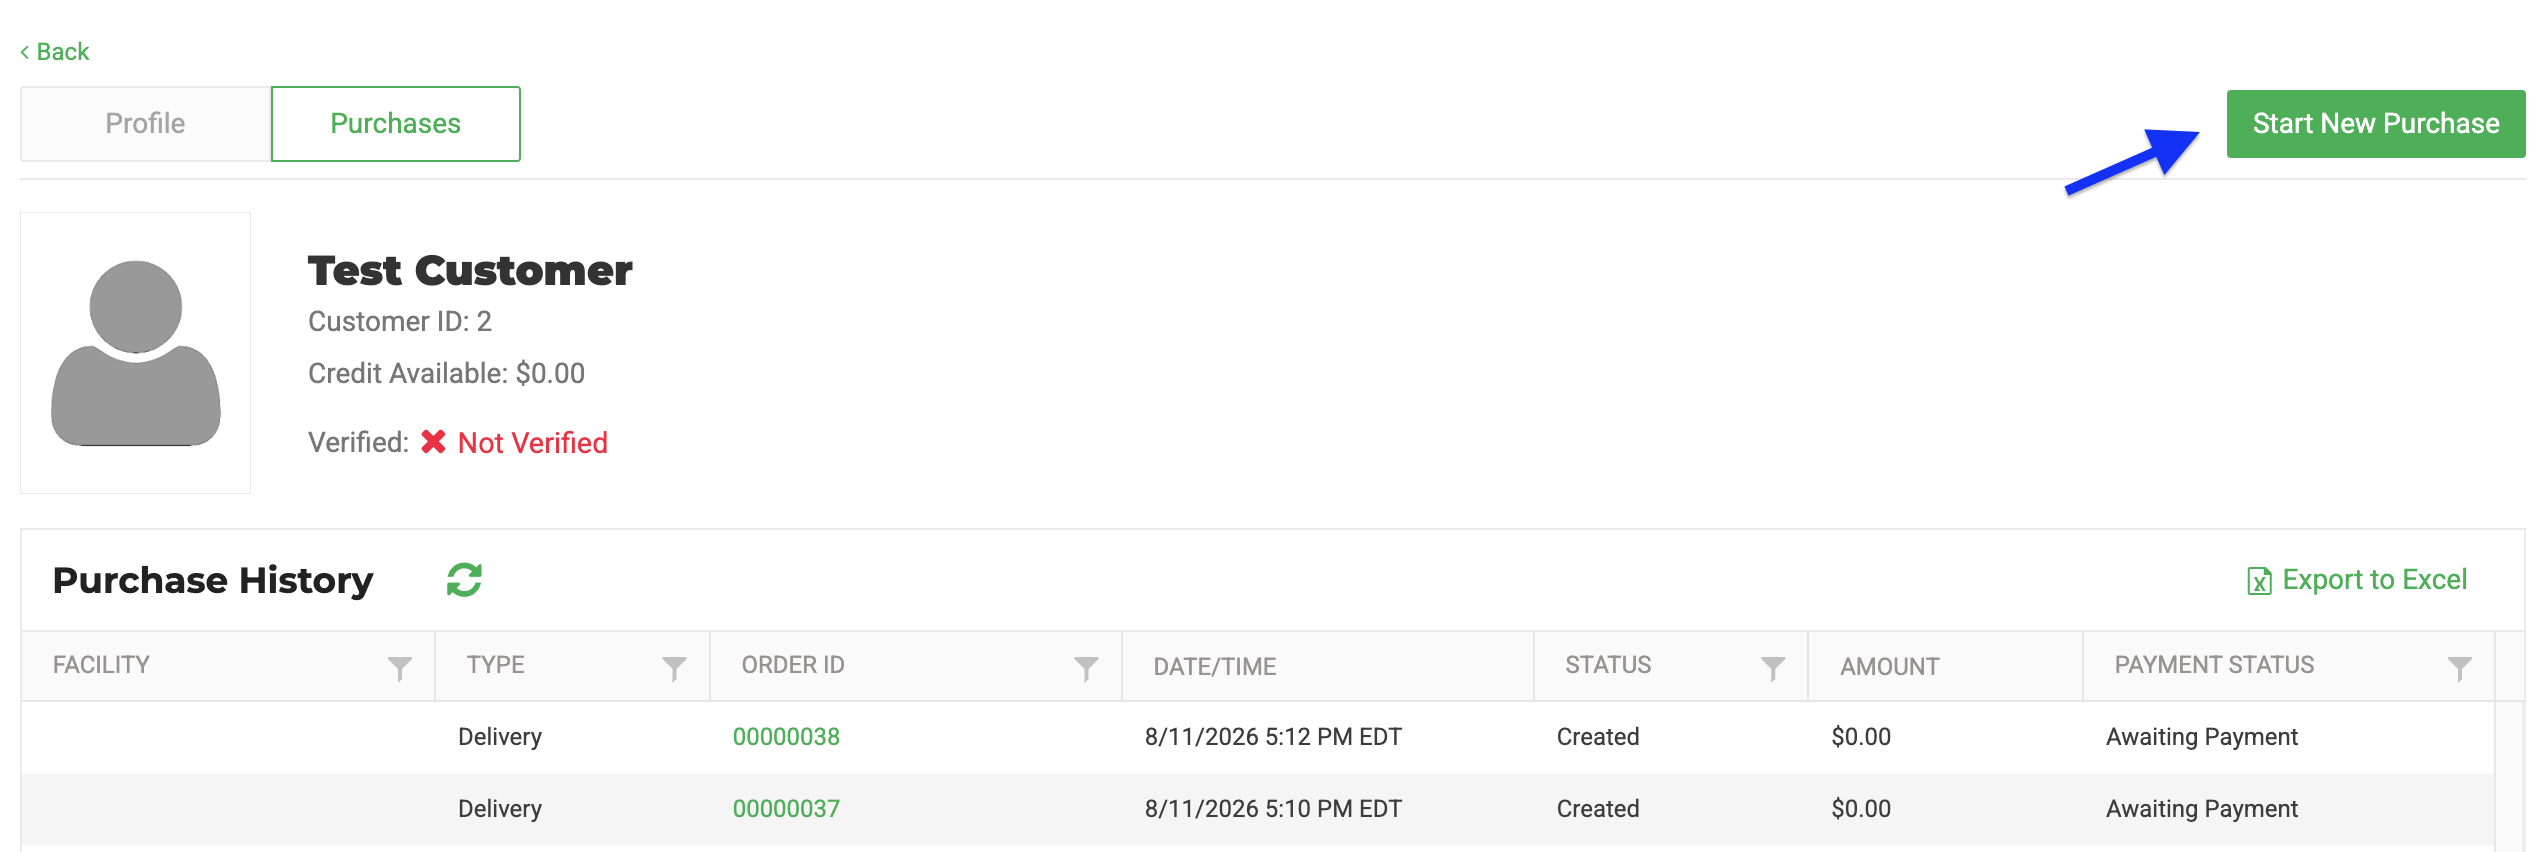
- Click on the new Order ID for the purchase that was created. Alternatively, you can click on the Customer Name, Select Purchases, and Click Start New Purchase.
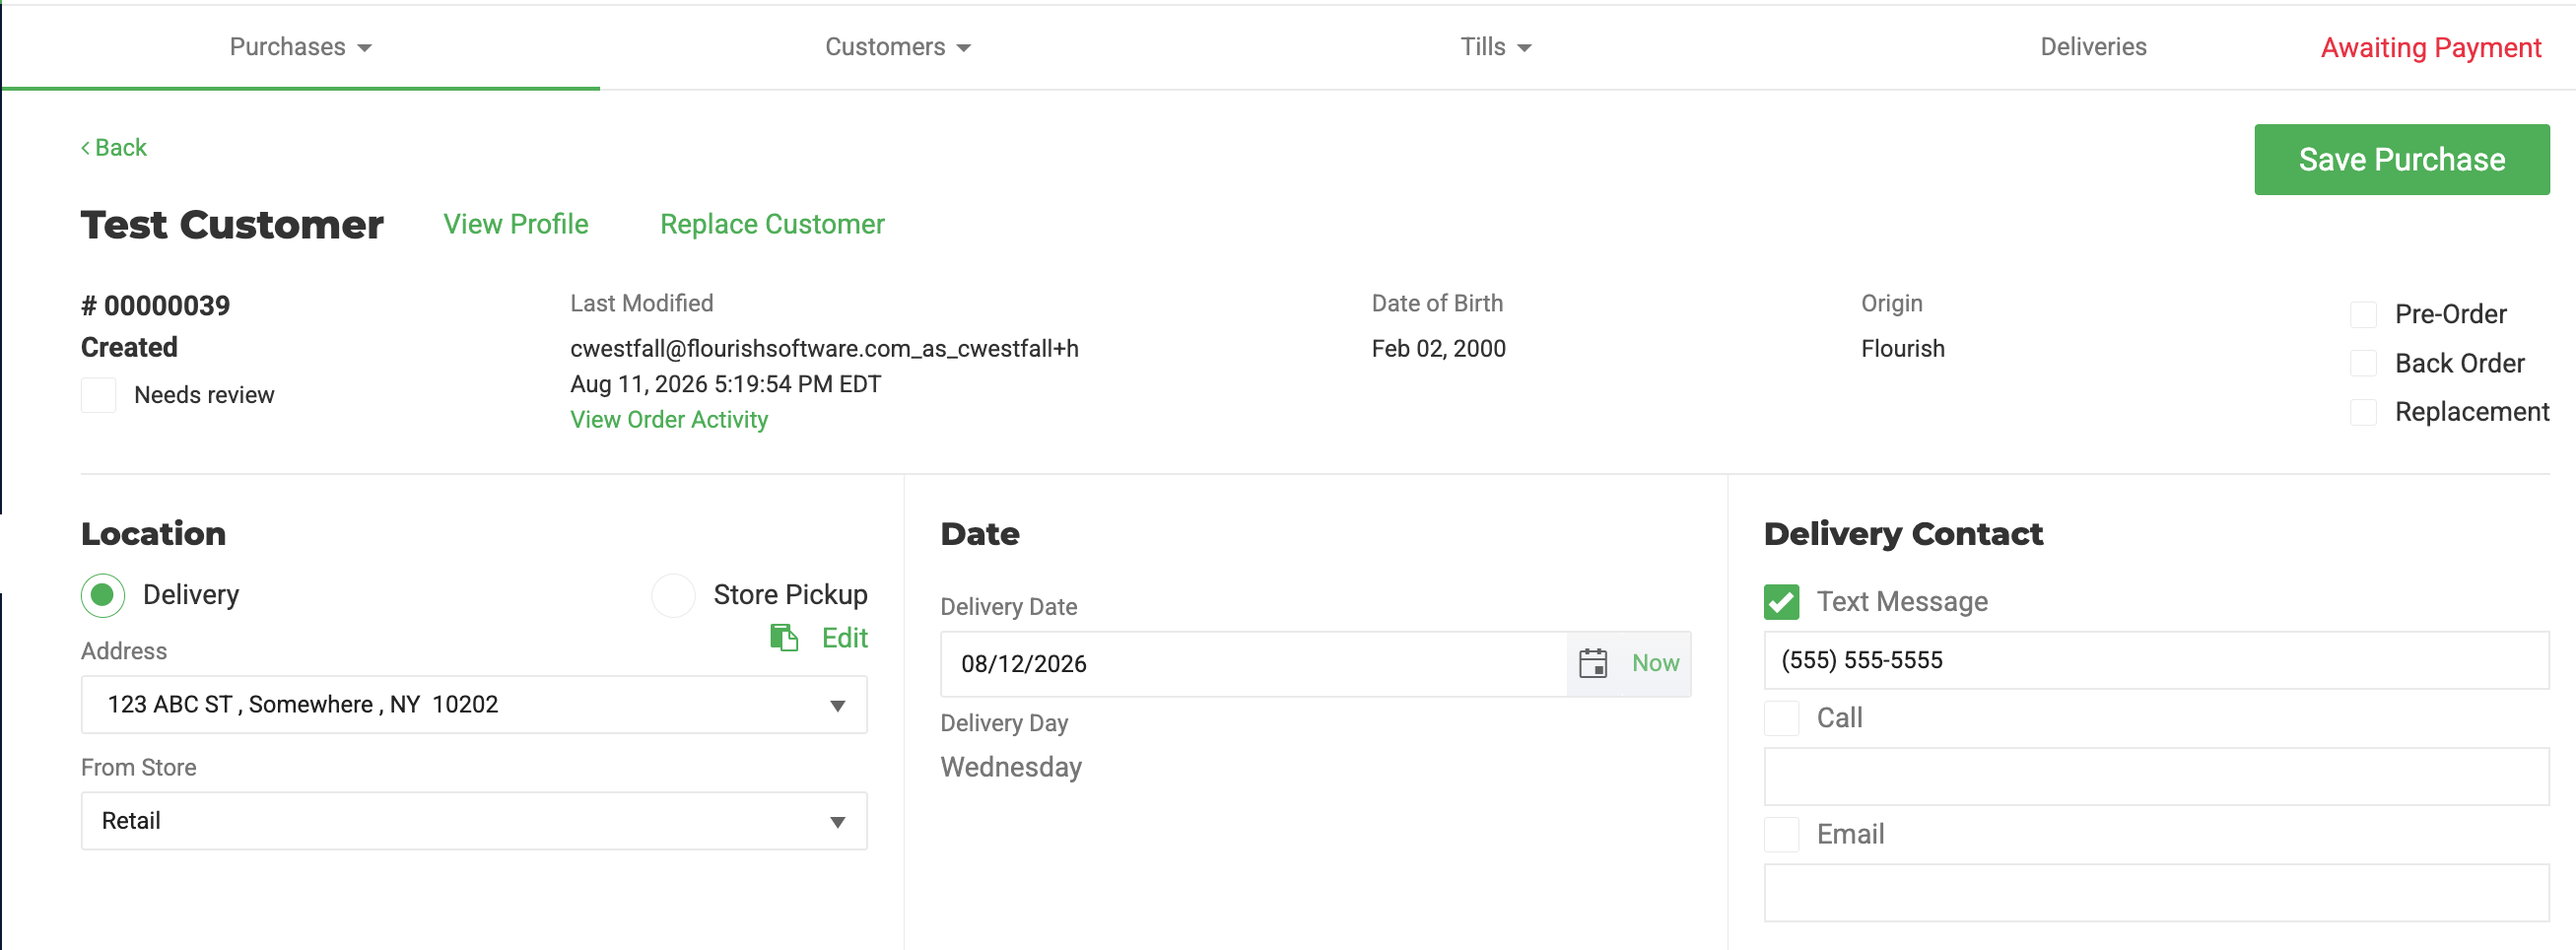
- Under Location, select Delivery.
- Complete the delivery fields:
- Address: Select the delivery address from the customer's profile.
- From Store: Select the store that will fulfill the order. Inventory availability depends on the selected store.
- Delivery Date: Select the scheduled delivery date.
- Delivery Contact: Confirm the customer's phone number and email address.
- Under Order Detail, click + Add New Item.
- Select the SKU and enter the requested quantity.
- Repeat the item steps until the order is complete.
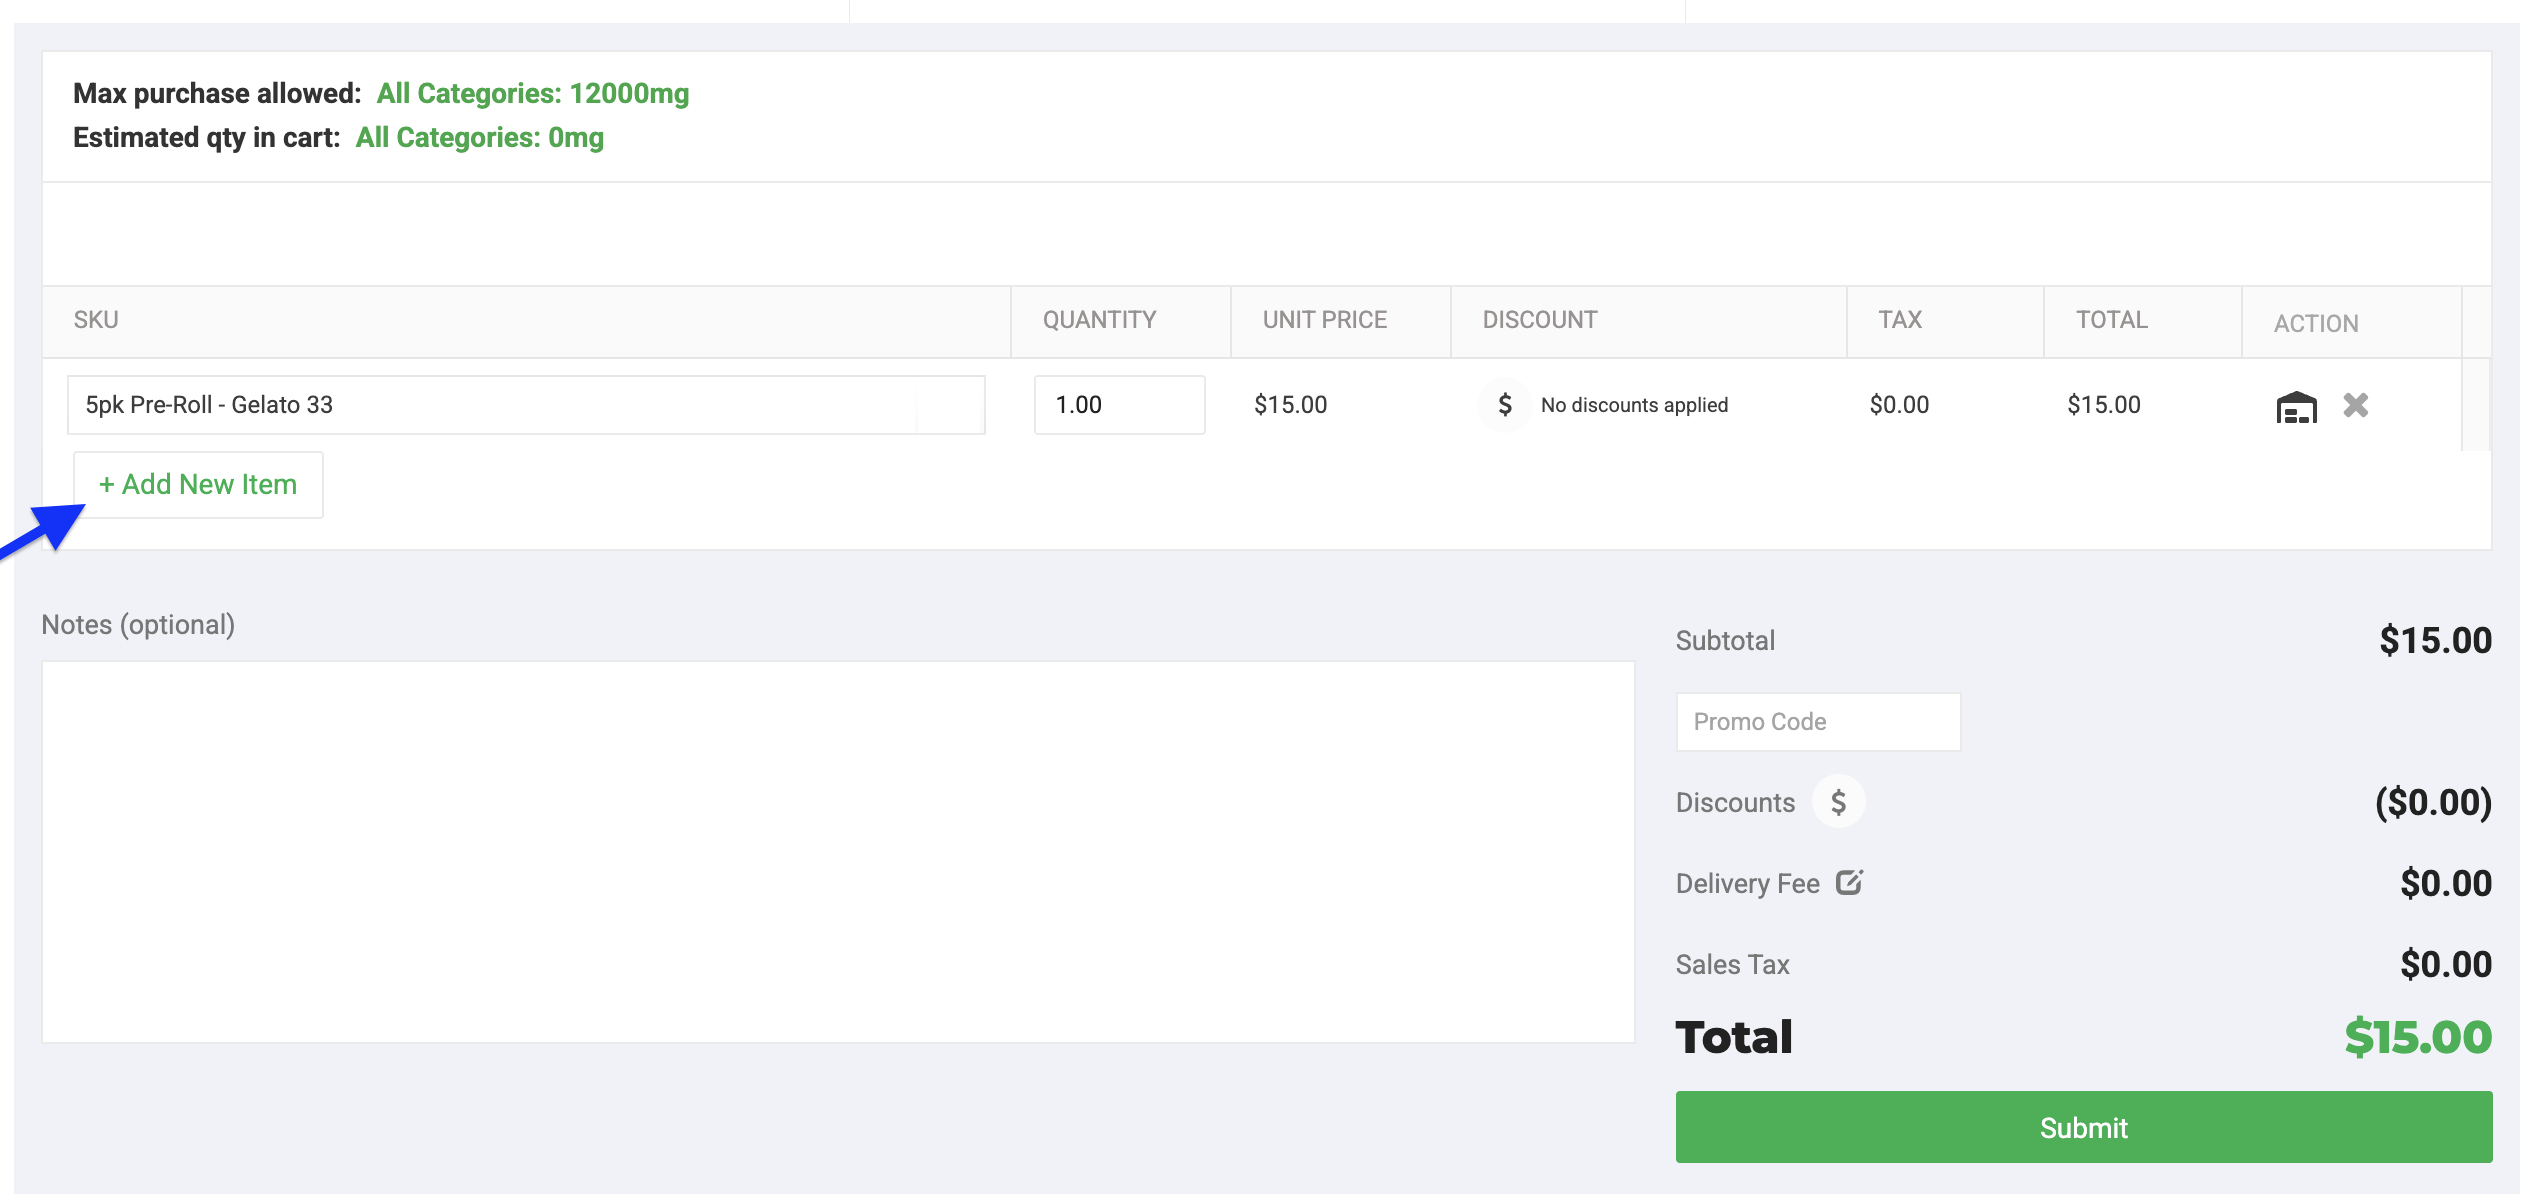
- Click the $ icon to apply a discount, if needed.
- Enter a Promo Code, if applicable.
- Enter Notes, if needed. This is optional.
- Click Save Purchase.
- Review the order, then click Submit.
Expected Result
The delivery order is submitted and ready for fulfillment. Next:
- Allocate packages and complete packing.
- Create a retail delivery route and add the packed order.
- Mark the route Out for Delivery and complete the delivery checkout workflow.
Common Issues
The correct address is not available
Return to the customer profile, add or update the Delivery Addresses, and save the profile before continuing.
The expected item is not available
Confirm that the correct From Store is selected. Each store has its own available inventory.
The order is not available to add to a delivery route
An order must be in Packed status, have a delivery date matching the route date, and not already belong to another route.
Related Articles
How did we do?
Retail Correction Actions Unavailable
Till and Cash Permissions
