Table of Contents
Create And Manage Custom Filters
Create and manage custom views in the All Packages table to help you quickly access your inventory data.
Table of Contents
General
Create and manage custom filters to quickly access the data you need. You can set default views (filters) that are specific to or applicable for all facilities. This feature is available on the following pages:
- Inventory / All Packages.
- Inbound / Purchase Orders.
- Outbound / All Orders.
- Outbound / All Shipments.
Good to know
- The custom views you create are only available for you. You have no access to custom views other users set up.
- Once you create one custom view, you can access the Manage Views modal.
The interface is the same on all the screens above, and we will use the Inventory / All Packages screen to show how to set up and manage your custom views.
Create a new Custom View
- Go to Inventory and the All Packages table loads.
- Set the filters and get the view you need.
- Click the eye icon
 in the top right corner and select Save Current view.

- Fill out the Name field and Description.
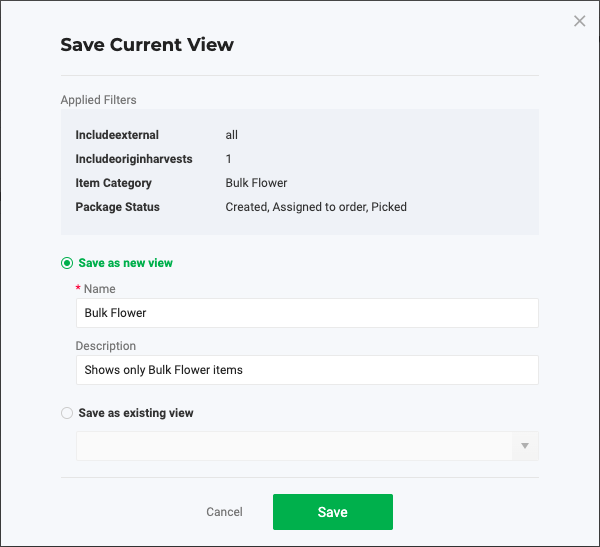
- Select Save as a new view.
- Click Save.
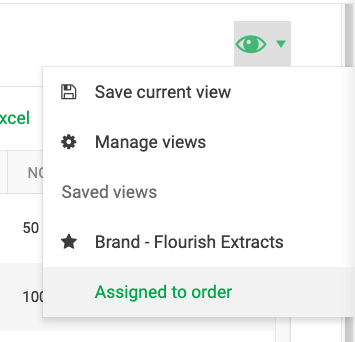
Select a view to display
If you set a view as default, it loads when you go to the page. Click here if you set up a default view for a facility and cannot see it when the page loads.
To select a view:
|  |
Manage Views actions
Once you create one custom view, you can access the Manage Views modal.
Learn here how to do the following:
- Set a default View.
- Edit View:
- Remove a View.
Set a Default View
- Go to Inventory and the All Packages table loads.
- Click the eye icon
 in the top right corner and select Manage Views.
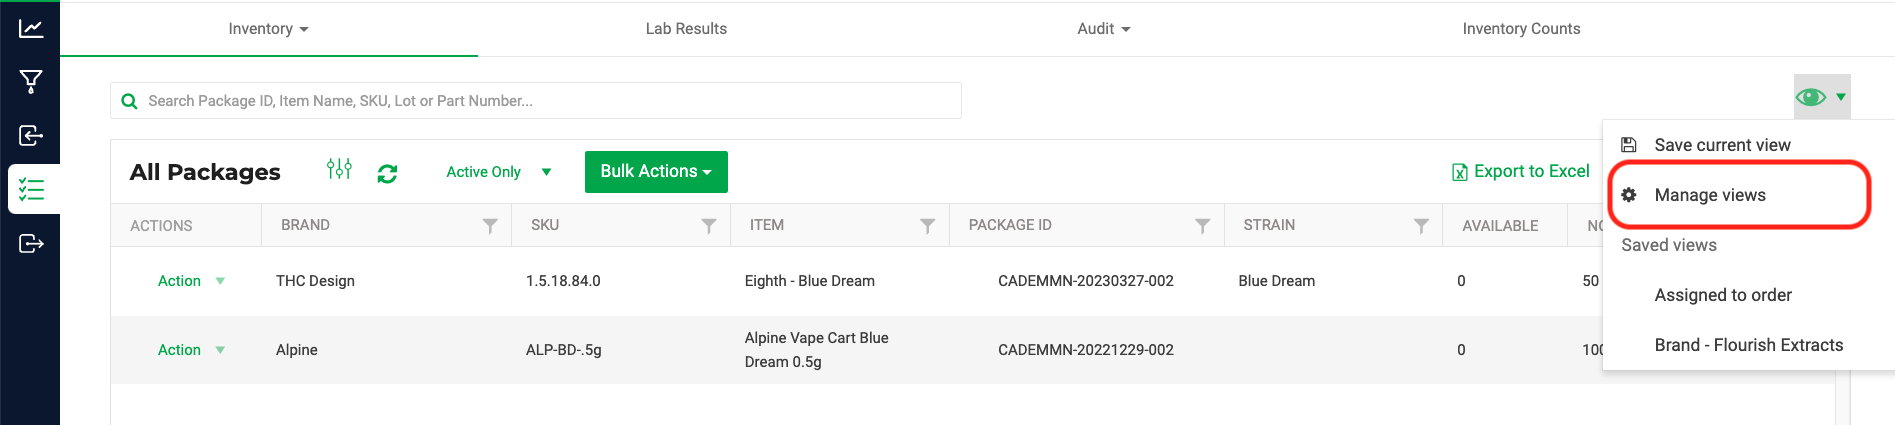
- On the left side, click on the name of the view you wish to set as your default view. It will highlight in green.
- Check the Set as default star icon.
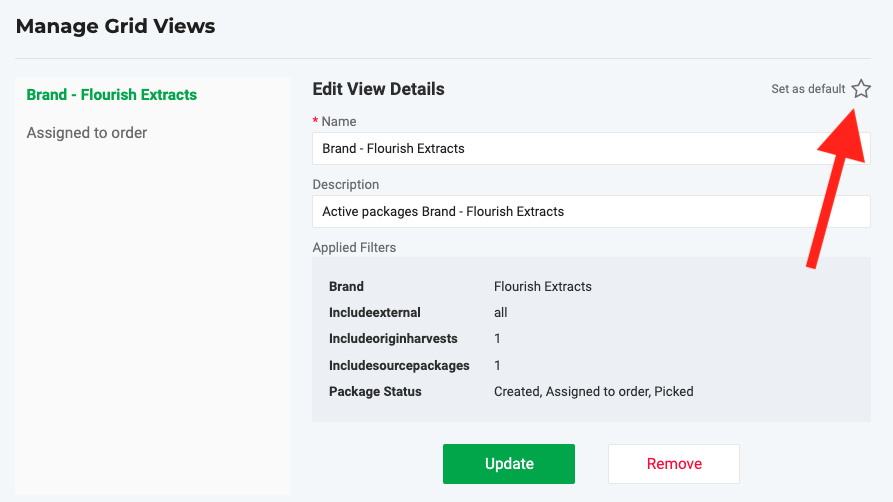
- Select to set this view as default to the Current facility only or All facilities.
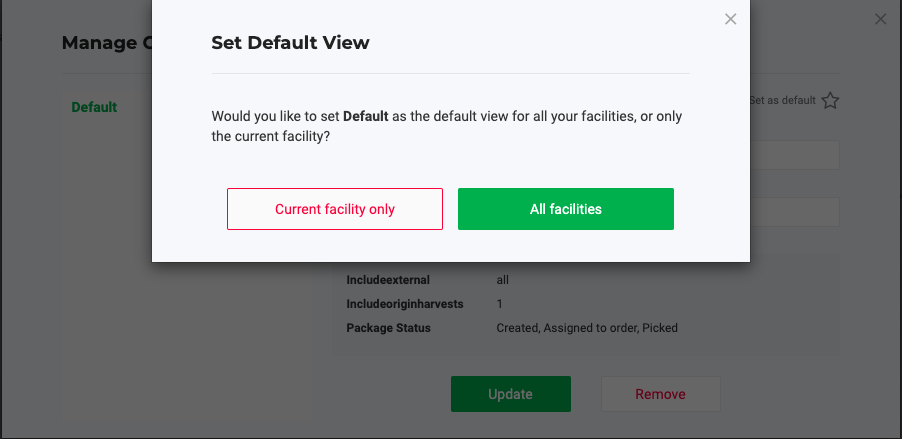
- Click Update.
- Close the popup.
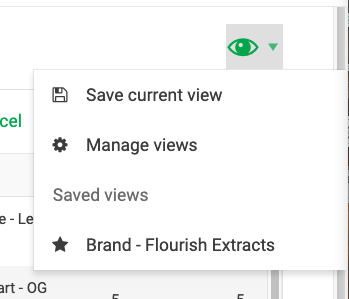
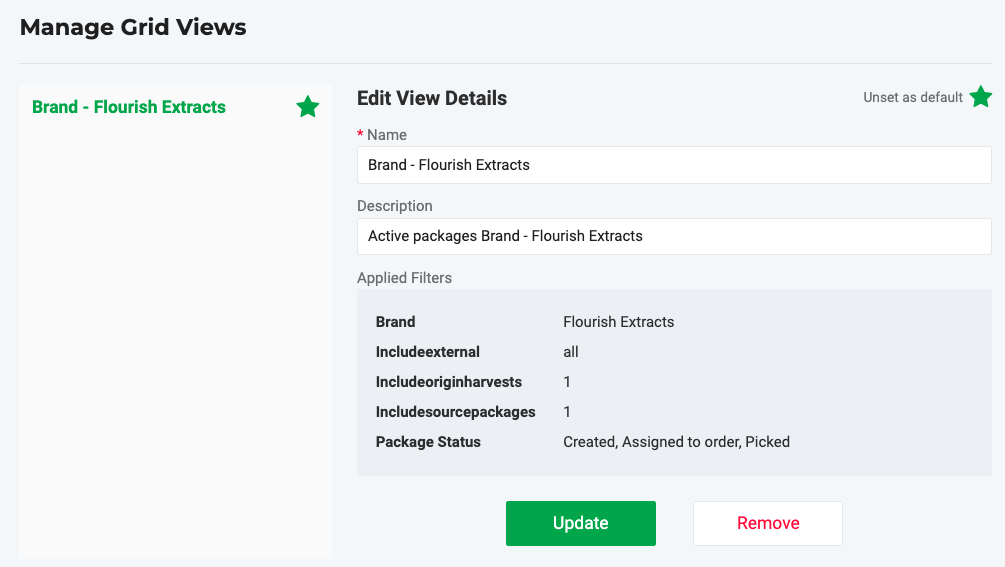
- The default view for that facility is designated by being
- On the Edit View Details screen - highlight green with the green star next to the name
- On the All Packages Screen - have a star next to the name of the view.
On the All Packages Screen | On the Edit View Details screen |
 |  |
Edit a View
Edit Name and Description
When you want to edit the Name or Description of the view, but not the filters setup, follow the steps below.
See how to change the filters setup.
- Go to Inventory and the All Packages table loads.
- Click the eye icon in the top right corner and select Manage Views.
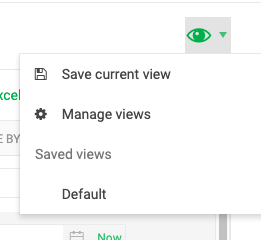
- On the left side, click on the name of the view you wish to edit. It will highlight in green.
- Edit the Name and and Description as desired
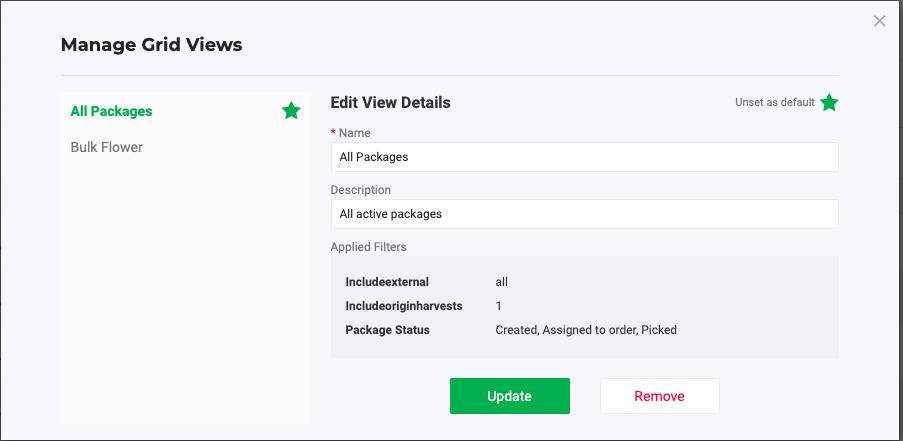
- Click Update
Edit Filters / Columns
This action does not change the Name or Description of the view.
You may need to set different filters or change other details (such as the order or visibility of the columns) of a view you already saved. Here is how you do that:
- Go to Inventory and the All Packages table loads.
- Set the filters to get the view you need.
- Click the eye icon in the top right corner and select Save Current view.
- Select Save as existing view and select the view you want to edit.
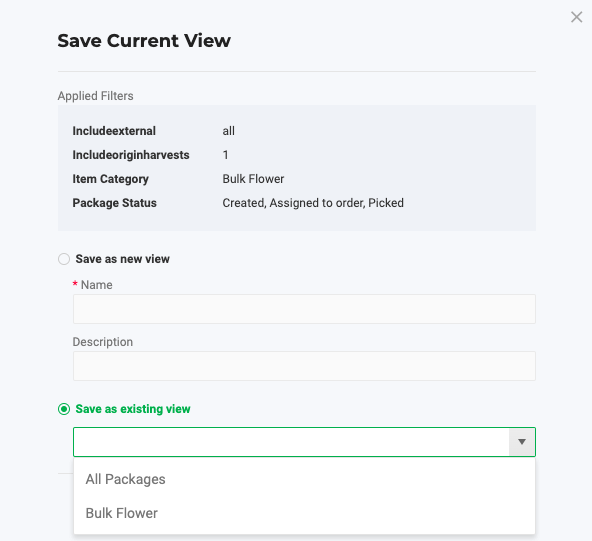
- Click Save
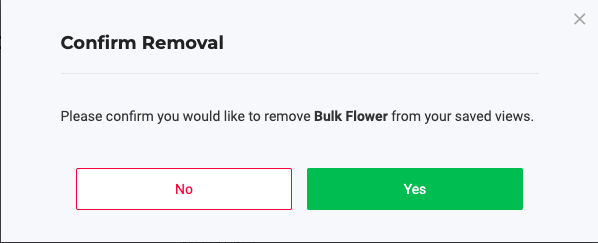
Remove a View
- Go to Inventory and the All Packages table loads.
- Click the eye icon in the top right corner and select Manage Views.
- On the left side, click on the name of the view you wish to remove. It will highlight in green.
- Click
 .
. - Click Yes on the Confirm Removal pop-up window
Can't see your default view?
Sometimes, when you change facilities on the same screen, the default view per the facility may not load. To get your default view for the current facility:
- On the left side of the screen, select a different module.
- Select the module you want to load the default view.
How did we do?
Custom Grid Column Ordering
Track Inventory Costs for COGS Reporting
