Table of Contents
Printer and hardware options and setup
Find your hardware. We hand-selected the hardware to save you time while providing the best experience possible integrating with Flourish Software: Approved Hardware. Find the hardware you need and g…
Find your hardware
We’ve hand-selected hardware to save you time and ensure a smooth integration with Flourish Software. Use this guide to find the hardware you need and get quick answers to common questions.
Flourish labels print in ZPL (Zebra Programming Language). While all Zebra printers support ZPL, many other printer brands do as well. Some may list it under a slightly different name due to trademarks—for example, Sato printers call it sZPL. Any variation of ZPL usually indicates compatibility.
Recommended Hardware and Best Practices
Install QZ Tray
We have incorporated QZ Tray into our application to enable printing directly from the web browser. Download and install QZ Tray on the computer you use to print. You can generally use the standard QZ tray download option off the main QZ.io page. However for older printers, sometimes we need to use an older version (Before 2.2)
Set up your printer
- If your printer is already connected and working on your computer, you usually need to download QZ Tray. In most cases, the printer will automatically configure as a raw printer.
- If your printer does not automatically connect to your computer, refer to the Printer Setup and Connectivity Guide for instructions on connecting your printer to your computer.
- If the printer does not work after downloading QZ Tray, uninstall it and reinstall it manually as a Raw printer. Set up the label printer as a Raw printer on your computer by following the guides for Mac or Windows.
Configure Network Printers in Flourish
These steps will show you how to configure your printer if it is connected on your building's internet network.
- Navigate to your Printer Configuration page found under Settings>Facilities>Configure>Printers
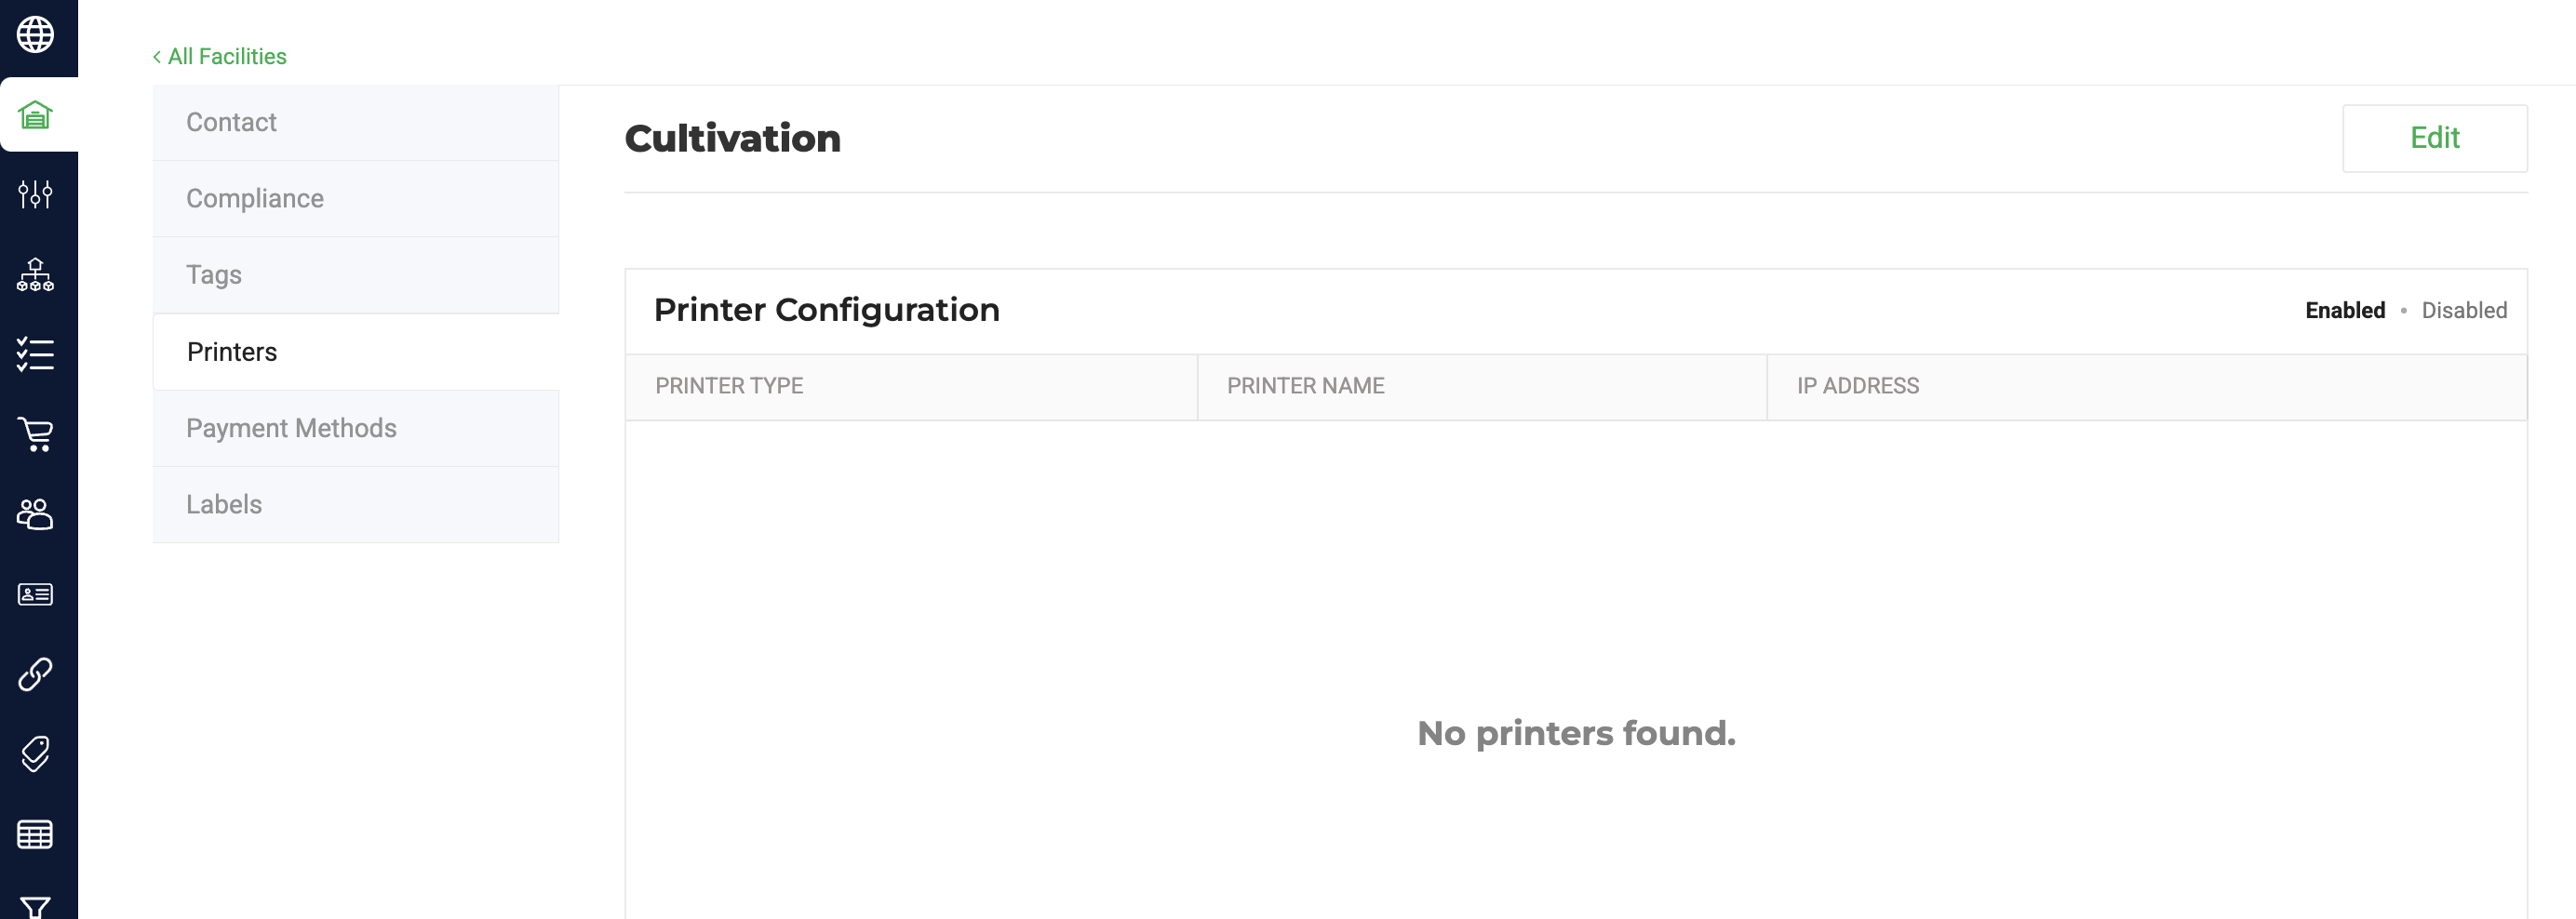
- Click "Edit" in the upper right corner of the page
- Click "Add Printer"

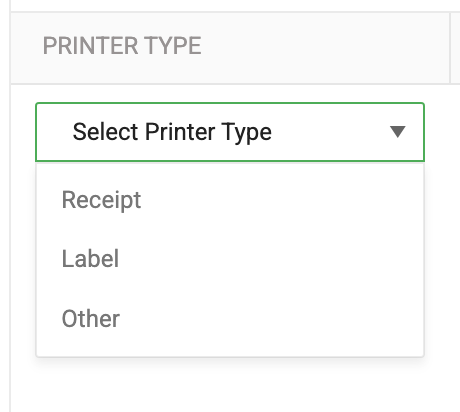
- Select the appropriate “Printer Type”
- Enter a "Printer Name" (for example, "Grow Room 1 Printer" or "Zebra ZD421")
- Enter your printer's "IP Address"
- If you do not know the IP Address for your printer, check with your hardware vendor or how-to online articles for guidance.
- Click the "Save" icon
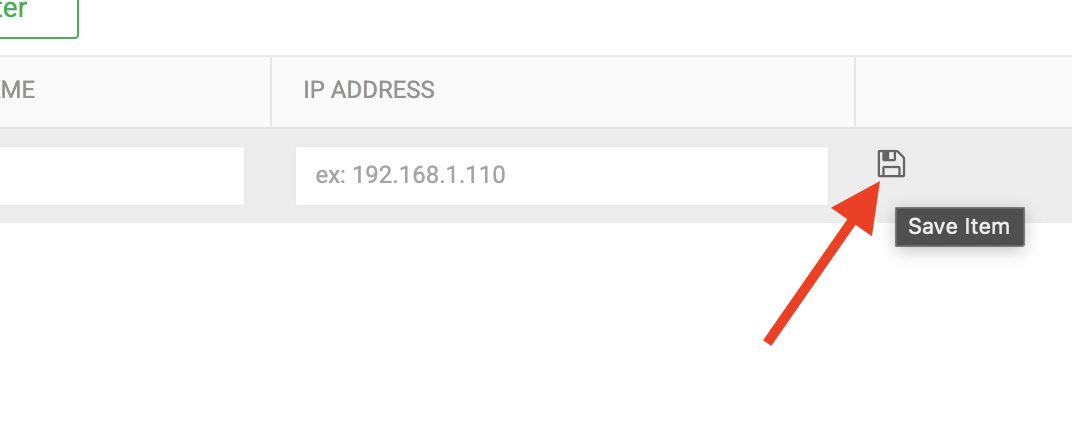
- That's it! Your printer is now ready to use in Flourish.
Configure Labels in Flourish
Label Maker Configuration
Please refer to this help article.
Installing a Supported Font on Zebra Printers
To print accented characters (like “é” instead of “e”) correctly on your labels, install a Unicode-supported font on your Zebra printer. This guide walks you through installing the DejaVu Sans font, ensuring that special characters display properly: Installing a Unicode-Supported Font on Zebra Printers.
Questions?
Get answers to any questions here.
How did we do?
QZ Tray Certificate renewal