Table of Contents
Managing Chart of Accounts View - QuickBooks Online
This is how to manage which accounts display in the dropdown when mapping items to QuickBooks Online.
Manage COAs View
After syncing your Chart of Accounts from QuickBooks, you can manage which accounts display in the COA dropdown when mapping items to QuickBooks Online.
- Click the gearbox in the top-right corner to open Manage Settings
 .
. - Click Inventory.
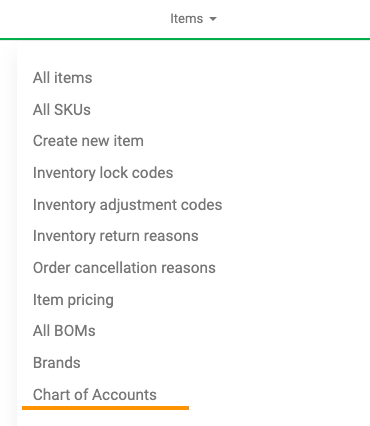
- Click the Items tab and select Chart of Accounts.
- You can 'hide' accounts from view from this table by toggling the HIDDEN on or off.
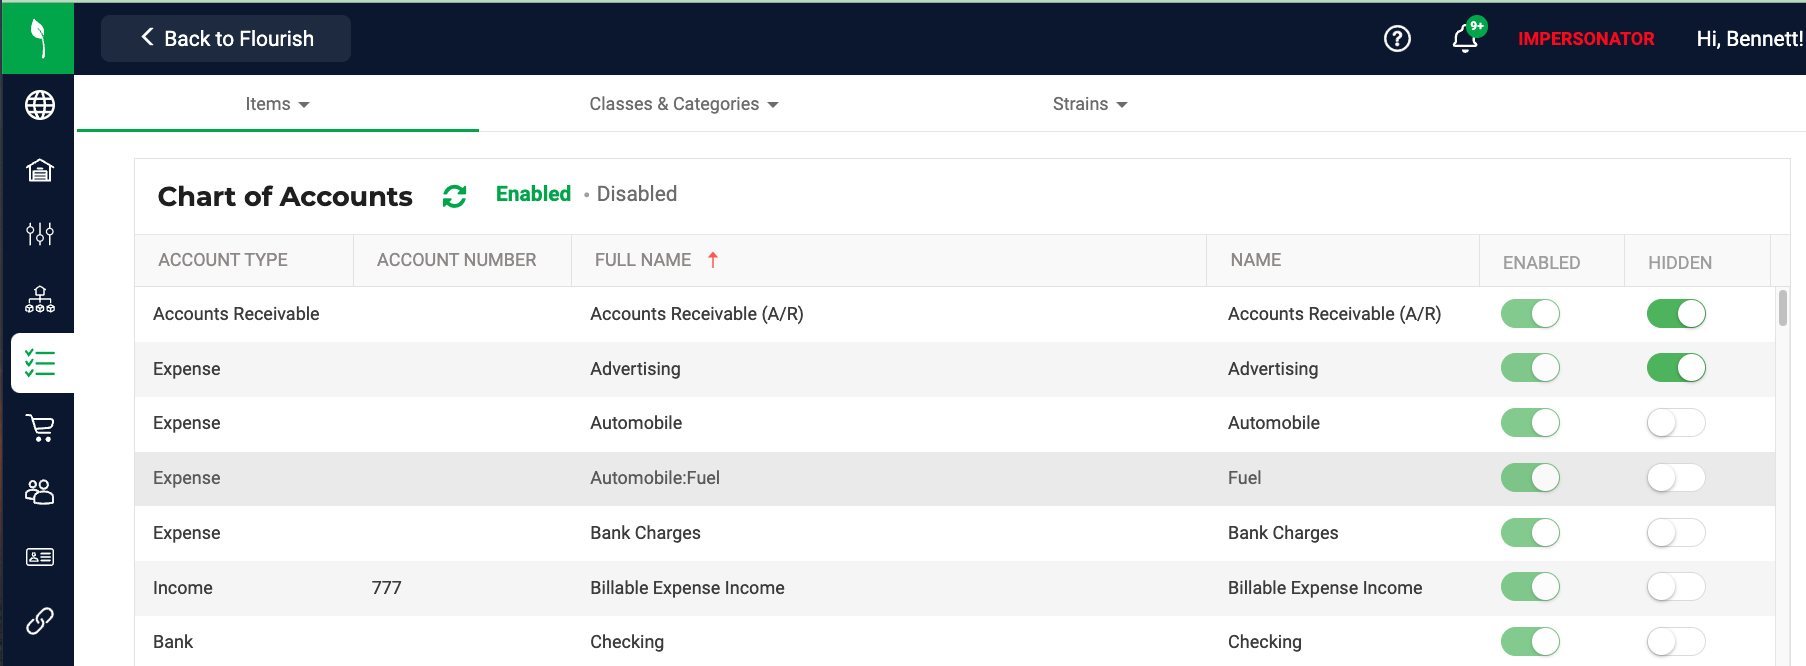
Enabling the Hidden button hides the account in the Expense/Income/Inventory Asset Account dropdown when mapping items to QuickBooks Online. 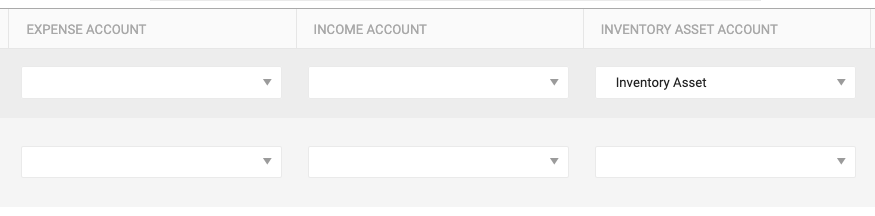
Disable Accounts
When you need to turn off an account, deactivate it in QuickBooks Online and sync the accounts to Flourish Software.
To match the platforms, please do the following:
- Disable an Account in QuickBooks Online.
- Go to Flourish Software and Sync the Accounts from QuickBooks Online:
- Go to Manage Settings.
- Click Integrations (if you do not see Integrations, ensure it's turned on for your user role under Admin Roles).
- Click on the Pencil icon
 in the QuickBooks card.
 - Click Map Items.
- Click on Edit on the top right, and this is what you will see:

- Click

After taking the steps above, Flourish will do the following.
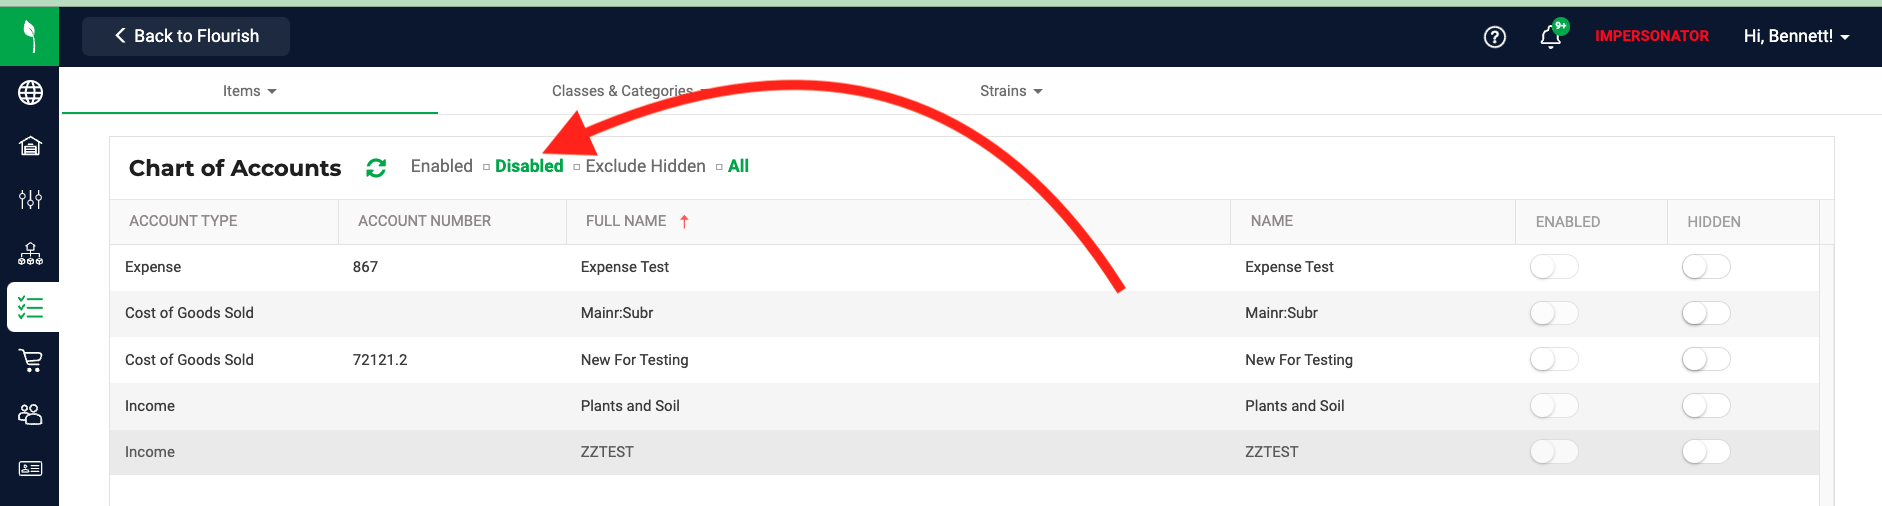
- Set the COA as 'Disabled'.
- Remove the disabled COA from the dropdowns so you cannot select it when you set up COAs for items in Flourish.
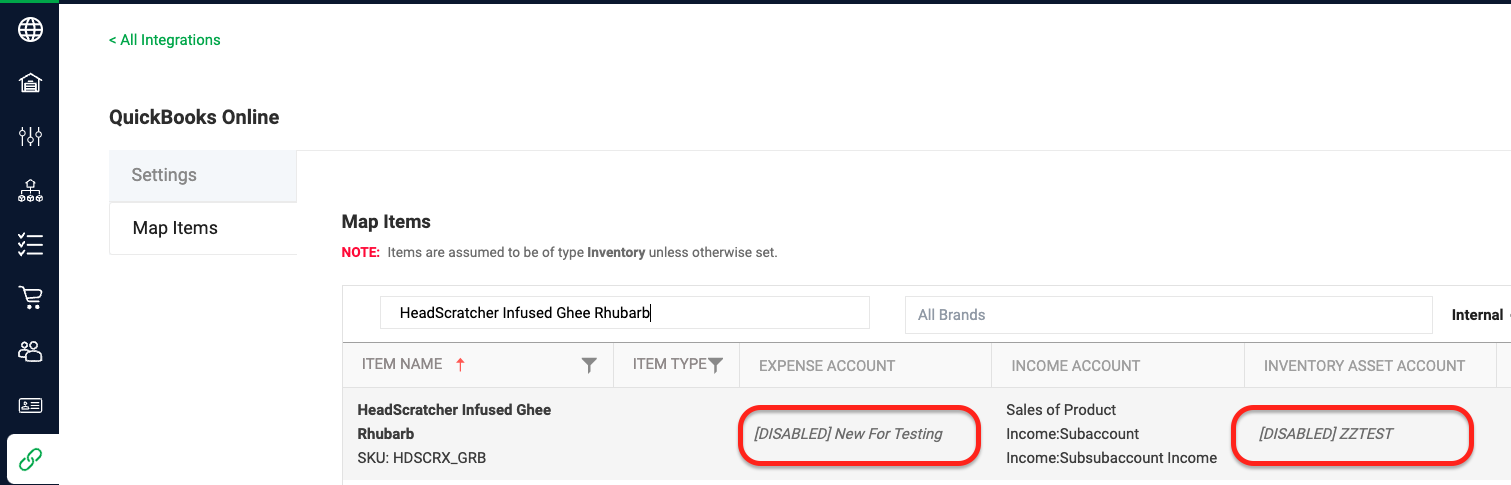
- Flourish Software will indicate items set with the disabled COA by displaying a '[DISABLED]' designation. This visual cue is essential as it helps you quickly identify and manage these items.
Disabled Chart of Accounts View |
 |
'[DISABLED]' Designation When Mapping Items |
 |
How did we do?
Flourish Accounting Overview
Export Data From Flourish To QuickBooks Desktop