Table of Contents
LeafLink Error Logs - Find LeafLink Integration Errors
Flourish Software displays why orders or items do not sync from and to Leaflink. Follow the steps below to see the errors: Errors by Order. Click to go to Settings. Select Integrations. Click on the…
Table of Contents
Flourish Software displays why orders or items do not sync from and to Leaflink. Follow the steps below to see the errors:
Errors by Order
- Click
 to go to Settings
 - Select Integrations
- Click on the Pencil icon
 next to Leaflink
 - Go to the Sync Errors tab
- Select By Order next to

- Paste the order ID from Leaflink and see the information in the ERROR MESSAGE section.
Errors by Item
- Click to go to Settings
- Select Integrations
- Click on the Pencil icon next to Leaflink
- Go to the Sync Errors tab
- Select By Item next to

- Paste the item name, SKU, or retail display name and see the information in the ERROR MESSAGE section.
Analytics - Leaflink Error log
You can search, filter, and schedule to get the report to your email.
- Click to go to Settings
- Select Analytics
- Next to
 click
click  .
.
Email the report
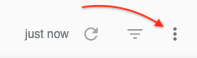
- Click the three dots
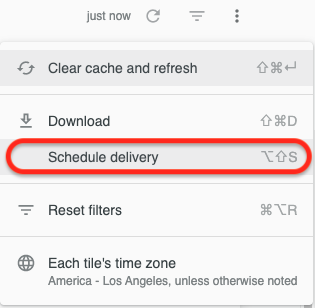
- Select Schedule delivery
- Fill out the information on the tabs
- Settings
- Filters
- Advanced options
- Click
 to test the email delivery.
 - Click
 .
.
How did we do?
My LeafLink and Flourish Inventory Levels Don’t Match
