Table of Contents
Creating New Outbound Shipments (Non-METRC)
Follow these steps to initiate shipments of inventory leaving your facility: Click Outbound from the left side navigation. Click Shipment from the top ribbon. Click Create A Shipment from the drop-do…
You can create a new shipment from the order screen: See how to create a shipment from the order screen.
Finding and Editing your Shipments
- Go to Outbound.
- Select Shipments > All Shipments.
- Use the filters and search line to locate the shipment.
- Click the Shipment ID to edit the shipment.
Creating a Shipment
- Go to Outbound.
- Click Shipments and select Create A Shipment.
- Select the appropriate fields:
- Driver (you can click New Driver to create a new driver).
- Second Driver (FL and MA require a second Driver).
- Vehicle (you can click New Vehicle to create a new vehicle).
- Distributor
- Time of Departure
- Click

- Click
 and come back to it later or proceed to Add Orders/Stops.
Adding Orders/Stops
- Click

- Select the sales order number from the drop-down menu under Order#.
- Set the Est. Arrival Time.
- Repeat steps 1 - 3 until all orders have been added to the shipment.
- Click and come back to it later or ship the shipment and print documents.
All available sales orders not on a shipping manifest are available in this dropdown menu. The most recently placed order is at the top.
Drag and drop the orders to change the order of the stops/orders
Access an Order from a Shipment
- Locate the order in the Order # column.
- Click the order ID to open the order edit screen, or right-click to open it in a new tab.

Ship Shipments and Print Documents
Ship the Shipment
- Look over the details. If everything looks correct, click
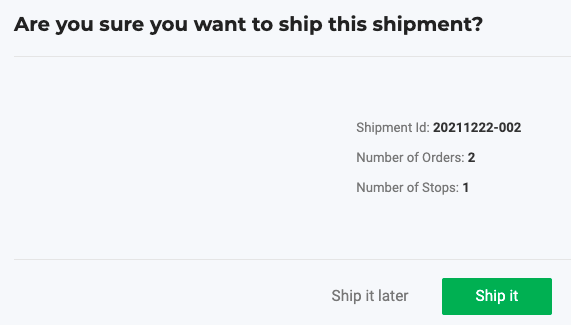
- Click Ship it or Ship it later.
Print Documents
- Click Export PDF to print the shipping manifest.
- Select the kind of manifest you want to print.
- Manifest by Package ID
- Manifest by Lot
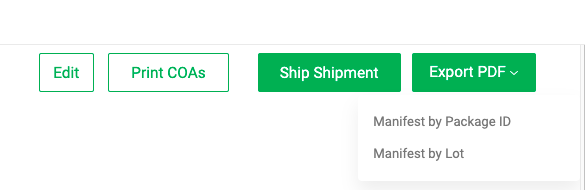
- Click
 to print the COAs.
How did we do?
Outbound Order Discounts and Charges
Add, Edit and Delete Order Notes