Table of Contents
Flourish COA Portal QR Code - Arizona Requirements
COAs uploaded to Flourish and marked as Primary will generate a unique scannable QR code for that can be added to Package labels in Flourish. The scannable QR code directs end consumers to our Flourish hosted landing page, containing all required information as per regulations AZ QR Code Requirements.
COAs uploaded to Flourish and marked as Primary will generate a unique scannable QR code for that can be added to Package labels in Flourish. The scannable QR code directs end consumers to our Flourish hosted landing page, containing all required information as per regulations AZ QR Code Requirements. This QR Code can be easily configured in our label maker, with a new dedicated section for the configurable COA QR code.
 |  |
Prerequisites
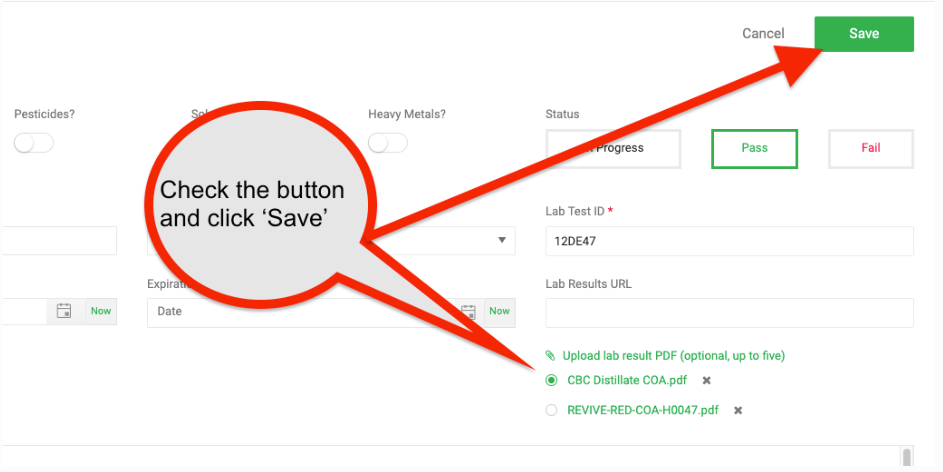
COA Retesting & QR Code Behavior
When a COA is uploaded and marked as Primary, the Flourish COA Portal QR Code will link to the hosted COA landing page for that lot.
If a batch is later retested and a new COA is uploaded and marked as Primary, the system will automatically reflect the updated Primary COA on the portal.
Important Notes on QR Code Behavior
- QR codes do not need to be regenerated after retesting.
- The QR code directs to a live Flourish-hosted landing page.
- The portal always displays the current Primary COA associated with the lot.
- If a new COA is marked as Primary, it replaces the previously marked Primary COA on the landing page.
- Any previously printed QR codes will continue to function and will display the updated Primary COA.
In short, the QR code points to a live record for the lot—not a static file. Updating which COA is marked as Primary ensures the portal always reflects the most up-to-date lab results.
Adding COA QR Code to Labels
- Click the gear box
 in the top right corner to navigate to Manage Settings.
 - Click Facilities then the green pencil icon under the Configure column next to the desired facility.
- Click Labels.
- Select Package Labels from the type dropdown.

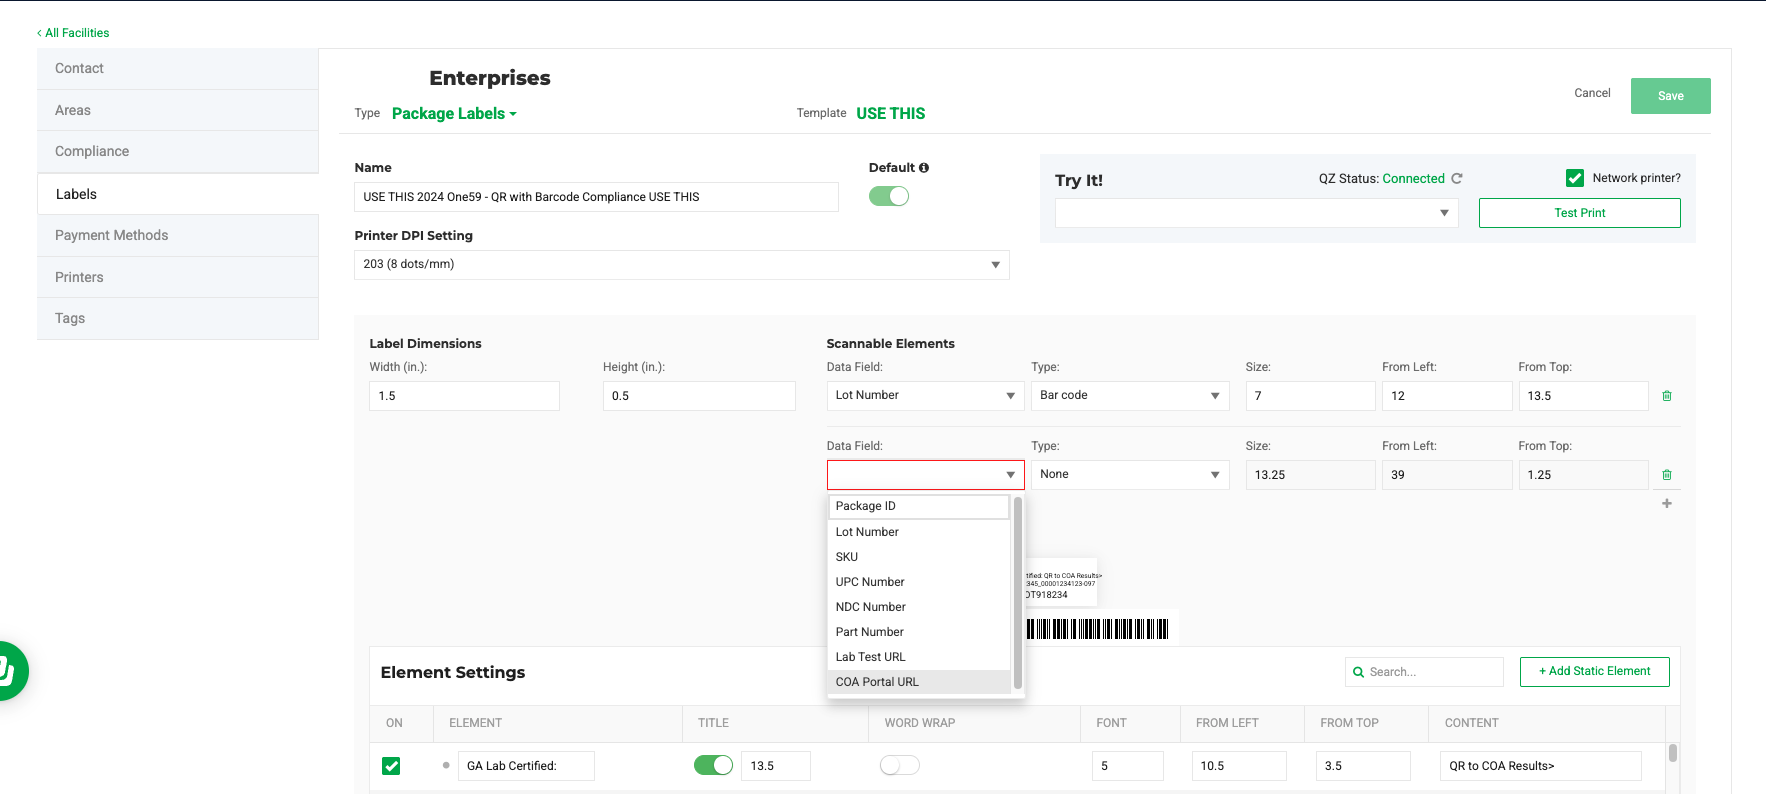
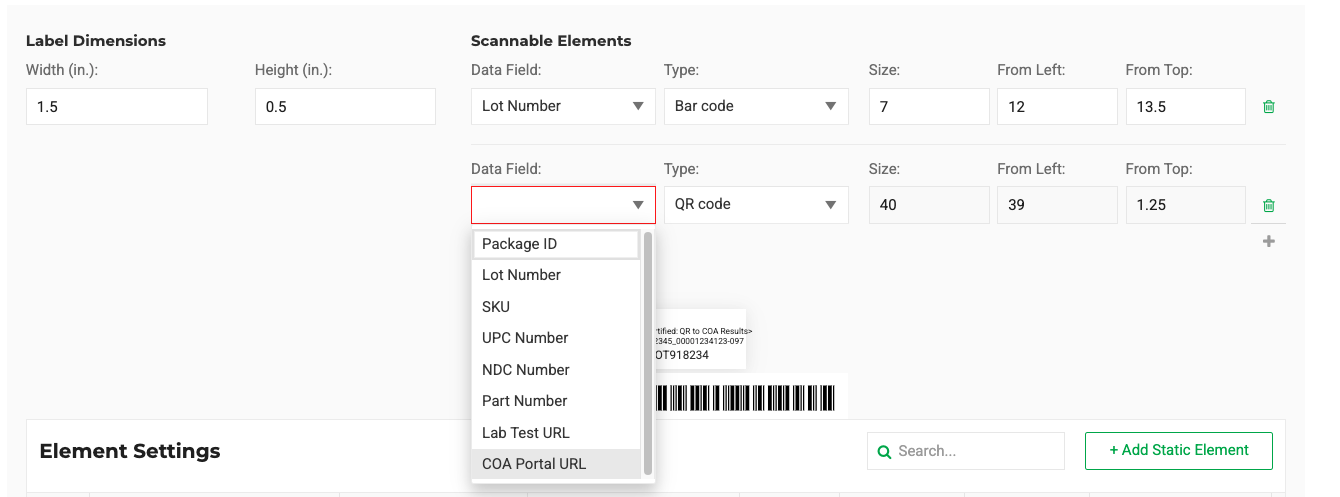
- Under the Barcode area, select the Flourish COA Portal QR code on the desired label template. The size and location can be edited as with other barcodes.
- When done configuring your label, click
 .
.
QR Code only template
The following is how to create a label template if you wish to print a label with only the Flourish COA Portal QR Code code on it.
- Click the green plus sign next to template to create a new template.
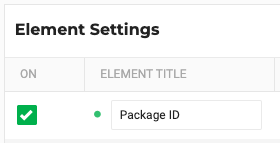
- Disable all the currently ON Element Settings by clicking off the green check box in the ON column.
- Configure the template per your label dimensions and align the Flourish COA Portal QR Code as detailed above.
- Click Add Static Element.

- Configure the static element by disabling Show Title and removing any text from the CONTENT column.

- Click Save.

How did we do?
Flourish Supported Hardware, Networking, and Vendors
Installing a Unicode-Supported Font on Zebra Printers