Table of Contents
Mobile App - Using a scanner for Cultivation Actions
The mobile app allows you to conduct cultivation action items on a mobile device. When you scan a Plant Tag the current actions you can perform in the app are: Kill a Plant. Move/Split a Plant. View…
The mobile app enables you to use the scanner to initiate cultivation actions on a mobile device. You can scan one tag or multiple and access different actions on the tags you scanned.
- Scan a single plant tag and get access to actions on the single plant or the groups that contain this plant.
- Scan multiple plants tag and get access to bulk actions on the tags you scanned.
Available Actions
Here are the actions you can access by scanning single or multiple tags:
I want to: | I should Scan: |
You can use the mobile app to Scan and Record Weights for Plants.
Scanning Tips
Mobile phone or handheld scanner? Click to expand:
* If you are using a handheld Zebra Android scanner device, the screen should say, "Please use the yellow button on your Zebra device to begin scanning."
Scan Plant Tags for Actions
Scan a single tag
- Tap the Cultivation module icon:
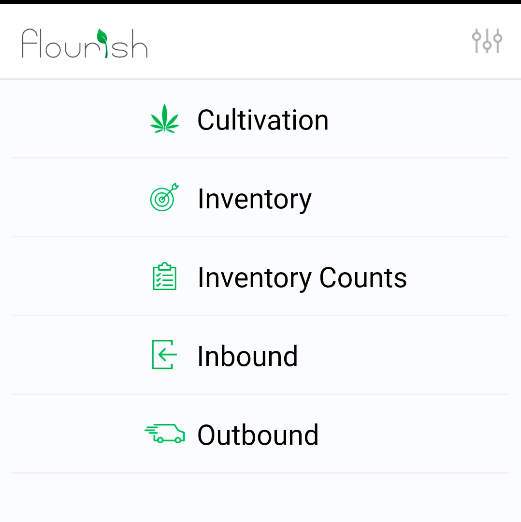
- To begin scanning, tap the Scan Plant Tags for All Actions button:
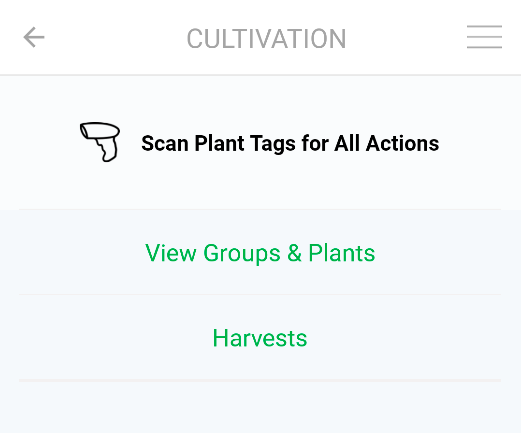
- Scan the plant tag you want to act on. A 'beep' sound follows the scan.
- To cancel the current scan, tap the red X icon
 .
.
- To cancel the current scan, tap the red X icon
- After the 'beep', tap the Green Arrow icon
 to access the actions available for the tag.
 - Select from the single plant actions or tap View Group to access the Group Actions.
Scan multiple tags
- Tap the Cultivation module icon:
- To begin scanning, tap the Scan Plant Tags for All Actions button:
- Scan the plant tag you want to act on. A 'beep' sound follows the scan.
- Don't leave this screen. Proceed to scan the following tag after the 'Beep' sound.
- To cancel the current scan, tap the red X icon .
- Once finished scanning all your plant tags, tap the Green Arrow icon
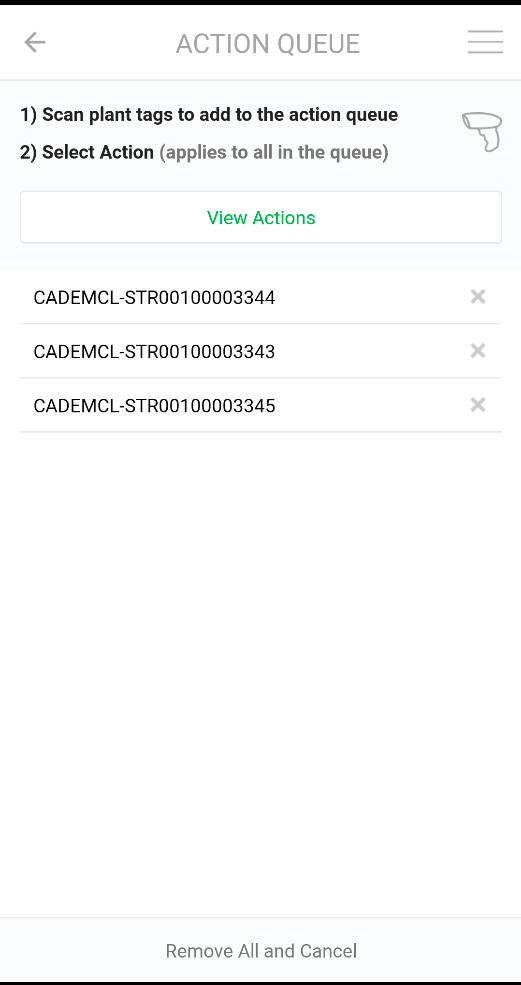
 in the top right of the screen to review the tags you scanned on the ACTION QUEUE screen.
 - On the ACTION QUEUE screen, you can do the following:
- Tap View Actions to Proceed to the BULK ACTIONS menu.
- Tap "Remove All and Cancel" to return to the main Cultivation module screen.
- Tapping View Actions displays the BULK ACTIONS menu. Tap the action and proceed.

Single Plant Actions
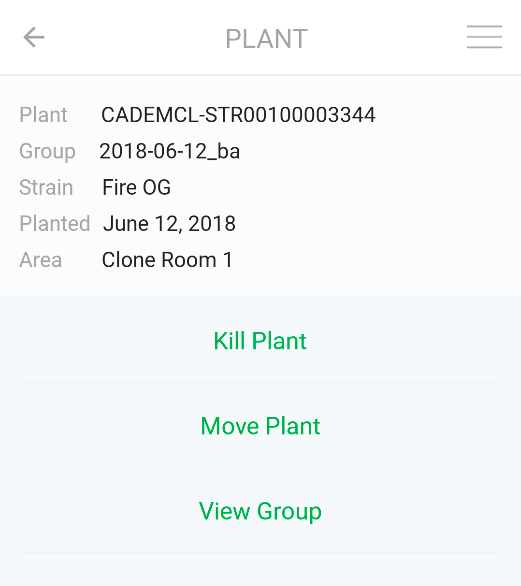
Once you scan the plant tag, the app displays a screen with the plant details and available actions:
| 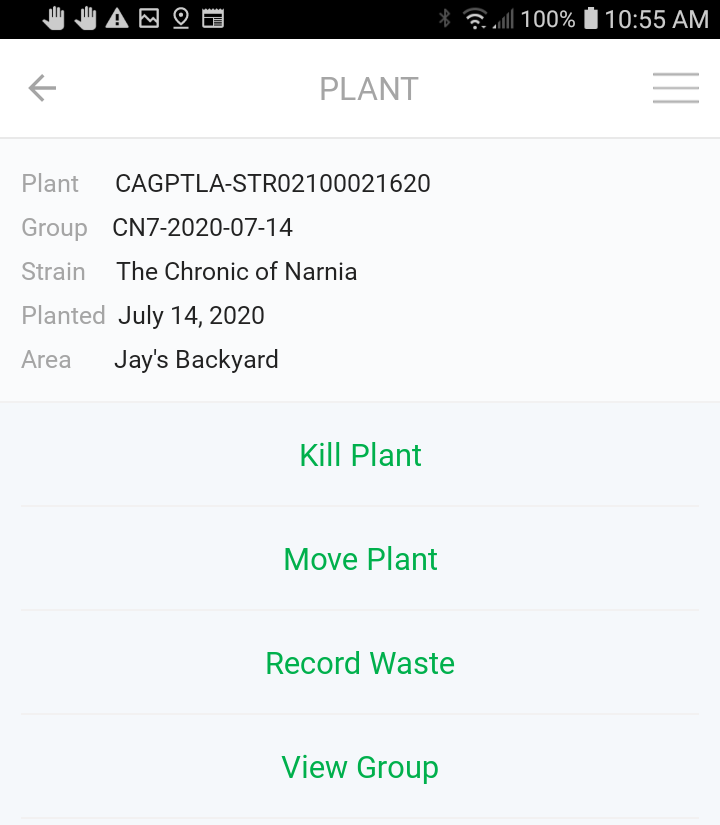 |
Kill Plant
| 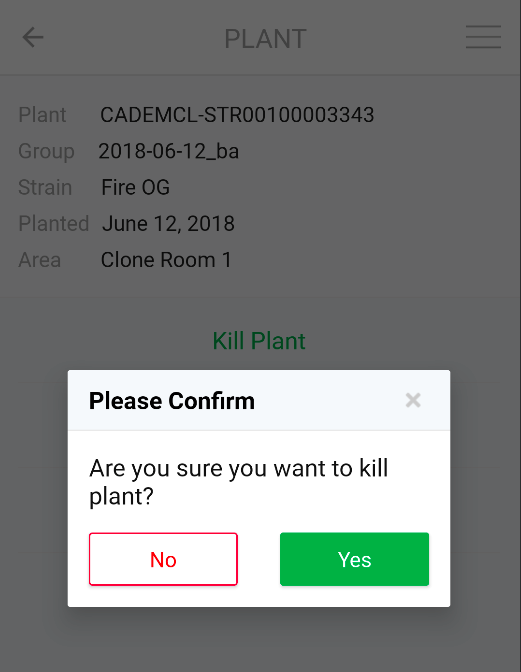 |
Move Plant
Tap "Move Plant" from the list of actions, and then select to move the plant to a "New Group" or an "Existing Group."
To Move the plant to a New Group (default selection)
| 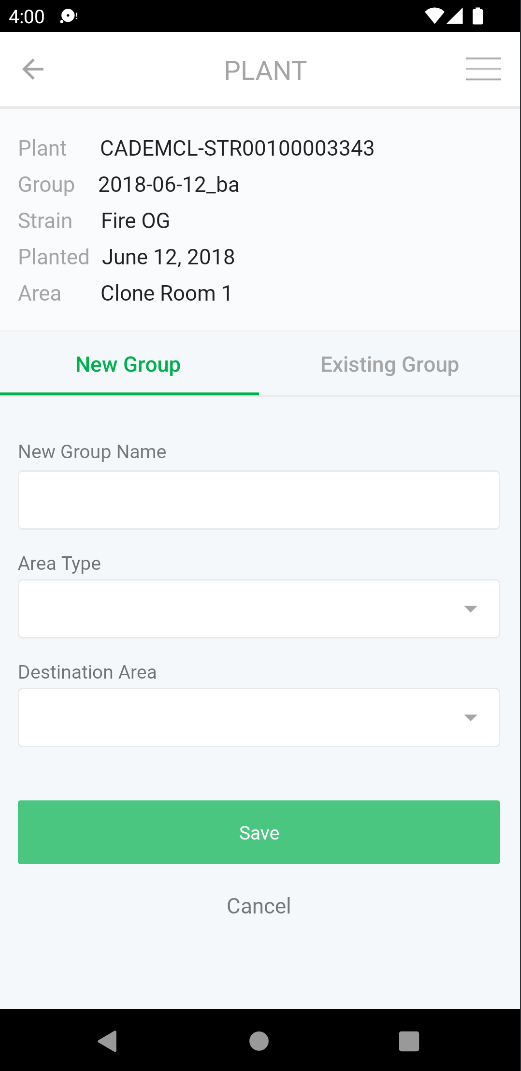 |
Move the plant to an Existing Group in the same cultivation phase only:
| 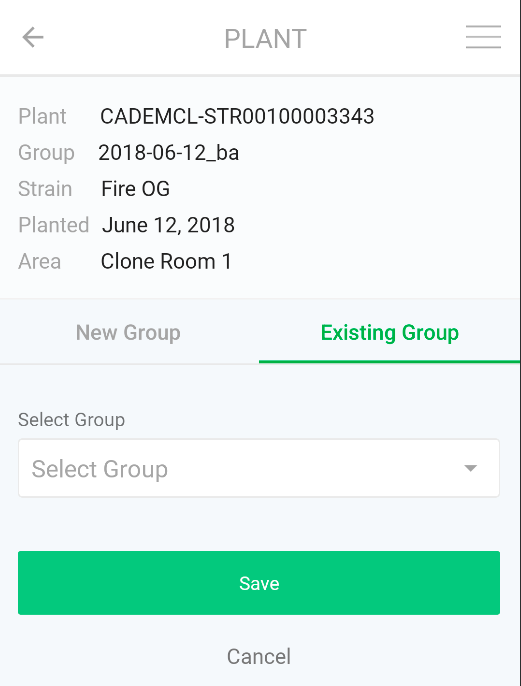 |
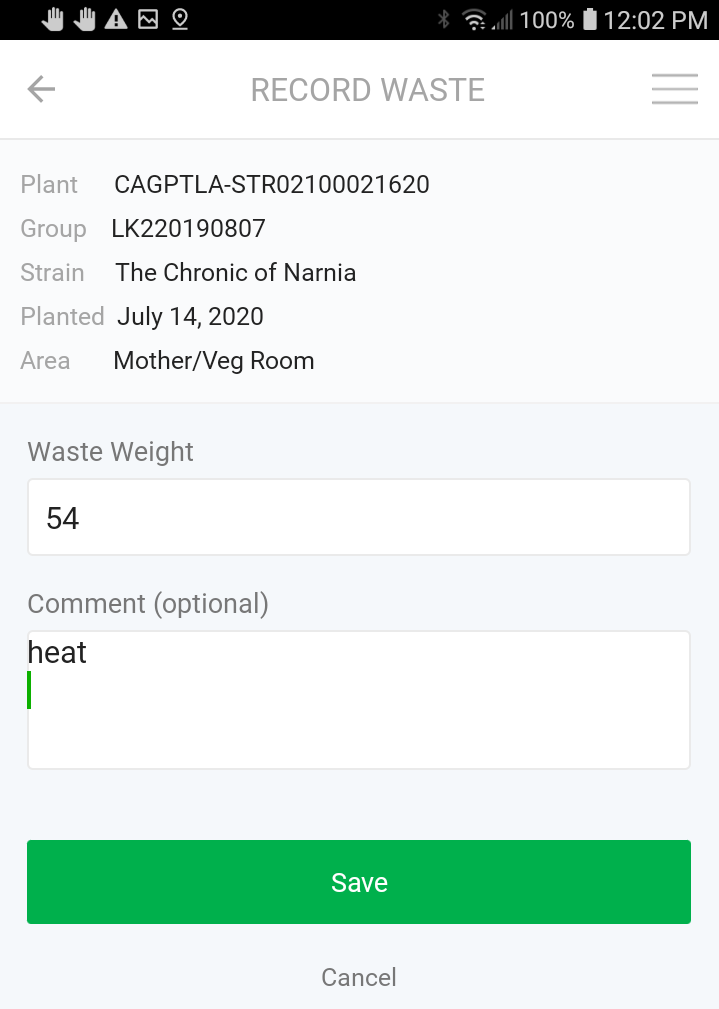
Record Waste
|  |
View Group
Tap View Group to access the Group Actions.
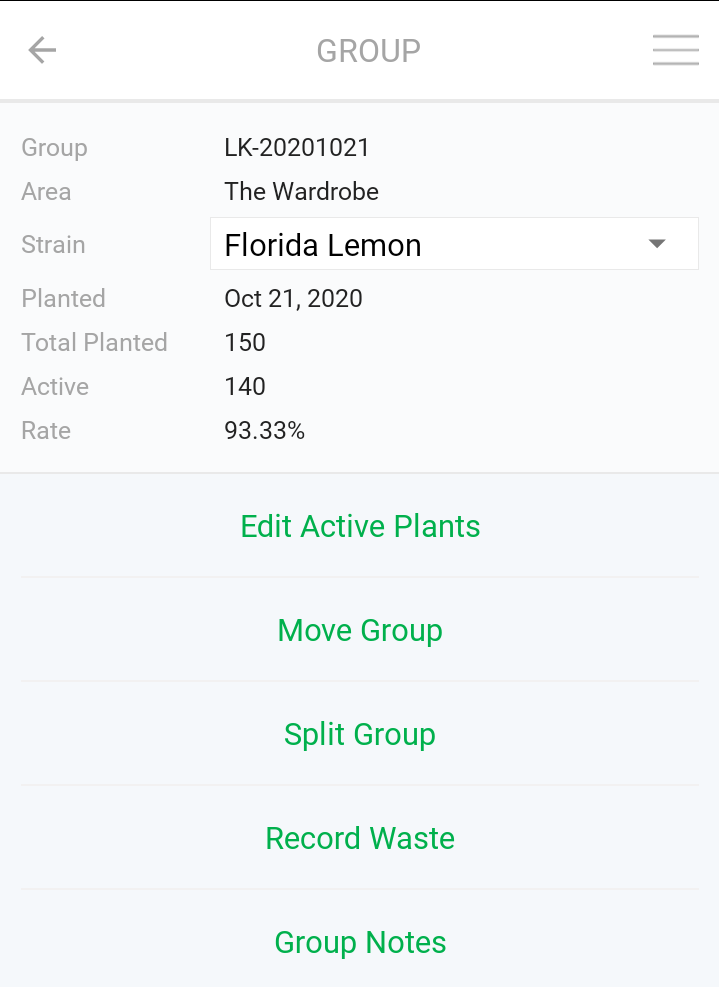
Group Actions
To get to the "Group Actions," scan any plant tag from the group you want to act on and select View Group from the list of actions.
|  |
Edit Active Plants
- If you have a plant tag printed for your immature plants, then you can scan a tag to get to the "Group Action" screen.
- Alternatively, instead of scanning a tag, you can tap "View Groups & Plants" from the main Cultivation screen and then tap on the immature group from the lists of groups.
- Tap on "Edit Active Plants."
- Either tap the Quantity to Adjust or tap the
 or
or  icons to increase or decrease the New Active Plants count.
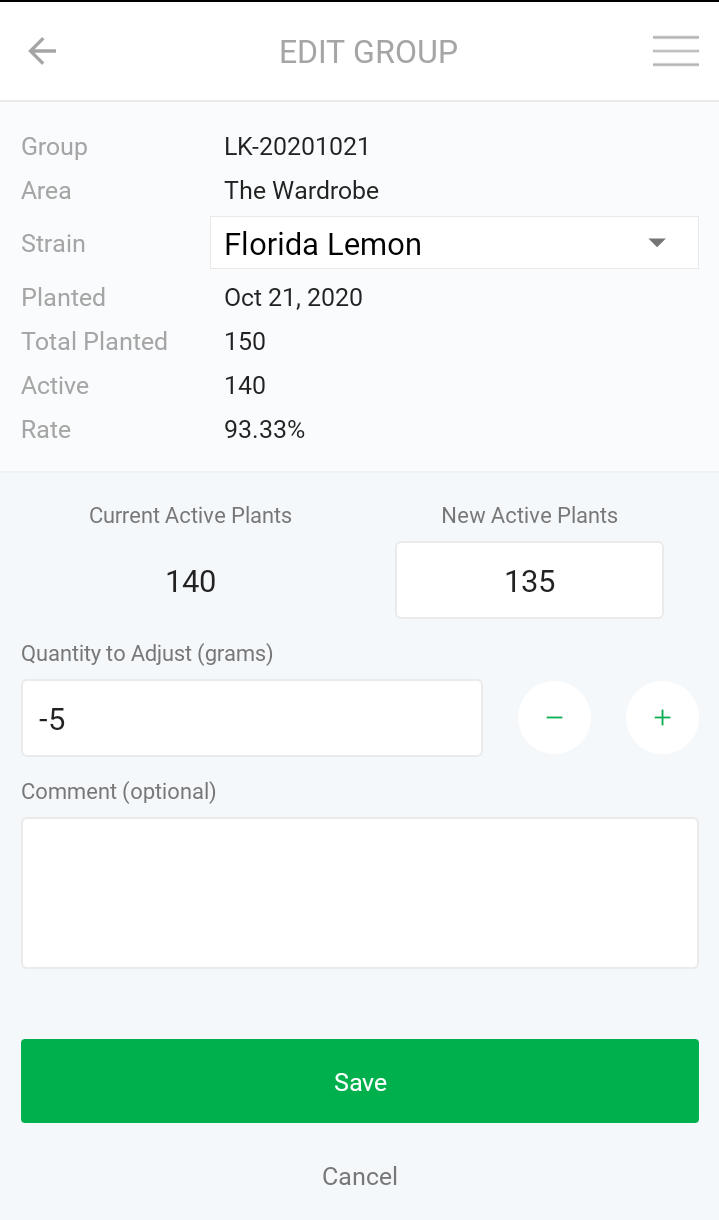
- If needed, enter an optional Comment and then tap Save to finish the plant count adjustment.
- A successful action prompts a success message: "Active Plants Adjusted!".
Move Group
| 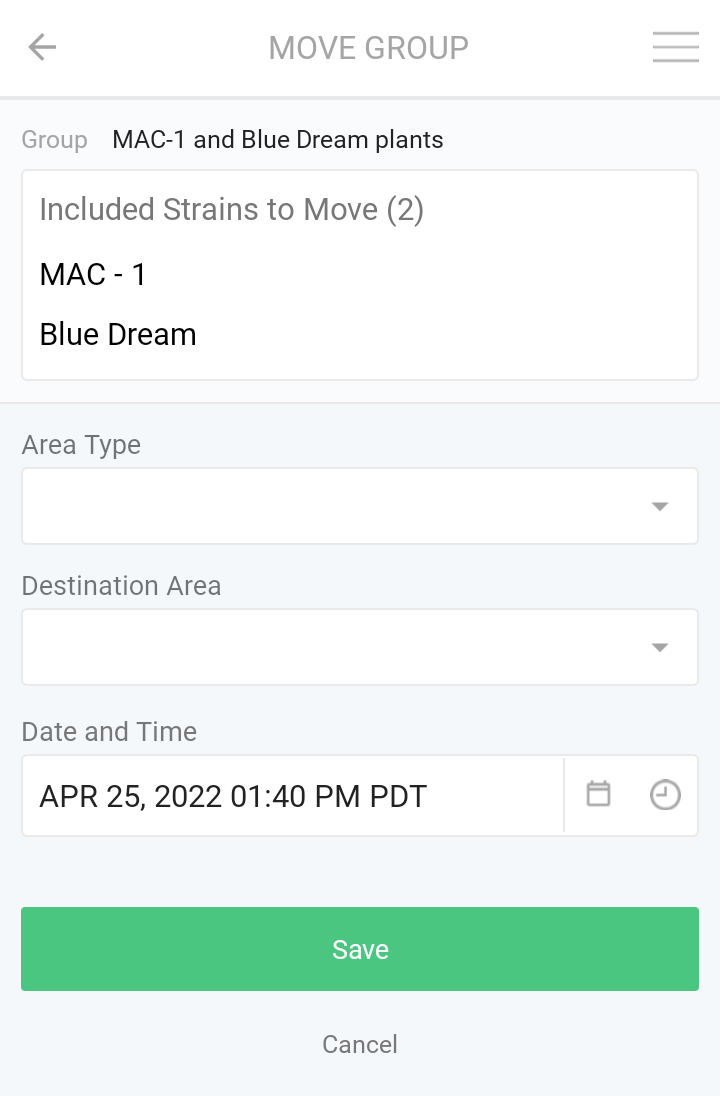 |
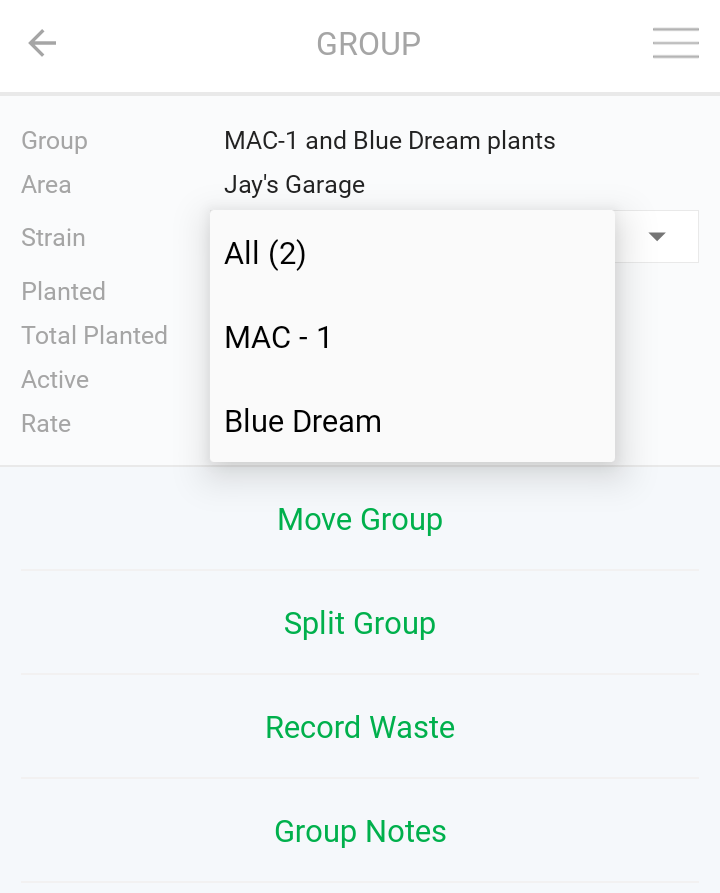
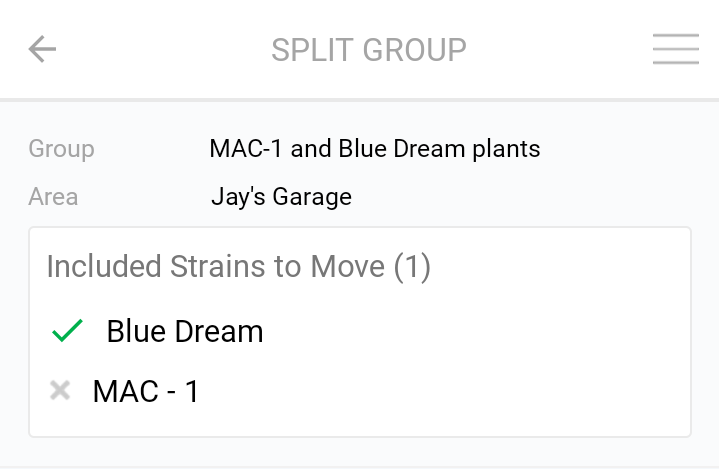
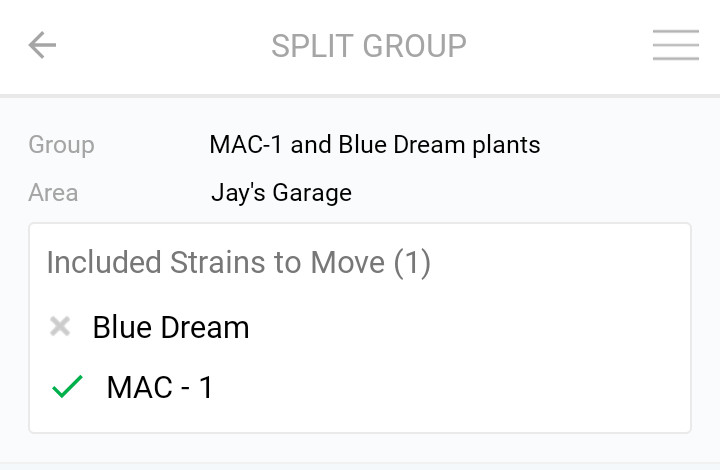
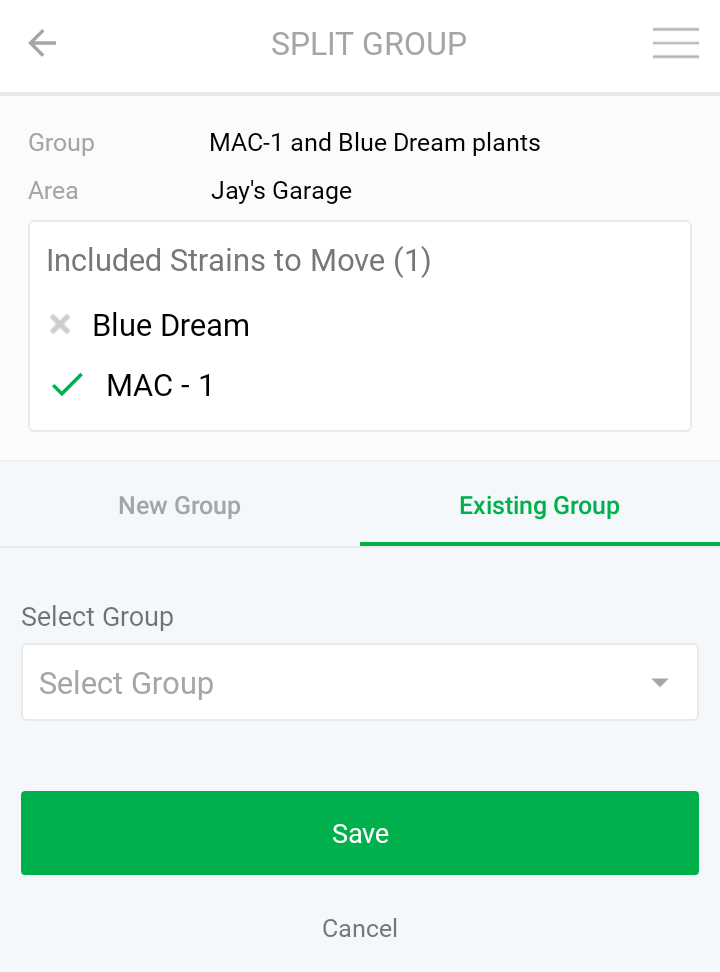
Split Group
To split by specific plant ID, scan the plant tags individually to perform a bulk action or complete your action in the Web App.
- If there is more than one strain in the group, make sure you have the green checkmark icon
 next to the strain you want to move in the Included Strains to Move part.
This selection moves the Blue Dream strain plants:
This selection moves the MAC - 1 strain plants:
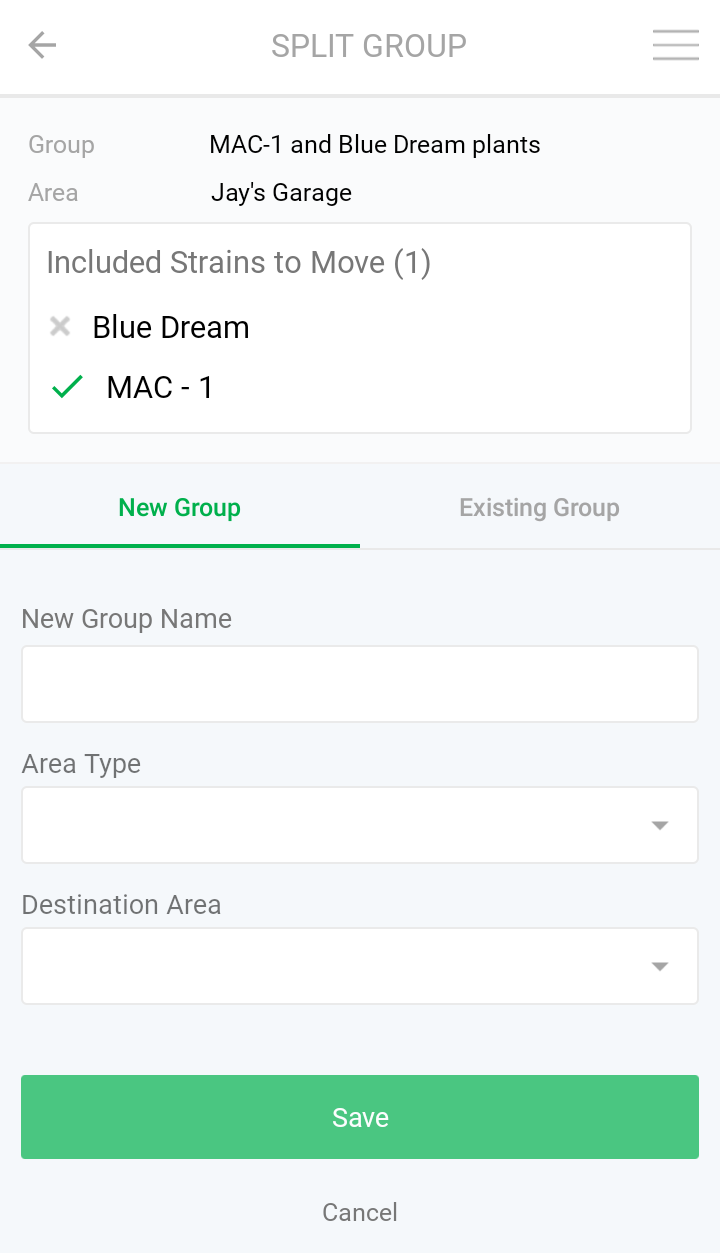
- Select to split the strain(s) into a "New Group" or an "Existing Group."
To move the plants to a New Group (default selection)
- Enter the New Group Name.
- Select the Area Type.
- Select the Destination Area.
- Tap Save.
Move the plant to an Existing Group:
- Tap the selection to Existing Group.
- Tab the Select Group dropdown to find the group. You can scroll or use the search box.
- Tap Save.
Record Waste
Recording the Waste from a group is used for internal tracking purposes.
View the recorded waste weights on the Web App by navigating here: Inventory > Plants > Waste Log. | 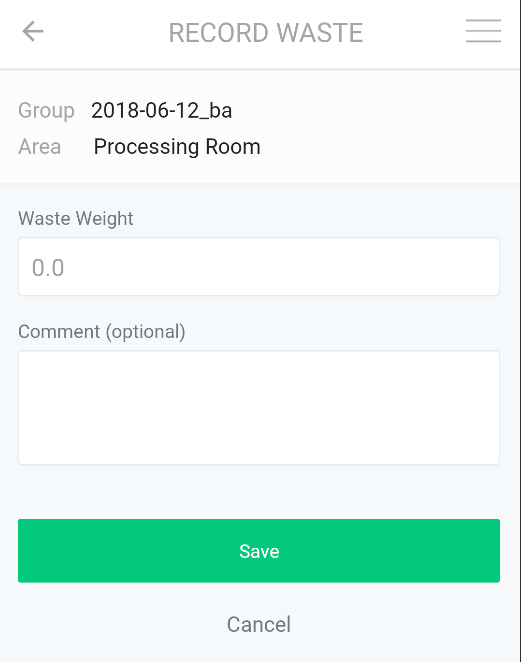 |
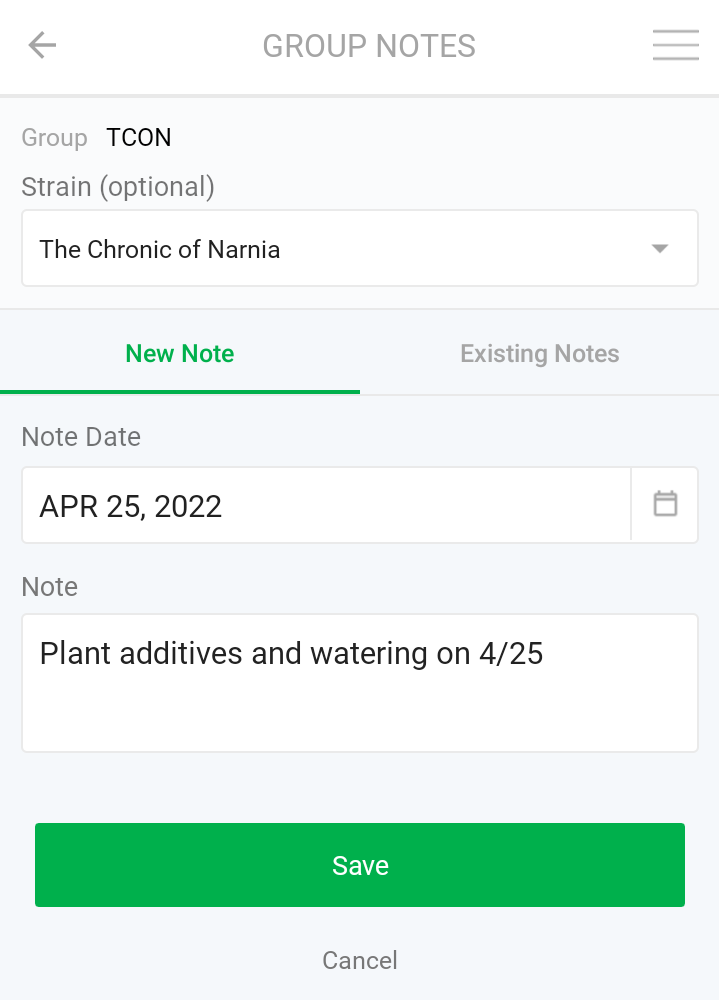
Group Notes
You can record a "New Note," or you can view or edit "Existing Notes."
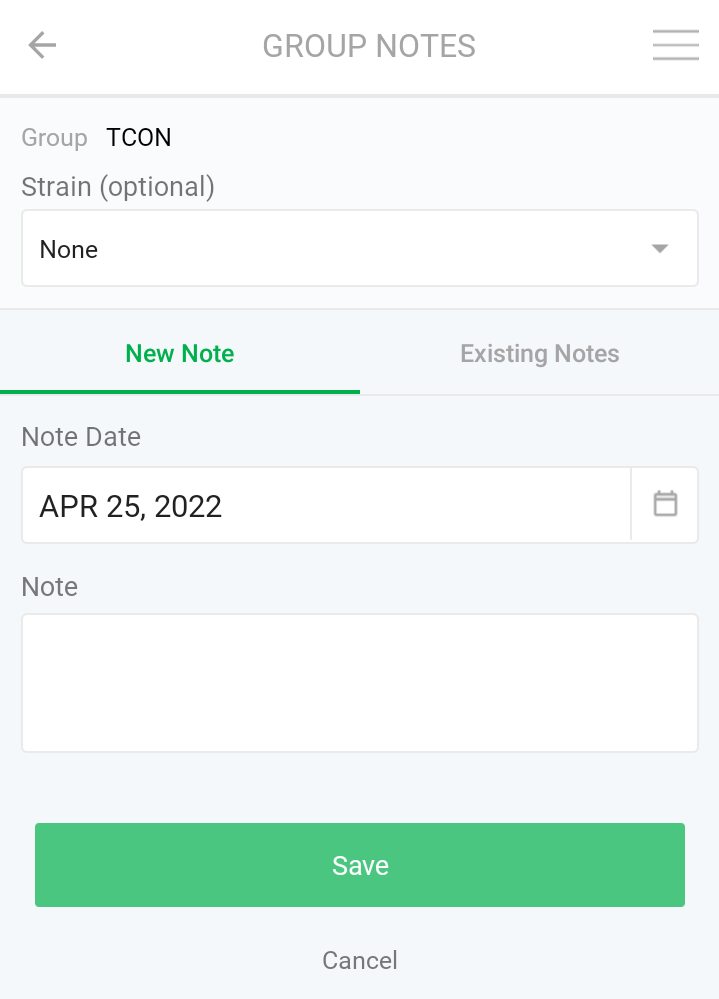
To record a New Note, follow these steps:
|  |
| View Note 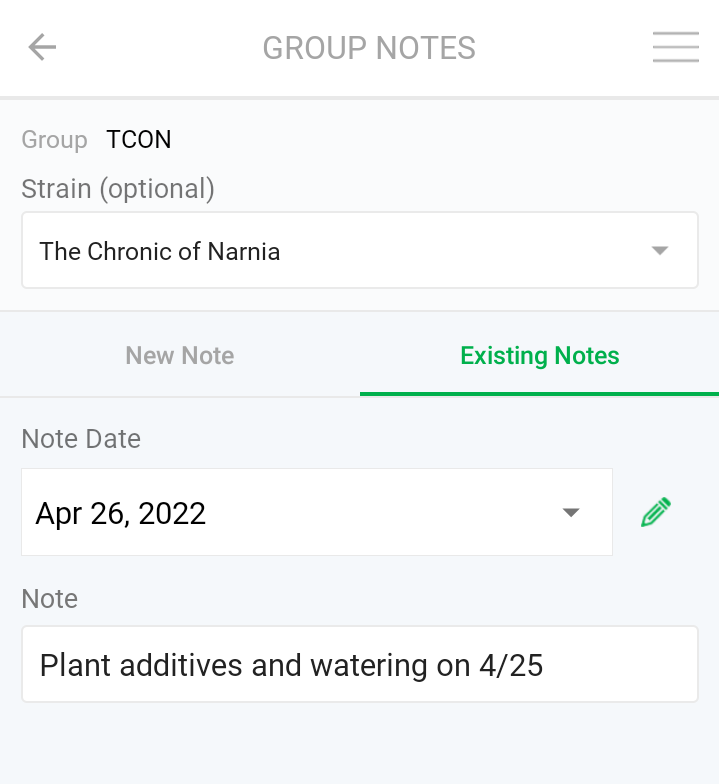 Edit Note 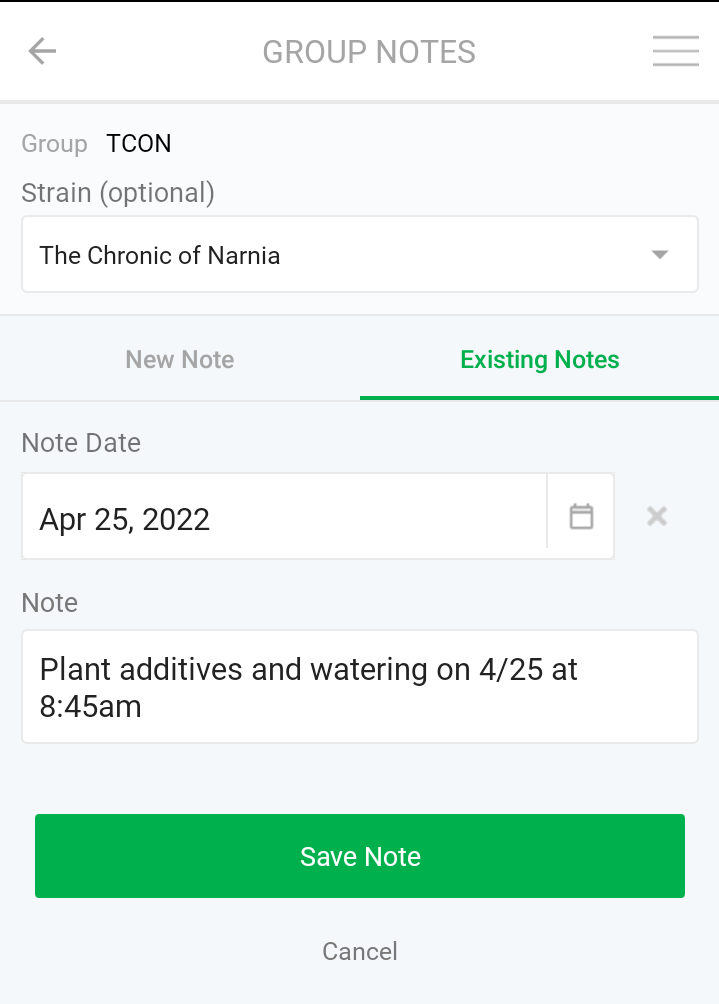 |
Bulk Actions for Plants
Once you have finished scanning your plant tags, tap the View Actions button to get to the "BULK ACTIONS" menu. From here, you can either Kill Plants or Move Plants.
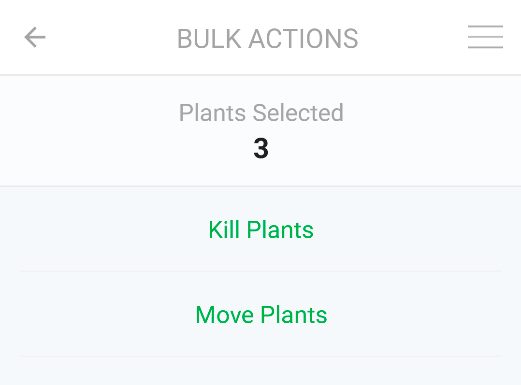
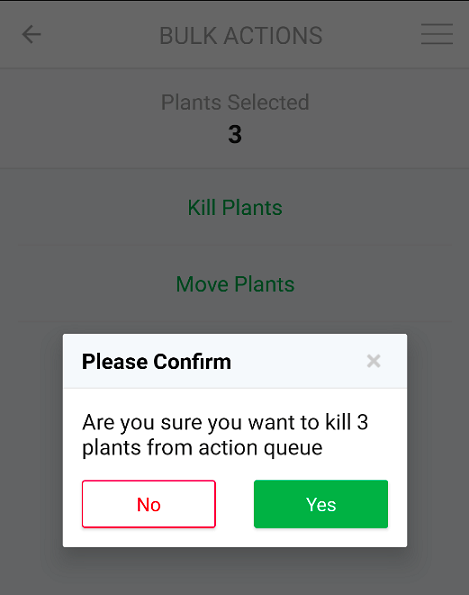
Kill Plants
Select Kill Plants from the BULK ACTIONS menu.
|  |
Move Plants
Tap "Move Plants" from the BULK ACTIONS menu, and then select to move the plants to a "New Group" or an "Existing Group."
To Move the plants to a New Group (default selection)
| 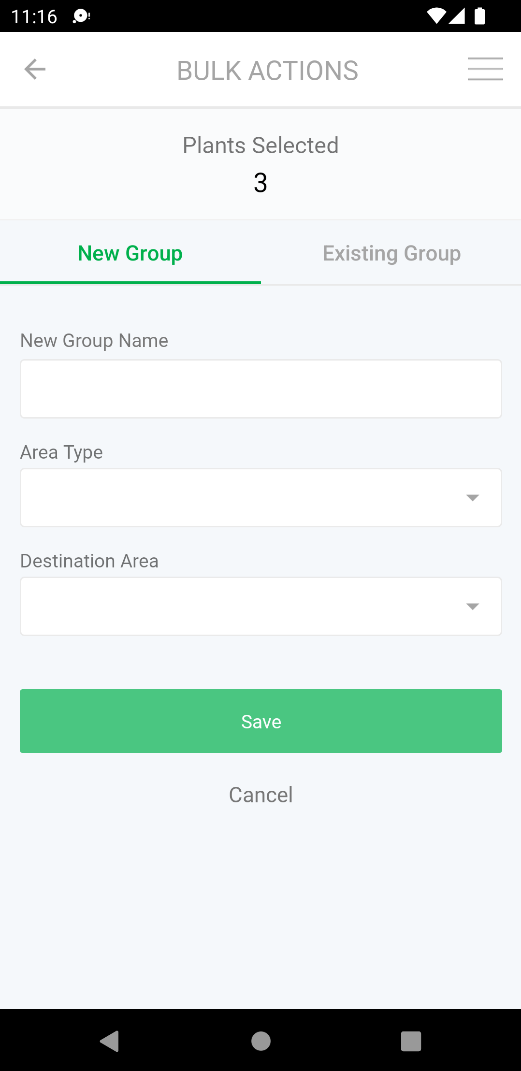 |
Move the plants to an Existing Group in the same cultivation phase only:
| 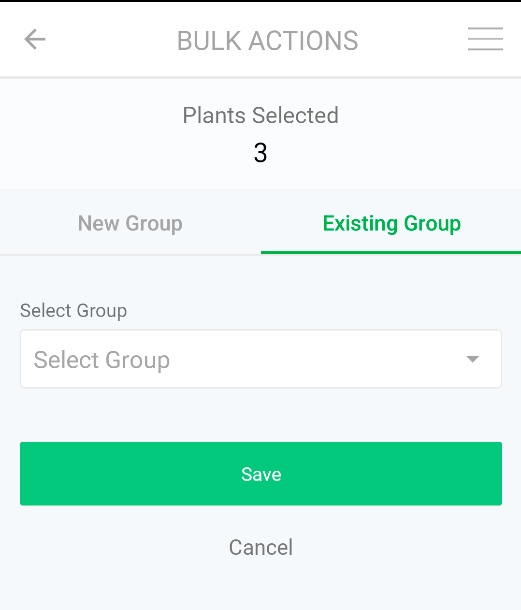 |
How did we do?
Mobile App - Apply Additives to Plants
Mobile App - RFID Plant Counts