Table of Contents
QuickBooks Online Sync Settings
This article covers: Save time by setting Flourish Software to sync to QuickBooks Online automatically! Exclude facilities from syncing with QuickBooks Online. Setting Inventory Start Date.. Send Flo…
This article covers:
- Save time by setting Flourish Software to sync to QuickBooks Online automatically!
- Exclude facilities from syncing with QuickBooks Online.
- Setting Inventory Start Date.
- Send Flourish Data To QBO Sales Order Custom Fields.
Video Overview
Auto-sync to QBO
Please follow the steps below:
|  |

Examples of auto-sync
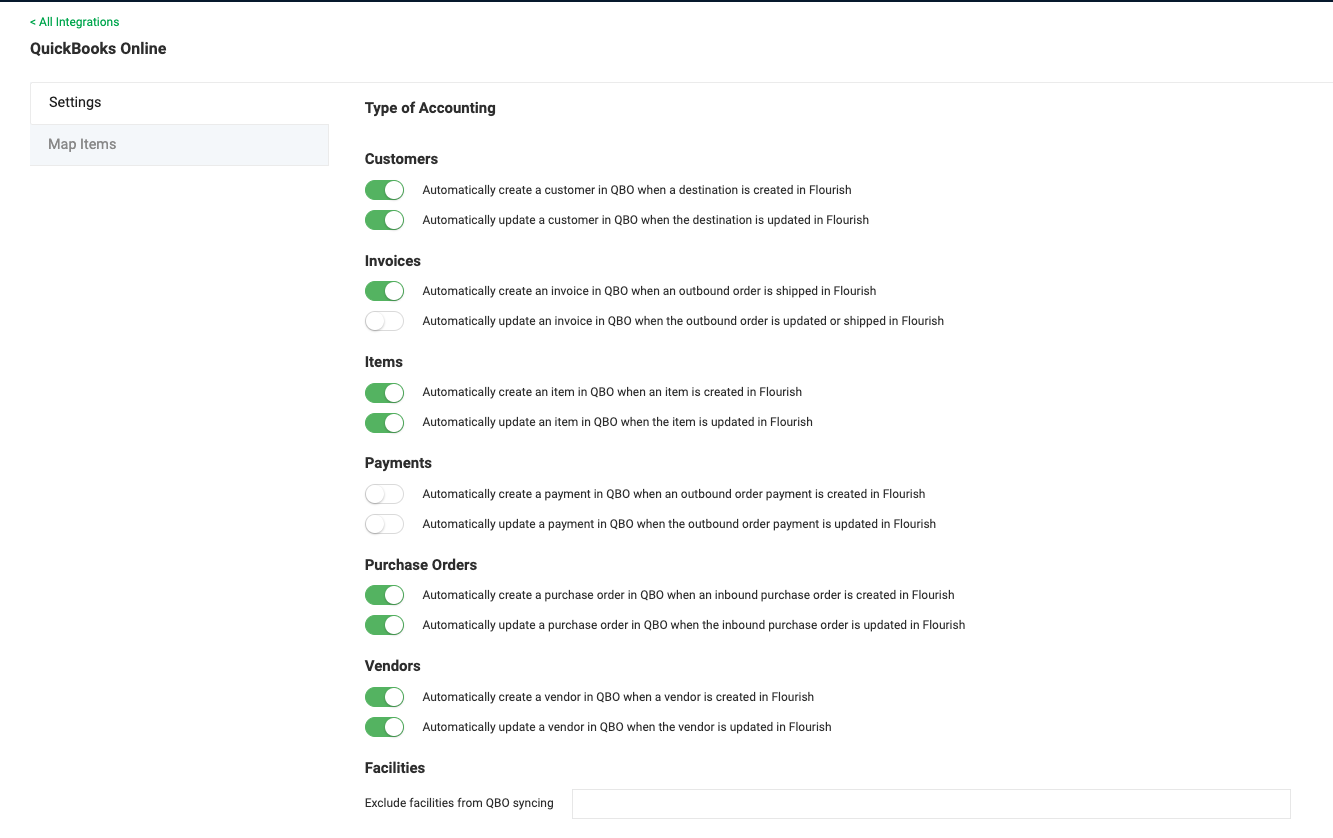
For Customers:
- You can set it to "Automatically create a customer in QBO when a destination is created in Flourish"
- You can select "Automatically update a customer in QBO when the destination is updated in Flourish"
For Invoices:
"Automatically create an invoice in QBO when an outbound order is Shipped in Flourish."
- When this toggle is ON, Flourish will only create an invoice in QBO when the order is shipped in Flourish.
- If this toggle is OFF, you must manually sync the order to QBO.
"Automatically update an invoice in QBO when the outbound order is updated or shipped in Flourish."
- When this toggle is ON, Flourish will update the invoice in QBO any time it changes AFTER it's been created in QBO. This toggle does not create invoices in QBO.
- If this toggle is OFF, updates in Flourish will not sync to QBO.
You can do the same for:
- Invoices
- Items
- Payments
- Purchase Orders
- Vendors

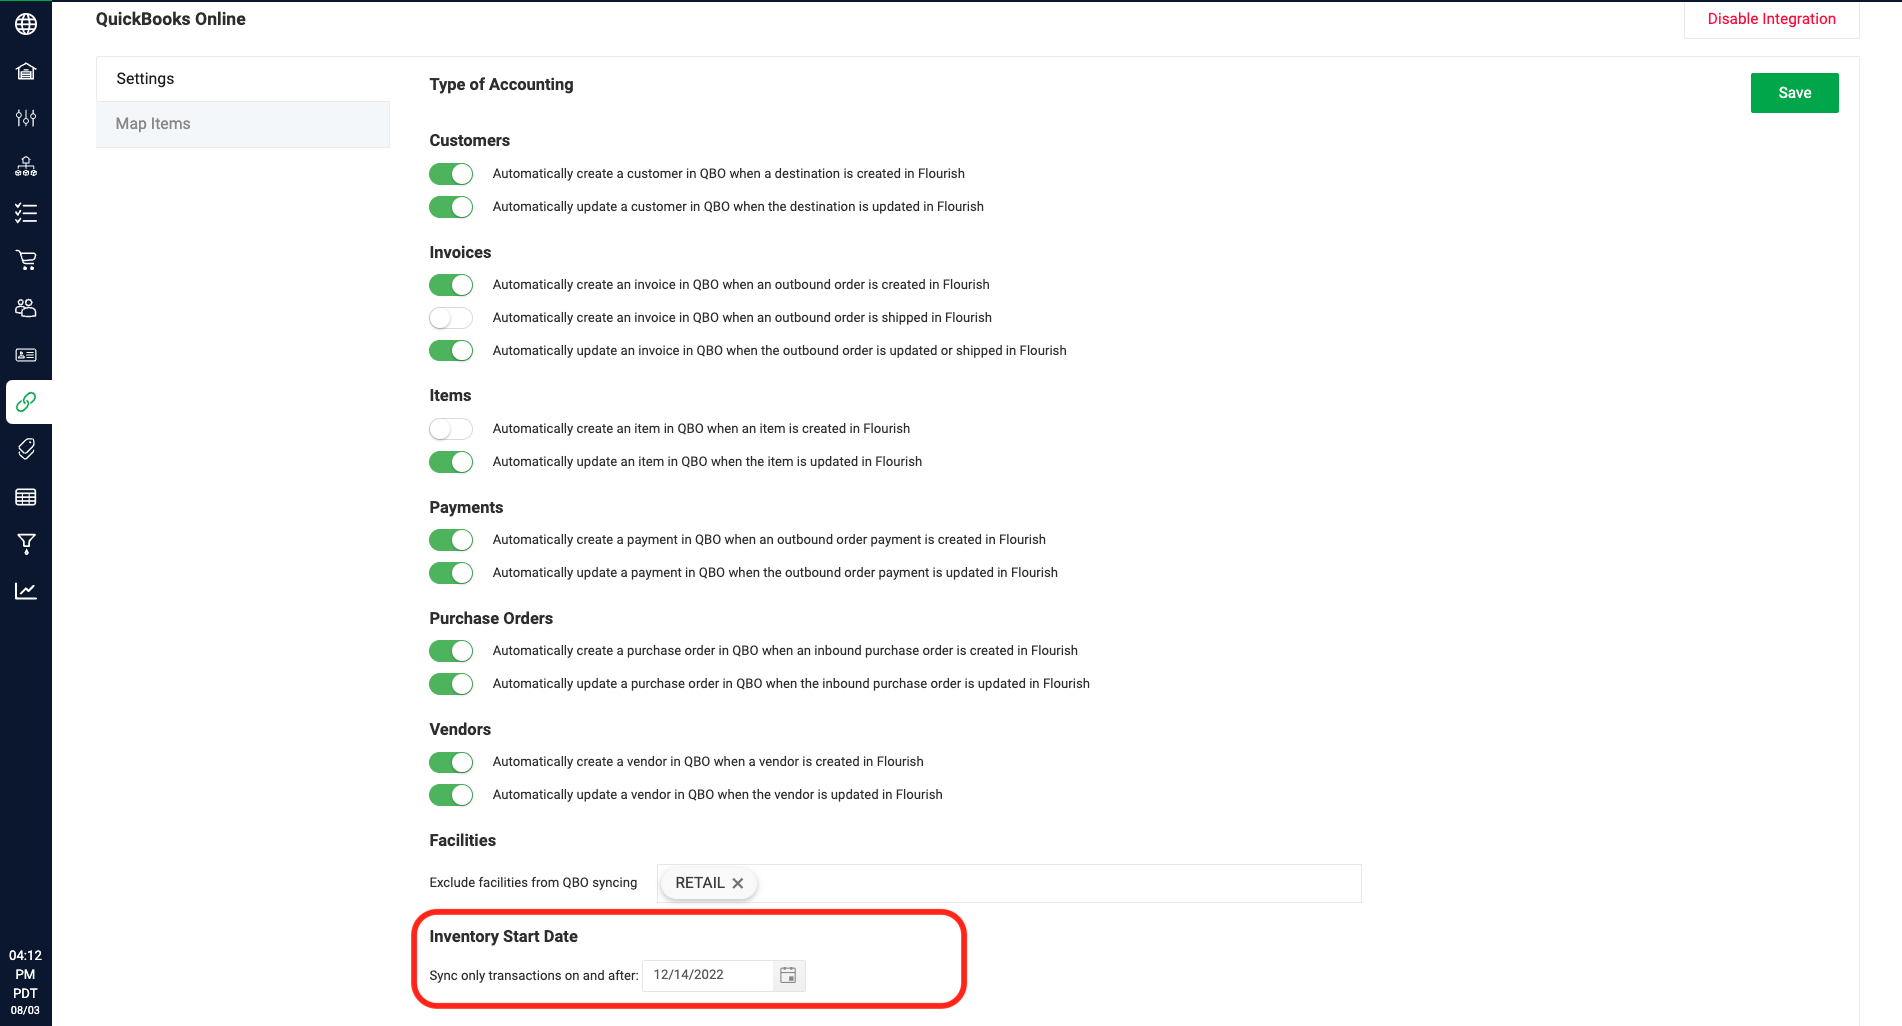
Exclude facilities from QBO syncing
You can designate the facilities that you want to exclude from the sync to QuickBooks Online.
On the facilities you designated:
- They will be excluded from the automatic sync actions you defined above.
- You will not be able to sync manually inbound orders, outbound orders, and payments.
- The
 and
and  buttons will not appear in the interface.
Please follow the steps below to exclude the facilities exclude from the sync to QuickBooks Online:
- Locate the Facilities part on the bottom of the screen:

- Click on the box next to Exclude facilities from QBO syncing to populate the list of the facilities
- Select the facility you want to exclude for QuickBooks Online syncing.
- Repeat steps 2 and 3 until the facilities are selected.
- To clear the list click the
 on the right side of the box.
- Click
 .
.
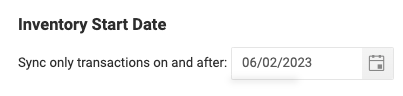
Set Inventory Start Date
When syncing Items to QuickBooks, users can set the Inventory Start Date to choose the date they want to sync only transactions on and after.
The Inventory Start Date corresponds with the Inventory As Of Date in QuickBooks Online.
In QuickBooks Online, the inventory As Of Date is the date you start tracking the quantity on hand of an inventory item in QuickBooks. Learn more on Inventory As Of Date in QuickBooks Online.
Please follow the steps below:
|   |
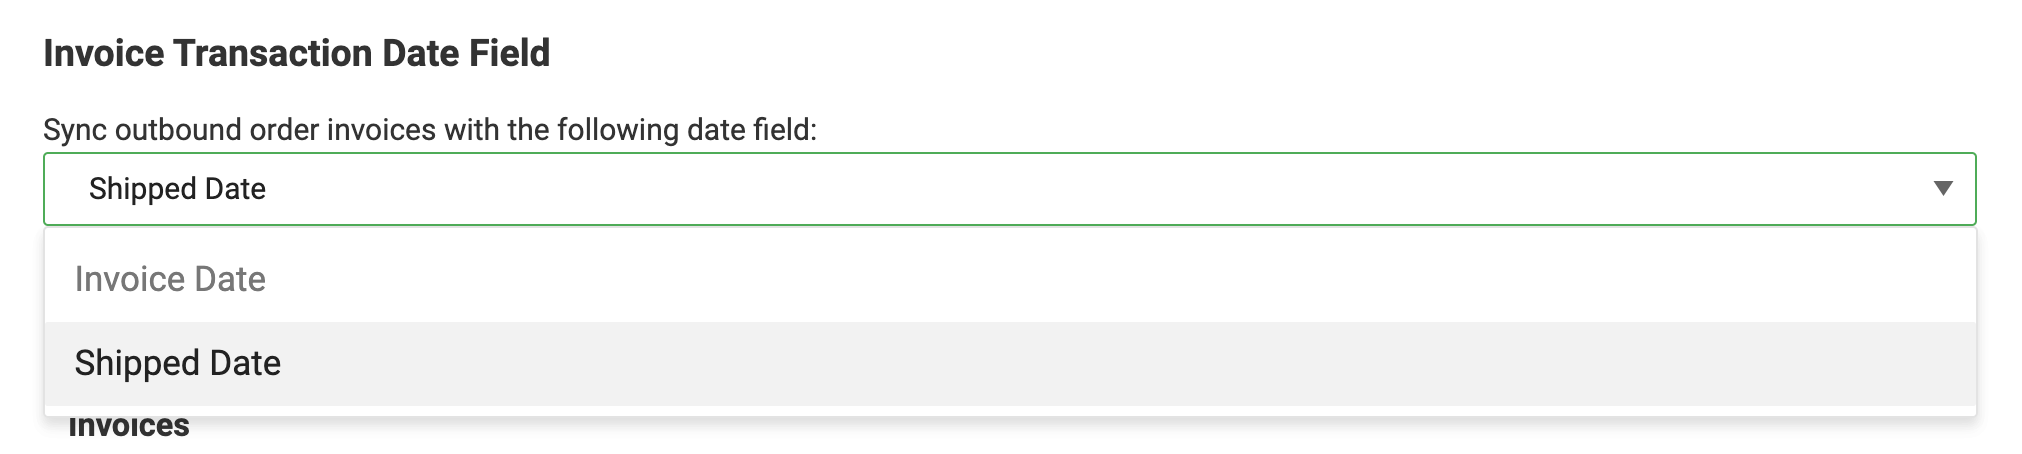
Invoice Transaction Date Field
Set the Transaction Date the Flourish Software sends to QuickBooks Online. You can select from:
- Invoice Date - you can edit this field on the outbound order.
- Shipped Date - The timestamp when the shipment that contains the order is shipped.
Please follow the steps below:
|  |
Send Flourish Data To QBO Sales Order Custom Fields
You can set up custom fields on your QuickBooks Online sales orders.
With Flourish, you can push the Sales Order fields below to the custom fields on the QBO Invoice. Learn more here.
How did we do?
Integration: QuickBooks Online
Enable Shipping Charges in QuickBooks Online