Table of Contents
Flourish Webhooks
Enabling Webhooks. What are Webhooks? Webhooks are automated messages sent from Flourish when an action/trigger happens. They have a message and are sent to a unique URL. Webhooks are almost always f…
Enabling Webhooks
What are Webhooks?
Webhooks are automated messages sent from Flourish when an action/trigger happens. They have a message and are sent to a unique URL. Webhooks are almost always faster than polling, and they require less work to set up on your end. For example, if an order updates in Flourish, it can trigger a webhook and send the order to your CRM or Accounting platform.
Flourish supports the following webhooks:
Webhook | Notes |
Strains | Create, Update |
Items | Create, Update |
Outbound Order | Create, Update Flourish auto saves each order line as the user clicks out of it. This triggers an update on the webhook for real-time sync, which will result in Flourish sending numerous events. If you want to minimize the number of updates from this, make sure you configure that on the receiving end. |
Retail Order | Create, Update |
Retail Customer | Create, Update |
Inbound Purchase Order | Create, Update |
Inventory | Triggered when a package is created, consumed, adjusted, received, or shipped |
Inventory Summary | This sends the aggregated quantities by SKU for each item. |
- Strains
- Items
- Outbound Order: Flourish auto saves each order line as the user clicks out of it. This triggers an update on the webhook for real-time sync, which will result in Flourish sending numerous events. If you want to minimize the number of updates from this, make sure you configure that on the receiving end.
- Retail Order
- Retail Customer
- Inbound Purchase Order
- Inventory: Any package being created/shipped/consumed/adjusted/received triggers this webhook
- Inventory Summary: This sends the aggregated quantities by SKU for each item.
How to enable Webhooks in Flourish?
- First, you need to ensure that External API is enabled. Follow instructions here to enable API and generate your key.
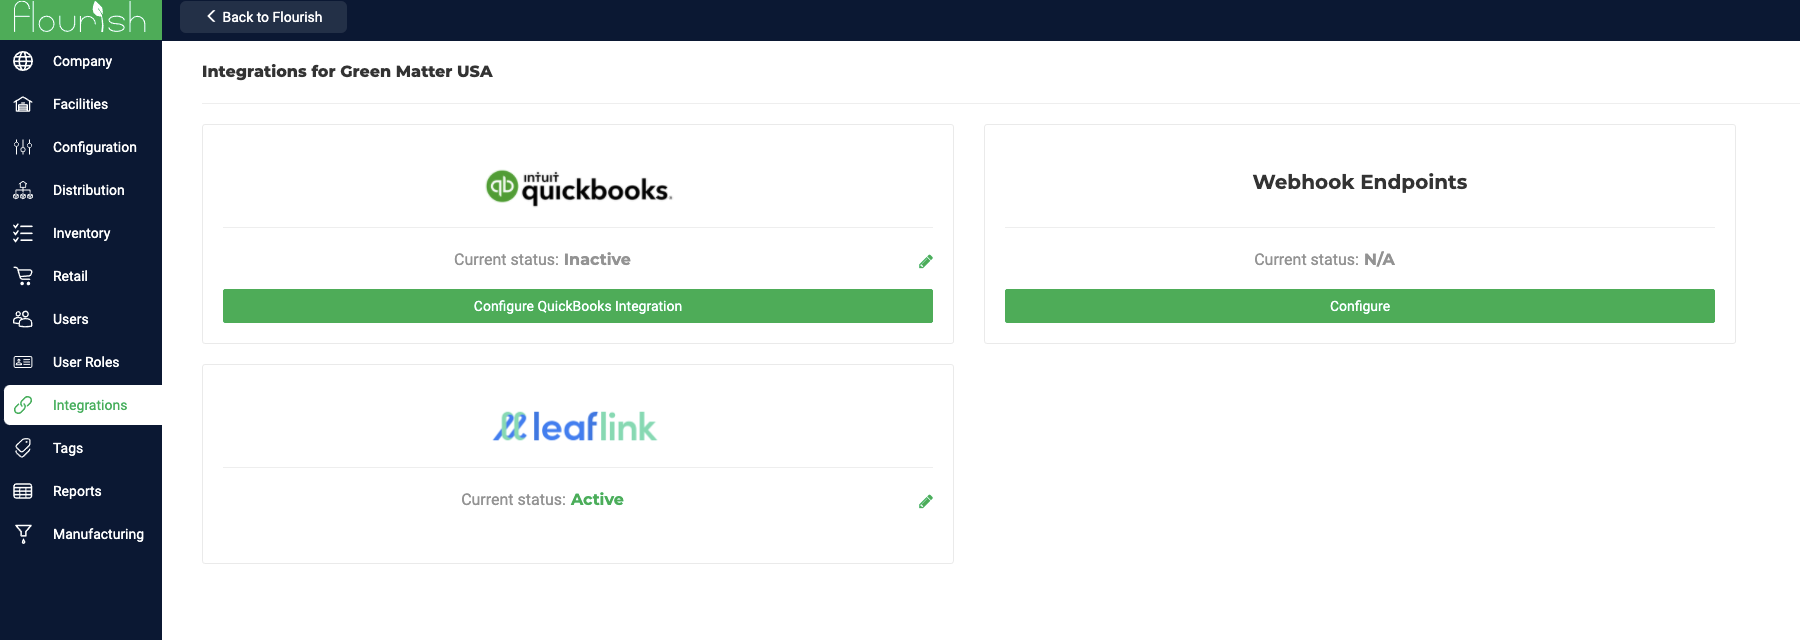
- Once the API is enabled, go to Settings > Integrations > Webhooks and Click on Configure
- Now click the +Add New Endpoint Button. This will pop up the modal below:
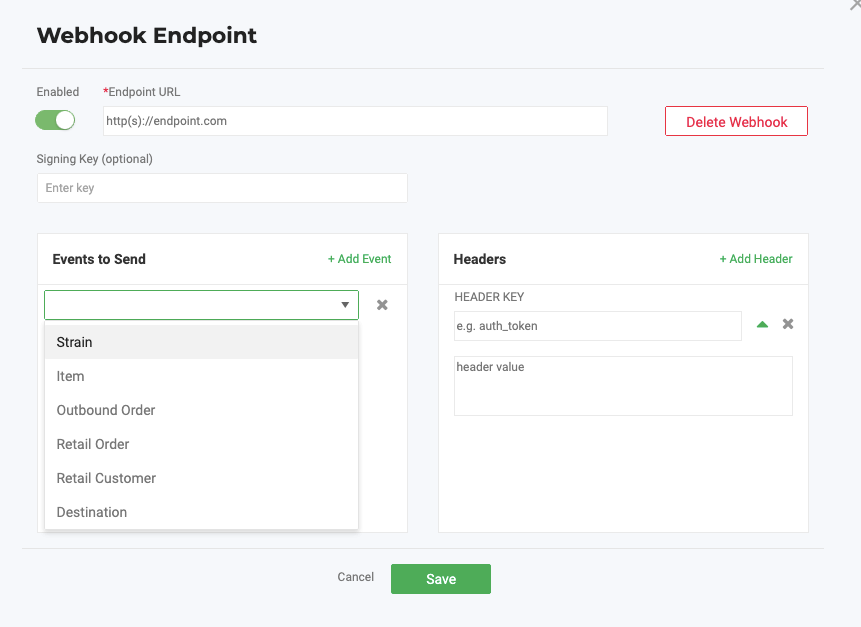
- Enter the Endpoint URL (where you are trying to send the webhook update) and the Signing Key (optional)
- Now Select the Events to Send option. This includes all the elements listed above.
- Finally, add the Header Key and value for this event.
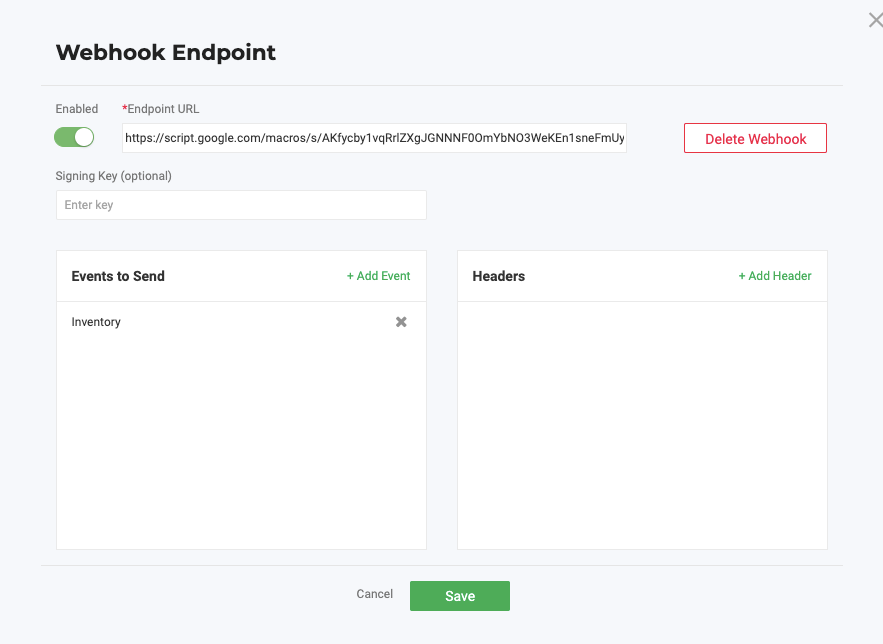
- You can add multiple events within this webhook by selecting the +Add Event button. Alternatively, you can Save this here and +Add Another Endpoint from the Webhooks screen.
- Your webhook is now added and Flourish will start sending information any time theres a create or update on this event.
- You can remove an endpoint by clicking Delete Webhook once its added.

Securing your Webhooks
If you want to secure your webhooks, follow instructions here
How did we do?
Connecting to Flourish with an LLM using our MCP Server
Securing your webhooks