Table of Contents
Integration: QuickBooks Online
Flourish Hub Course. We are happy to introduce the Guide to integrating Flourish Software with the powerful financial management tool, QuickBooks Online. After completing this course, you will unders…
Flourish Hub Course
We are happy to introduce the Guide to integrating Flourish Software with the powerful financial management tool, QuickBooks Online.
After completing this course, you will understand the importance and benefits of integrating Flourish with QuickBooks Online. You will also learn about:
- Activating the integration
- Managing financial data and reports
- Tips and information to streamline your financial management.
Click here to start the Flourish QuickBooks Online Integration course.
Overview
Flourish and Quickbooks Online (QBO) Integrate easily and set up by an administrator of both systems. The information synced between QBO and Flourish is transactional data and its dependent master elements.
The elements *synced between Flourish and QBO are:
- Items (By SKU)
- Vendors
- Destinations
- Purchase Orders (Bills In QBO)
- Sales Orders (Invoices in QBO)
- Sales Order Payments
Inventory Types
The integration supports the following QuickBooks Online inventory types (product/Service information):
The "Bundle" item type is not supported. |  |
Pre-Integration
QBO Categories
Ensure your QuickBooks Online Account works with Categories. Learn more here.
QBO Inventory Types
- In QuickBooks Online, the chart of account mapping requirements changes by item type.
- We encourage you to consider setting the inventory type in QBO as a “Non-Inventory” so that you can keep your inventory management in Flourish Software and changes in the inventory levels in Flourish do not sync to QBO.
Set Flourish Inventory Types
From the Item Master
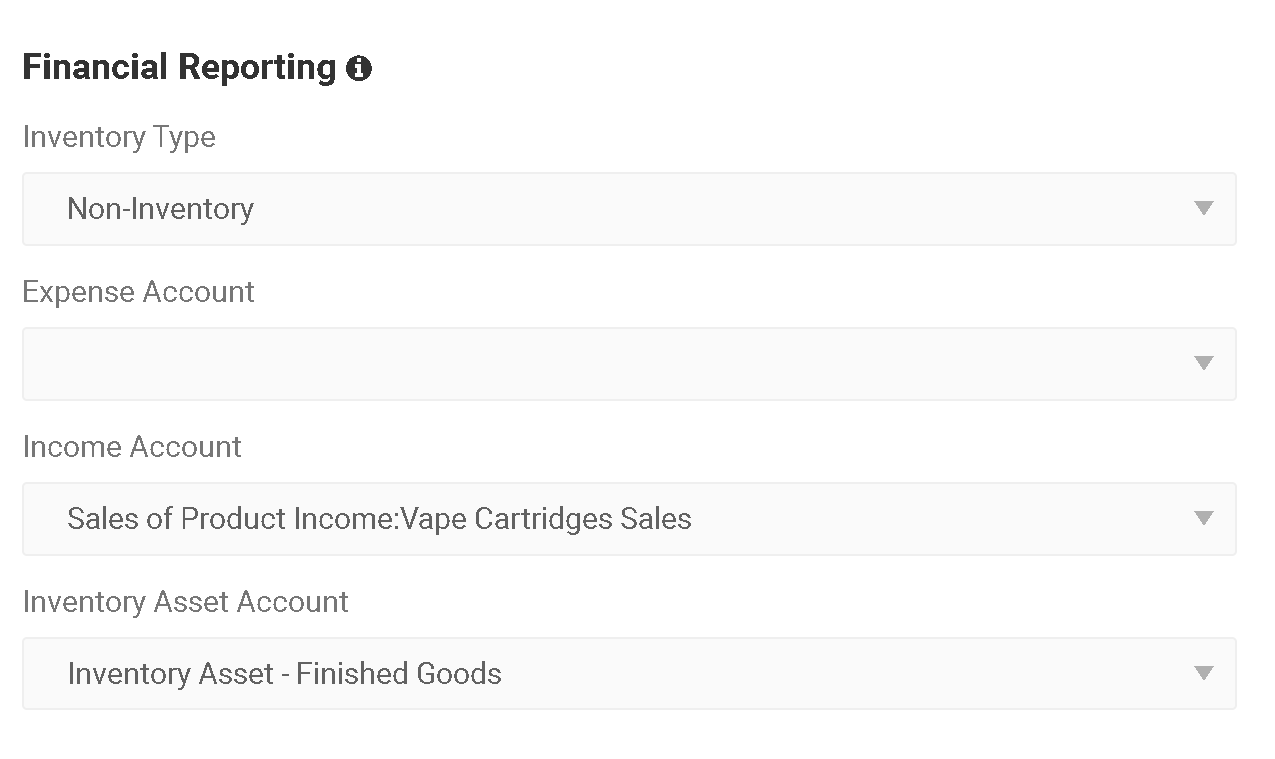
Set the Inventory Type for an item using the Edit Item screen or Bulk Update Item feature. If you edit a single item, find the Inventory Type within the Financial Reporting section of the Product Info screen.
While mapping the items
Set the Inventory Type when you Map Your Items (below).
Chart of Account Mapping in Flourish.
After you activate the integration, you can map items to your financial general ledger's chart of accounts.
Learn more about Chart of Account Mapping in Flourish Software.
Inventory levels sync
When a Flourish user syncs an item of Inventory Type "Inventory" to QBO,
Flourish does the following:
- Sets the TrackQtyOnHand property for the Item in QBO to True.
- Sends the combined inventory quantity across all facilities for the product to QBO.
After that, Flourish does not send inventor-level updates to QuickBooks Online. Other inventory level adjustments are internal to QuickBooks Online.
Activate
To start configuring QuickBooks and activating the integration, follow the steps below:
- Go to Manage Settings.
- Click Integrations (if you do not see Integrations, ensure it's turned on for your user role under Admin Roles).
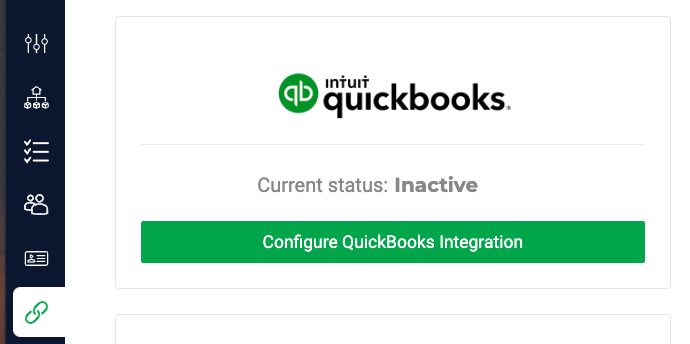
- Click Configure QuickBooks Integration.
- Click Connect to QuickBooks.
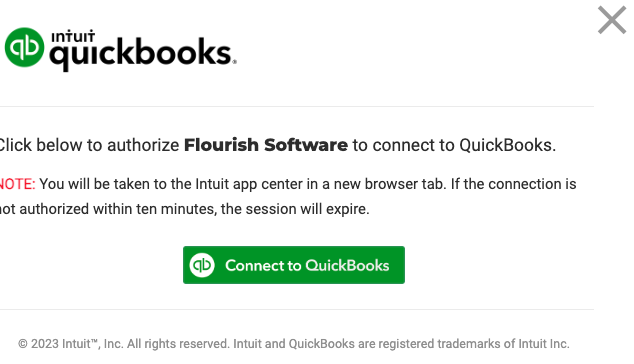
- This will open a separate browser tab prompting you to log in into your QBO Intuit account.You must log in using a QuickBooks Online Admin user account that has full permissions to ensure a proper connection and avoid error messages.
- This will open a separate browser tab prompting you to log in into your QBO Intuit account.
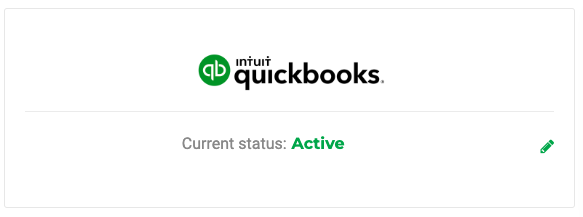
- If connected successfully, the QuickBooks Integration status should now say Active.
Setup
Map Items to QBO
Mapping is the action of connecting the Flourish Items to QBO Products.
Map your Flourish Items to QuickBooks Online by following the steps below:
Sync Accounts from QBO
Use this action to get the updated list of accounts from QBO. If you make updates to accounts in QBO, go to Flourish and Sync following the steps here:
- Go to Manage Settings.
- Click Integrations (if you do not see Integrations, ensure it's turned on for your user role under Admin Roles).
- Click on the Pencil icon
 in the QuickBooks card.
 - Click Map Items.
- Click on Edit on the top right, and this is what you will see:

- Click
 to import your accounts from QuickBooks Online. This action sets the values under the clouds EXPENSE ACCOUNT, INCOME ACCOUNT, and INVENTORY ASSET ACCOUNT. Next, make sure you only see the account you want to see.

Set the COA view
Set which accounts display in the COA dropdown when mapping items to QuickBooks Online. Learn more here.
Map the items
- Go to Manage Settings.
- Click Integrations (if you do not see Integrations, ensure it's turned on for your user role under Admin Roles).
- Click on the Pencil icon in the QuickBooks card.
- Click Map Items.
- Click on Edit on the top right, and this is what you will see:
- Ensure that all Items have the Inventory Type and Accounts configured. Items are now ready to be synced.
- Click
 .
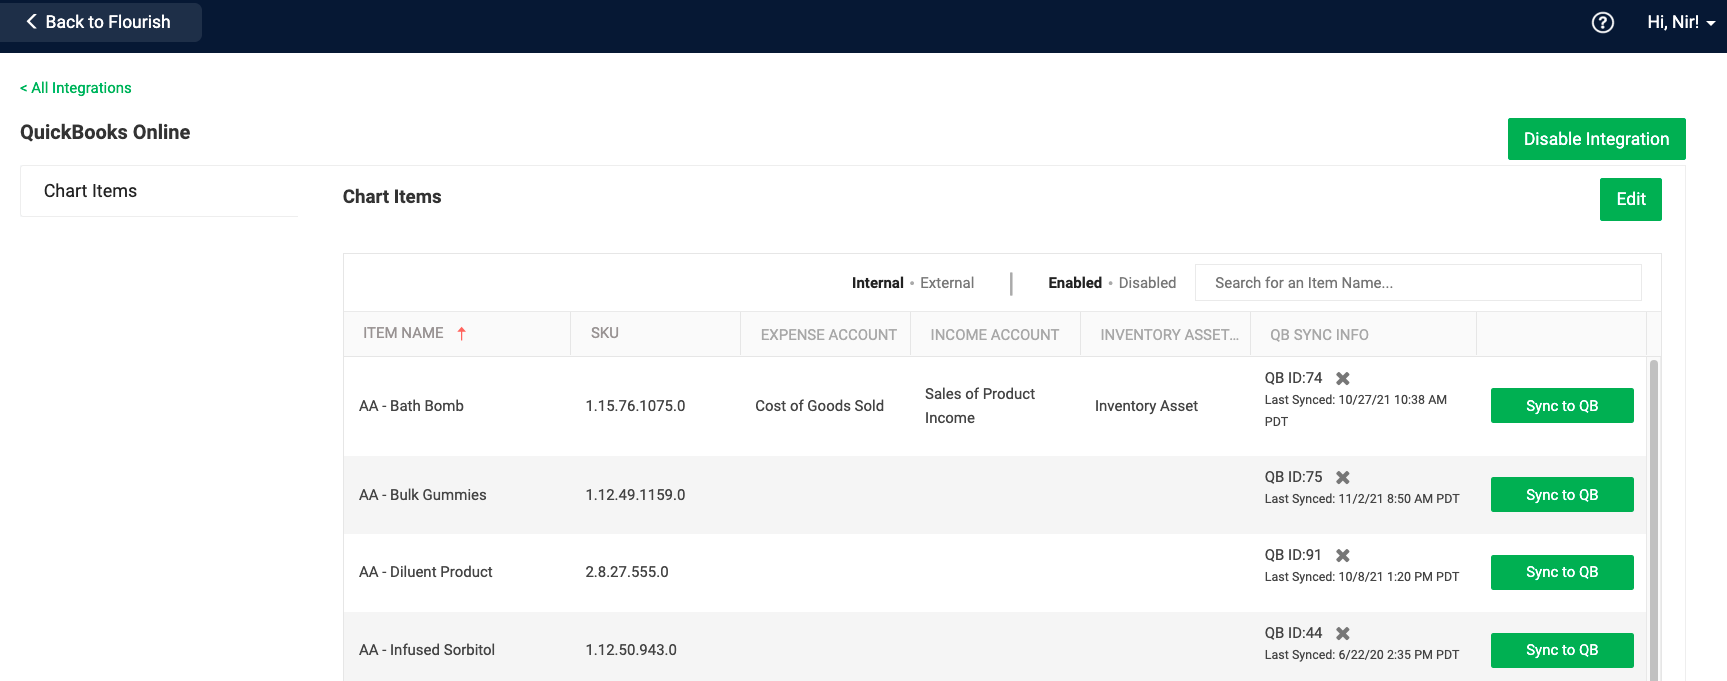
. - For each item you want to sync, click the
 button. You should see The "QB ID:" and the "Last Synced: " data under the QB SYNC INFO column.
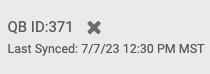
Sync Settings
Sync Setting includes:
- Save time by setting Flourish Software to sync to QuickBooks Online automatically!
- Exclude facilities from syncing with QuickBooks Online.
- Setting Inventory Start Date.
- Send Flourish Data To QBO Sales Order Custom Fields.
Complete the setup by following the steps here.
Sync Destinations, Vendors, and orders
Save time by setting Flourish Software to sync to QuickBooks Online automatically!
- To sync any existing Item, Vendor, or Destination, go to the respective element in the settings screens.
- After you sync, Note the information on the QB SYNC INFO column.
- See the instructions for the sync of orders below.
Destinations/Vendors
- For Destinations (or Customers in QBO), go to Manage Settings > Distribution > Destinations and sync them manually by clicking the
 button.
 - For Vendors, go to Manage Settings > Distribution > Vendors
and sync them manually by clicking the button.

Items
Learn more about configuring items for Quickbooks online sync.
Single Item Sync
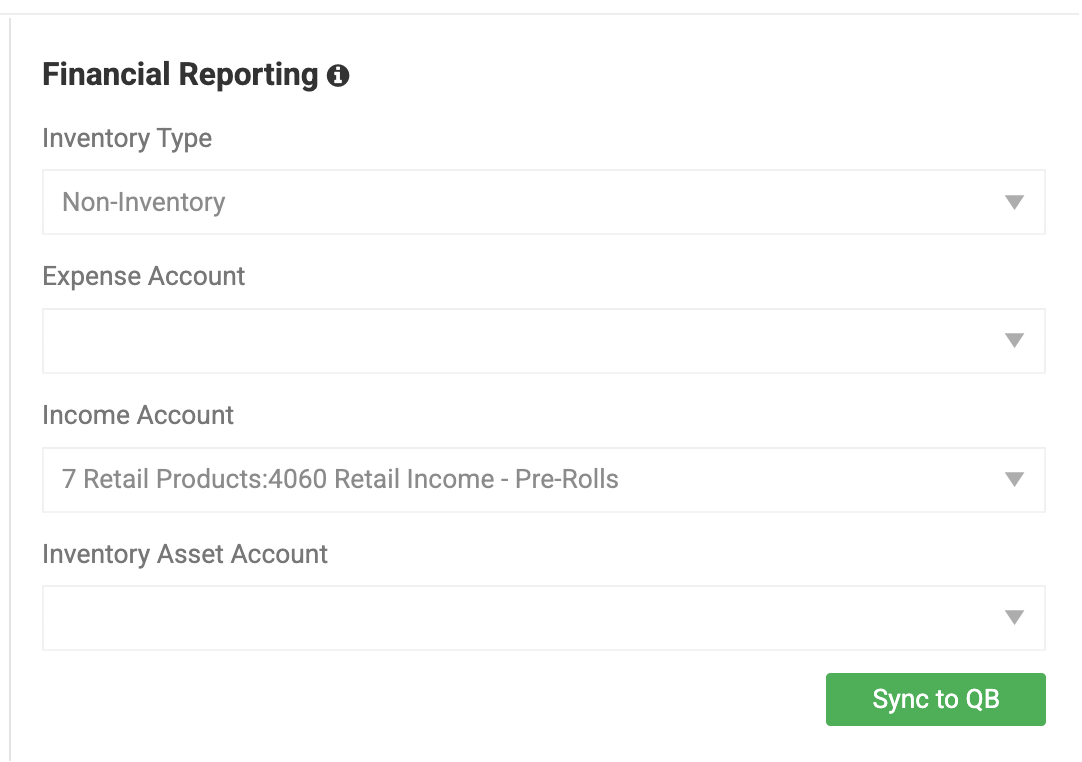
You can sync an item to Quickbooks Online directly in the item creation screen, under Product Info.
- Under Financial Reporting, select the relevant Chart of Accounts from the drop-down menus.
- Click Sync to QB button
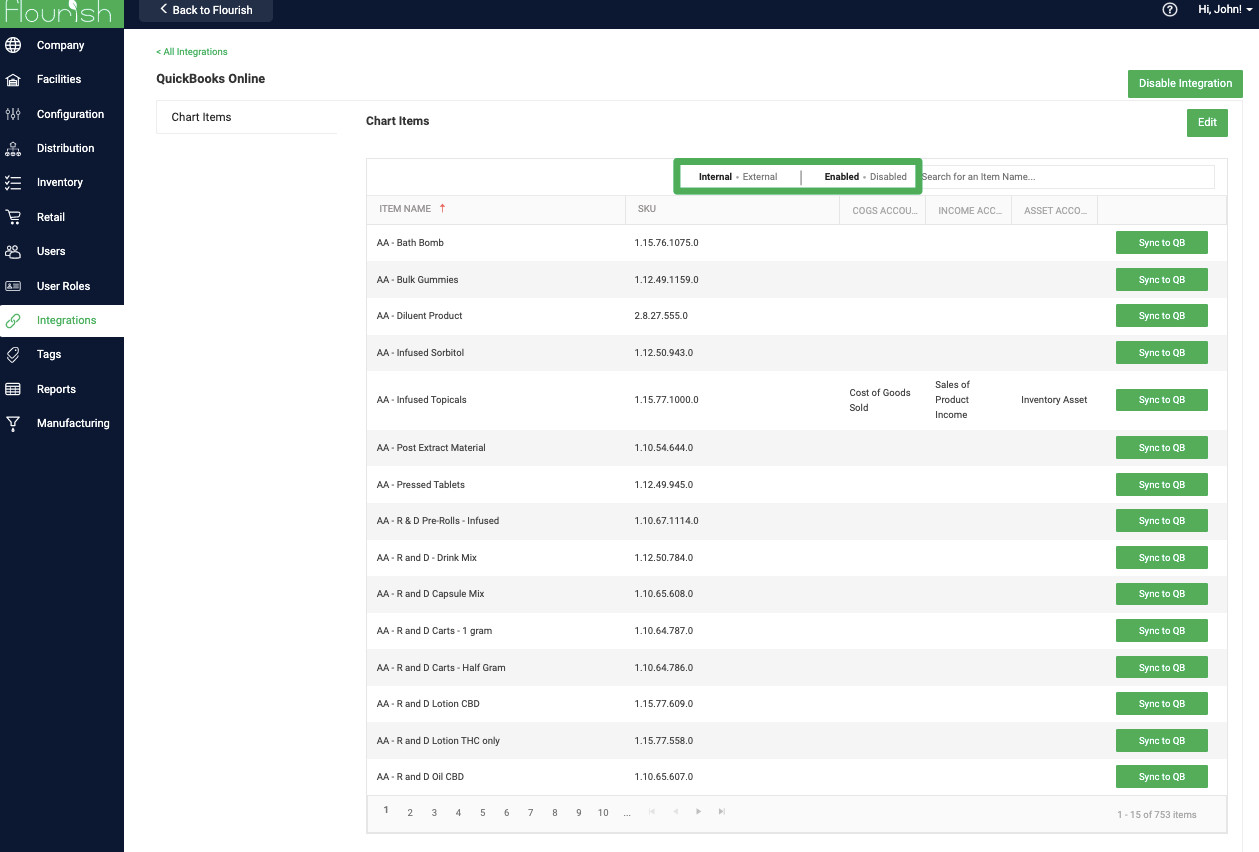
Multiple Item Sync
- Use filters to show: Internal, External, Enabled, or Disabled items. The SKU is displayed as well for sorting.
Internal item sync
- Go to Settings.
- Select Integrations.
- Click the pencil icon next to Quickbooks.
- Select Chart Items.
- Locate the items.
- Click the Sync to QB green button.
External item sync
- Go to Settings.
- Select Integrations.
- Click the pencil icon next to Quickbooks.
- Select Chart Items.
- Select External.
- Locate the items.
- Click the Sync to QB green button.
Orders
Now that all items are synced to QuickBooks, we can now sync Purchase Orders (Inbound) and Sales Orders (Outbound).
- Sales Orders are synced as "Invoices"
- Purchase Orders are synced as "Bills".
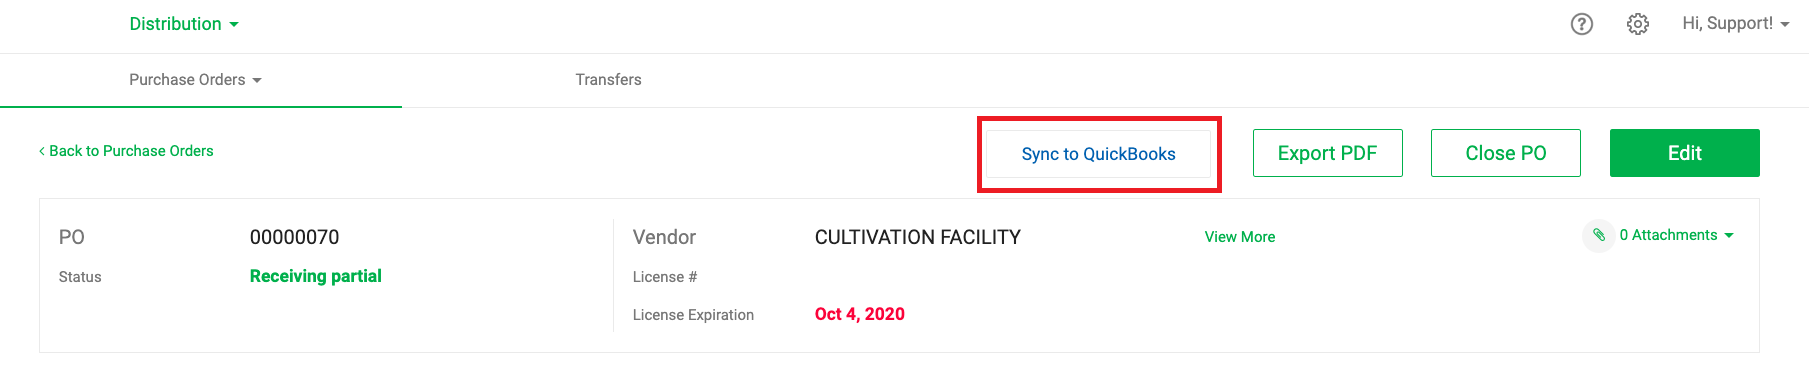
Inbound Orders
- Go to Inbound.
- Click the
 button next to the PO # you wish to sync.
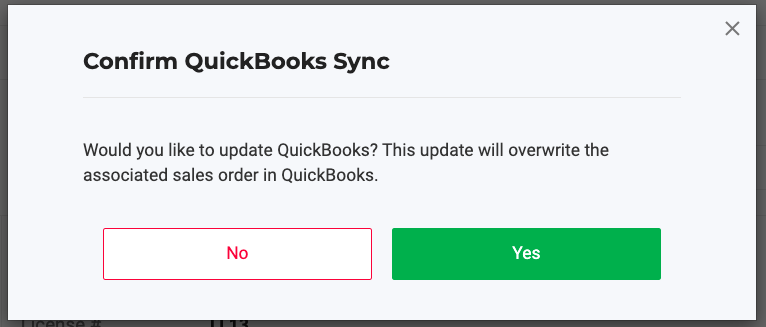
 - Click Yes to confirm sync.
- If you still have external items on your purchase order, either follow the steps above to sync an external item OR create it as a new item if you wish to change the name of the item and/or the cost or price of the item.
Outbound Orders
- Go to Outbound.
- Click the green QB icon next to the Order ID #.
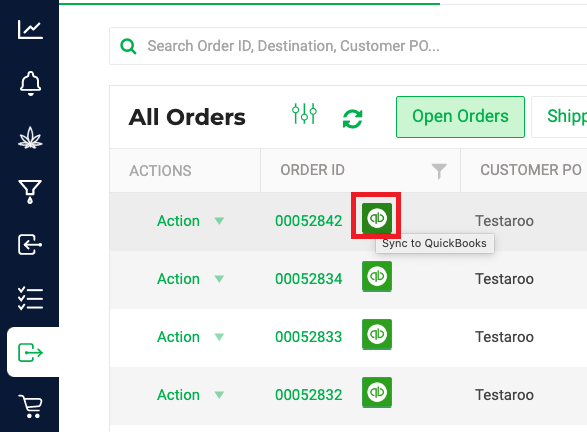
- Click Yes to confirm sync.
Payments logged in Flourish will be reflected in QBO.
You can also sync from the Order Details screen, similar to the sync of Inbound orders:
- Click on the PO # you wish to sync.
- If all Items are already internal/synced to QuickBooks Online, click
 .
. - Click Yes to confirm sync.
How did we do?
What Version of QuickBooks Online is Supported?
QuickBooks Online Sync Settings