Table of Contents
- Outbound Order Fulfillment Guide
- Allocate Packages to an Order - Standard WebApp Workflow
- Split to Allocate Packages within an Outbound Order
Outbound Order Fulfillment: Allocate and Split Packages
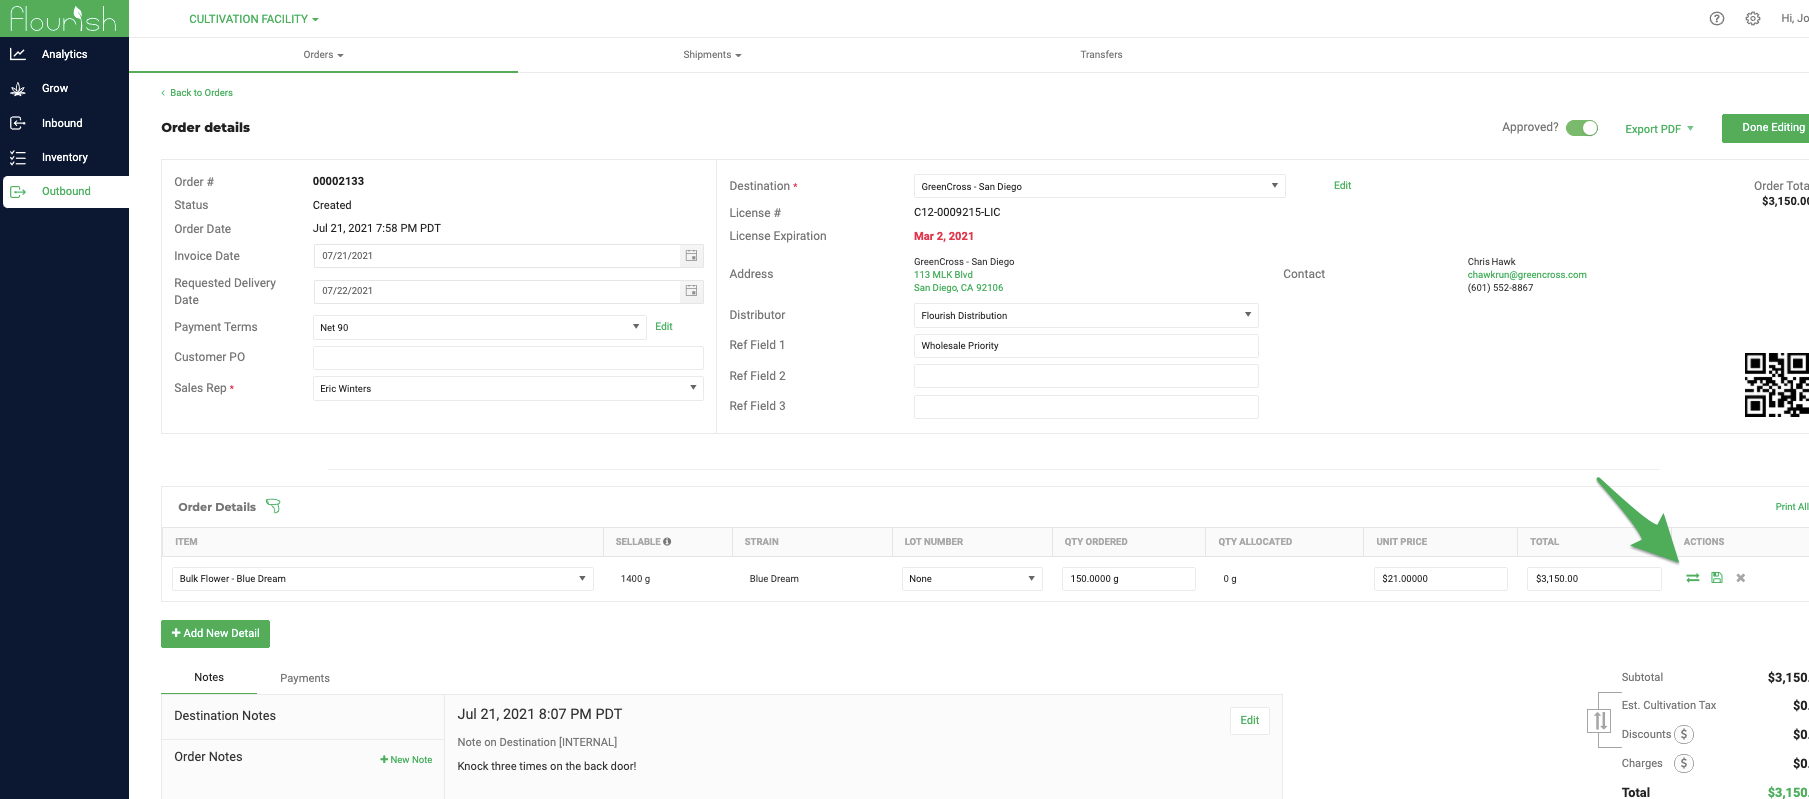
Open Flourish Software and navigate to Outbound from the left side men u.. Find the Order ID of the Sales Order you wish to allocate items to. Click Edit Order. Click Allocate inventory to this line.…
Table of Contents
- Outbound Order Fulfillment Guide
- Allocate Packages to an Order - Standard WebApp Workflow
- Split to Allocate Packages within an Outbound Order
- Outbound Order Fulfillment Guide
- Allocate Packages to an Order - Standard WebApp Workflow
- Split to Allocate Packages within an Outbound Order
Outbound Order Fulfillment Guide
Purpose
Use allocation to assign specific packages to outbound order lines before shipping. Allocating packages locks them to an order, removes them from available inventory, and moves the order status toward Allocated so it can be shipped.
There are several ways to fulfill orders within Flourish. In this guide, we will demonstrate each workflow listed below.
- Allocate Packages to Outbound Orders - Standard Workflow
- Split and allocate packages from within an order
- METRC: Allocate Shipped Packages to an order
- Allocate packages using Bulk Actions (Web App)
- Allocate packages by scanning to orders (Web App + USB Scanner)
- Allocate packages using the Android Mobile App
Prerequisites
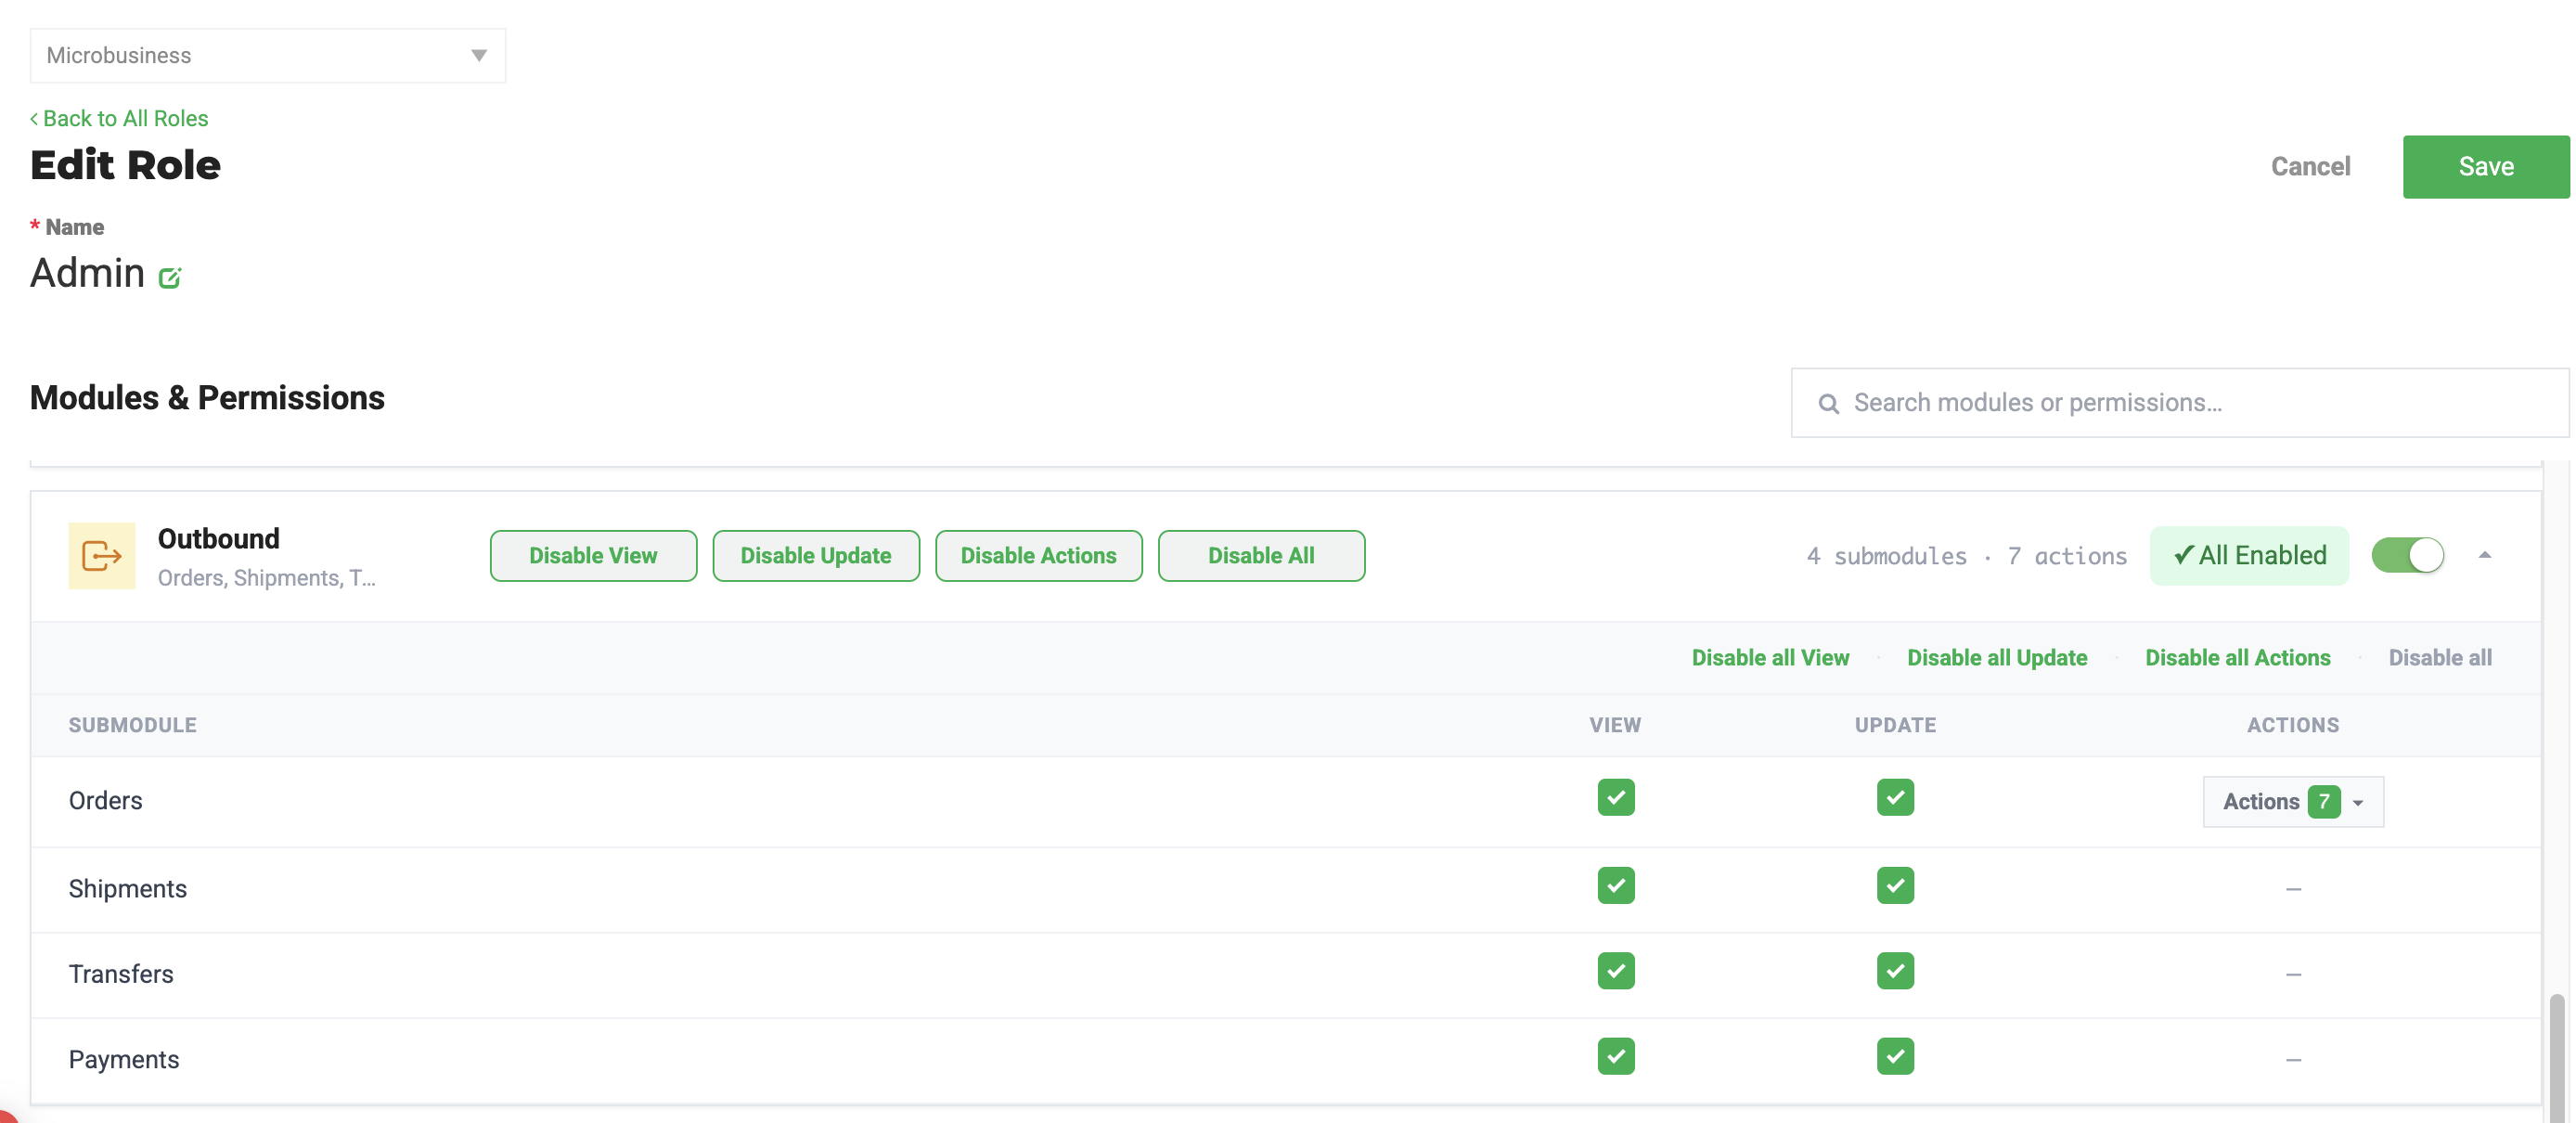
You must have permission to fulfill outbound orders.
- Click Settings.
- Select User Roles.
- Select the facility you need.
- Click Configure next to the role.
- Locate the Admin card.
- On the Outbound line, ensure the View and Update boxes are checked.
- Click Save.
Allocate Packages to an Order - Standard WebApp Workflow
- Navigate to Outbound.
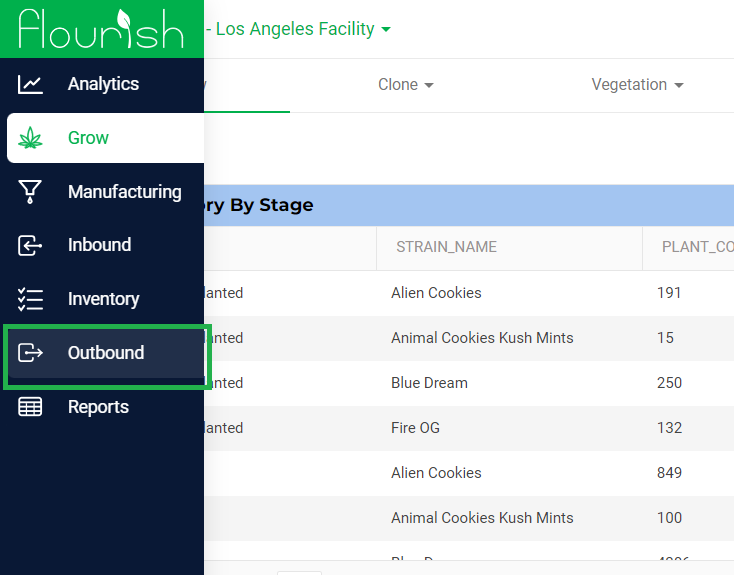
- Select Open Orders.
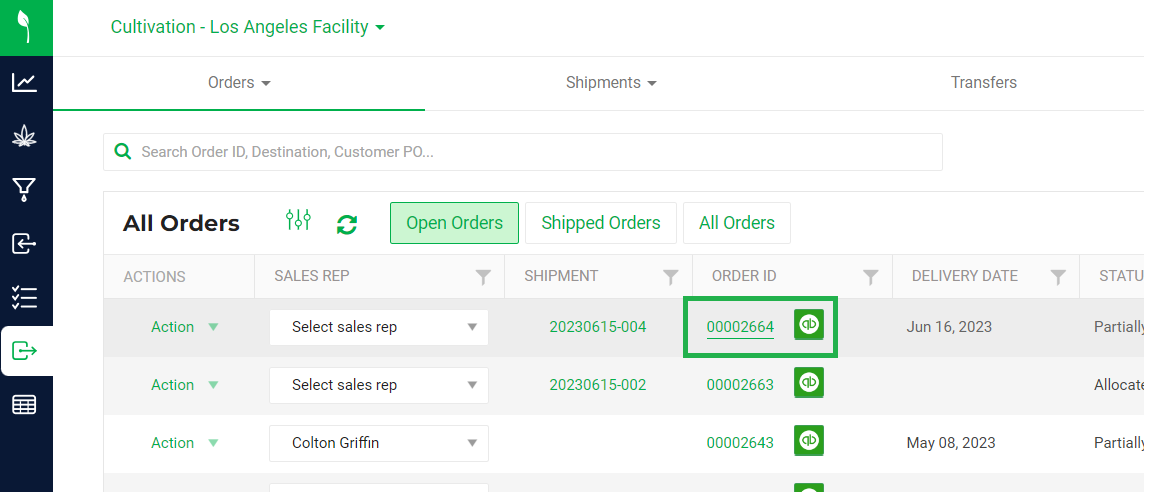
- Click on the order ID you want to allocate.
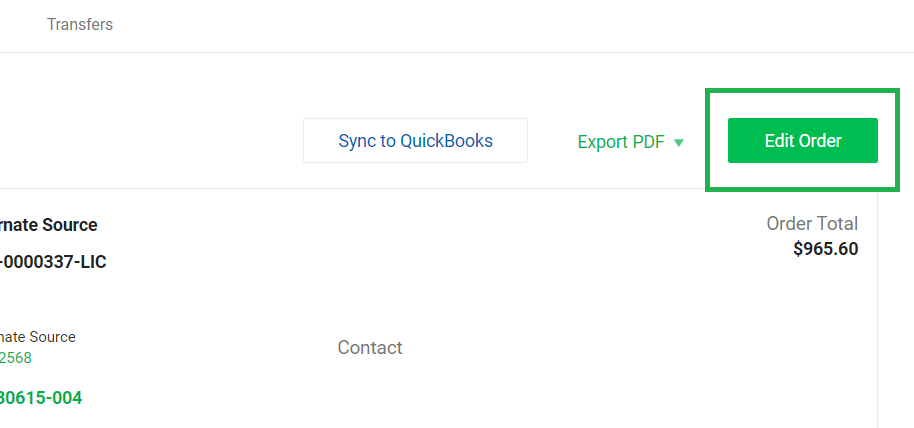
- Click Edit Order in the top right.
- Locate the order line you want to allocate.
- Click the green arrows next to the order line.
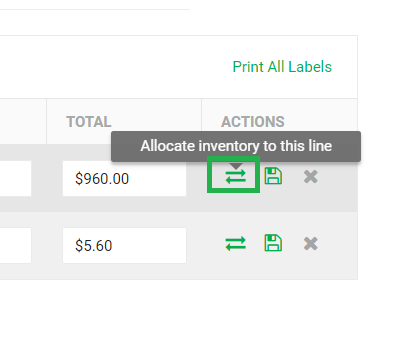
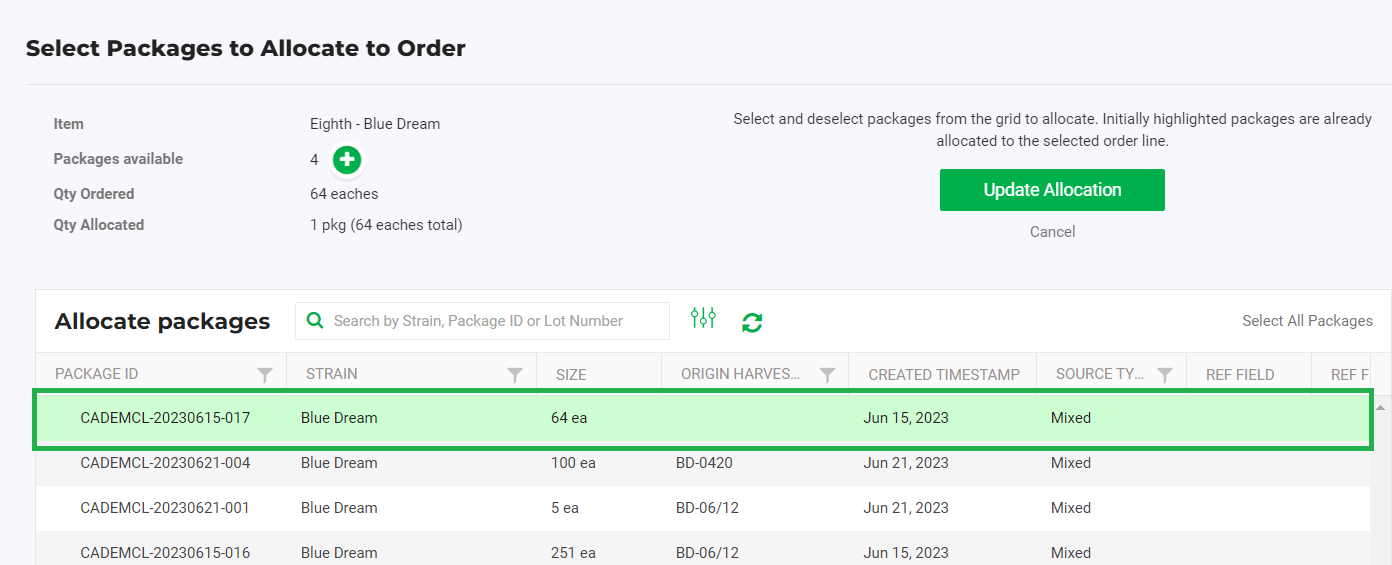
- Review the list of eligible packages displayed for that order line.
- Select the package you want to assign.
- Click Update Allocation on the top right of the screen.
- Repeat steps 6–9 for each remaining order line.
- Once all order lines are fully allocated, the order status updates to Allocated.
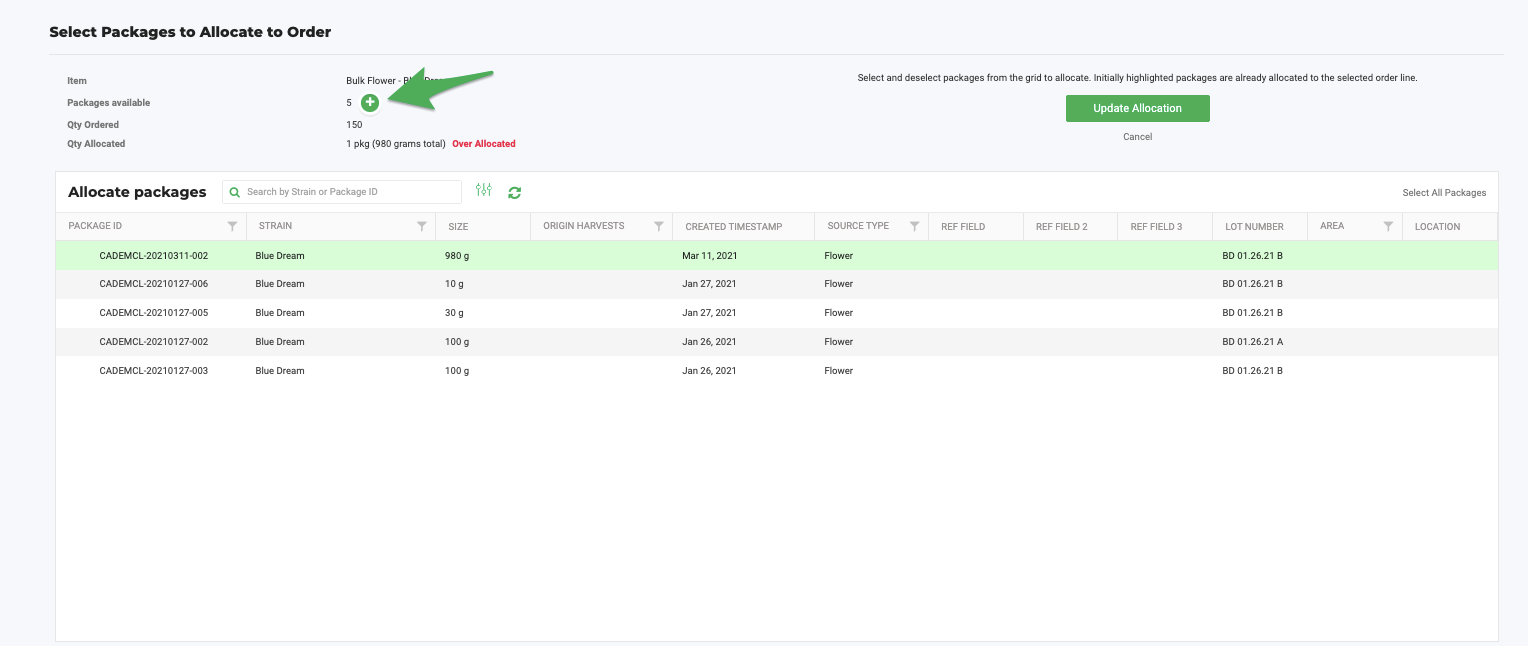
Note: If no package matches the exact quantity ordered, you must split an existing package first. Click the + icon next to Packages Available to open the Create Package screen and split a package before allocating. This will be covered in a different section below
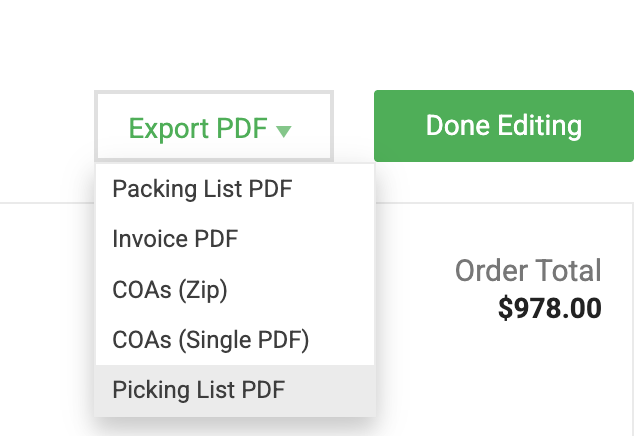
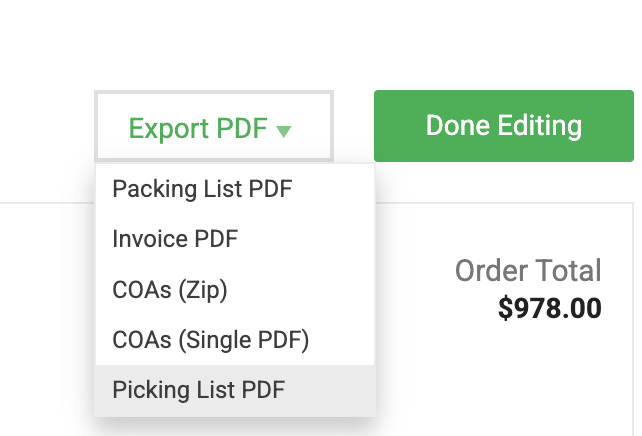
Four PDFs are automatically generated by Flourish. Print out the Packing List PDF or Picking List PDF to keep with the physical shipment and email the Invoice PDF to your contact at the destination. You can also print your COAs here.
Split to Allocate Packages within an Outbound Order
METRC And Non-Compliance
Use this process when a package does not contain enough quantity to fulfill the order on its own.
Split a Package to Fulfill an Order
- Identify the quantity by which the package exceeds or falls short of the order quantity.
- Select the package you want to split from as the parent package.
- Click the green (+) to create a new package by splitting from the parent package.
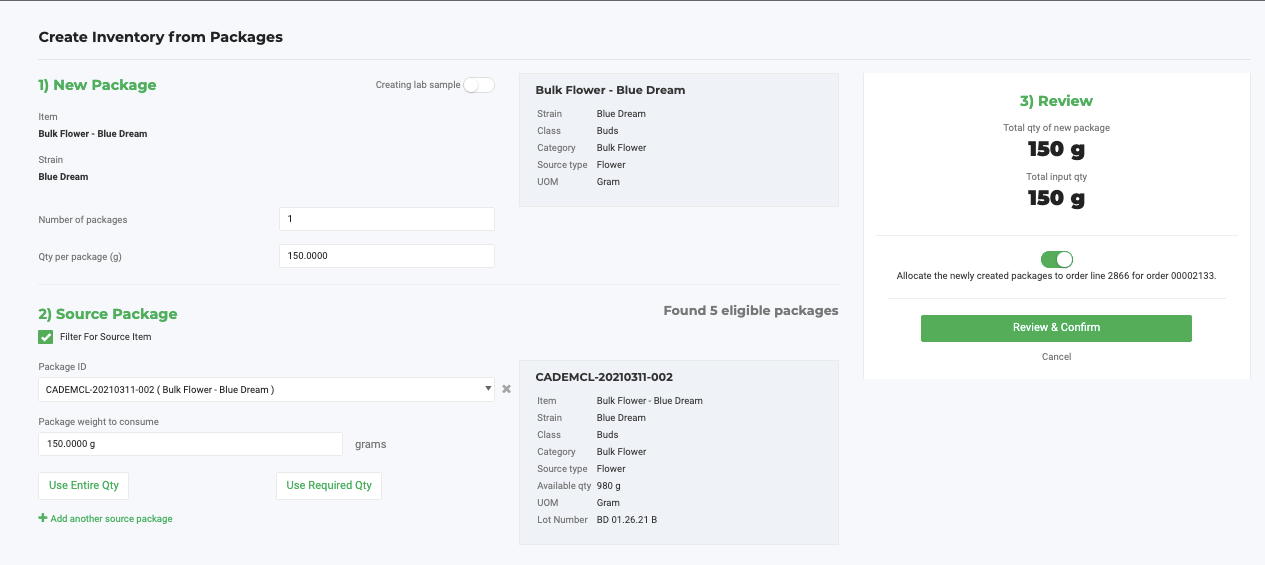
- Review the new package details. Flourish automatically separates the ordered quantity from the source package.
- If the order requires a new METRC tag, select the METRC Tag for the new package being created.
- Click Review & Confirm.
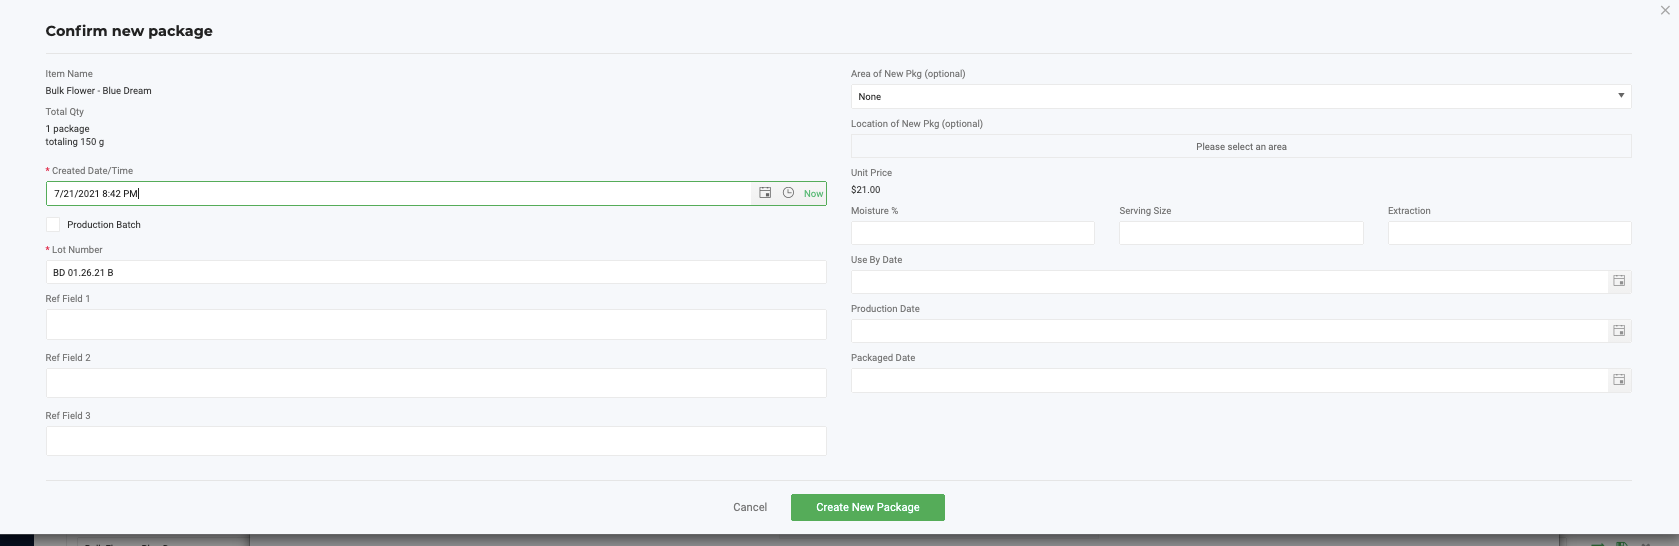
- Fill in the required fields for the new package. Flourish carries over the same lot number to preserve lab results and other attributes.
- Click Create New Inventory.
- Click Save on the order line, or click Done Editing in the top right.
Next Steps
After allocating and splitting packages, the order is ready for the following actions:
- Sync with QuickBooks Online if integrated, according to your SOPs.
- Print required documents, including the Invoice, Packing List, Picking List and/or COAs.
- Add the order to a shipment.
BioTrack - Splitting and Allocating Packages to Outbound Orders
Split Packages while Allocating
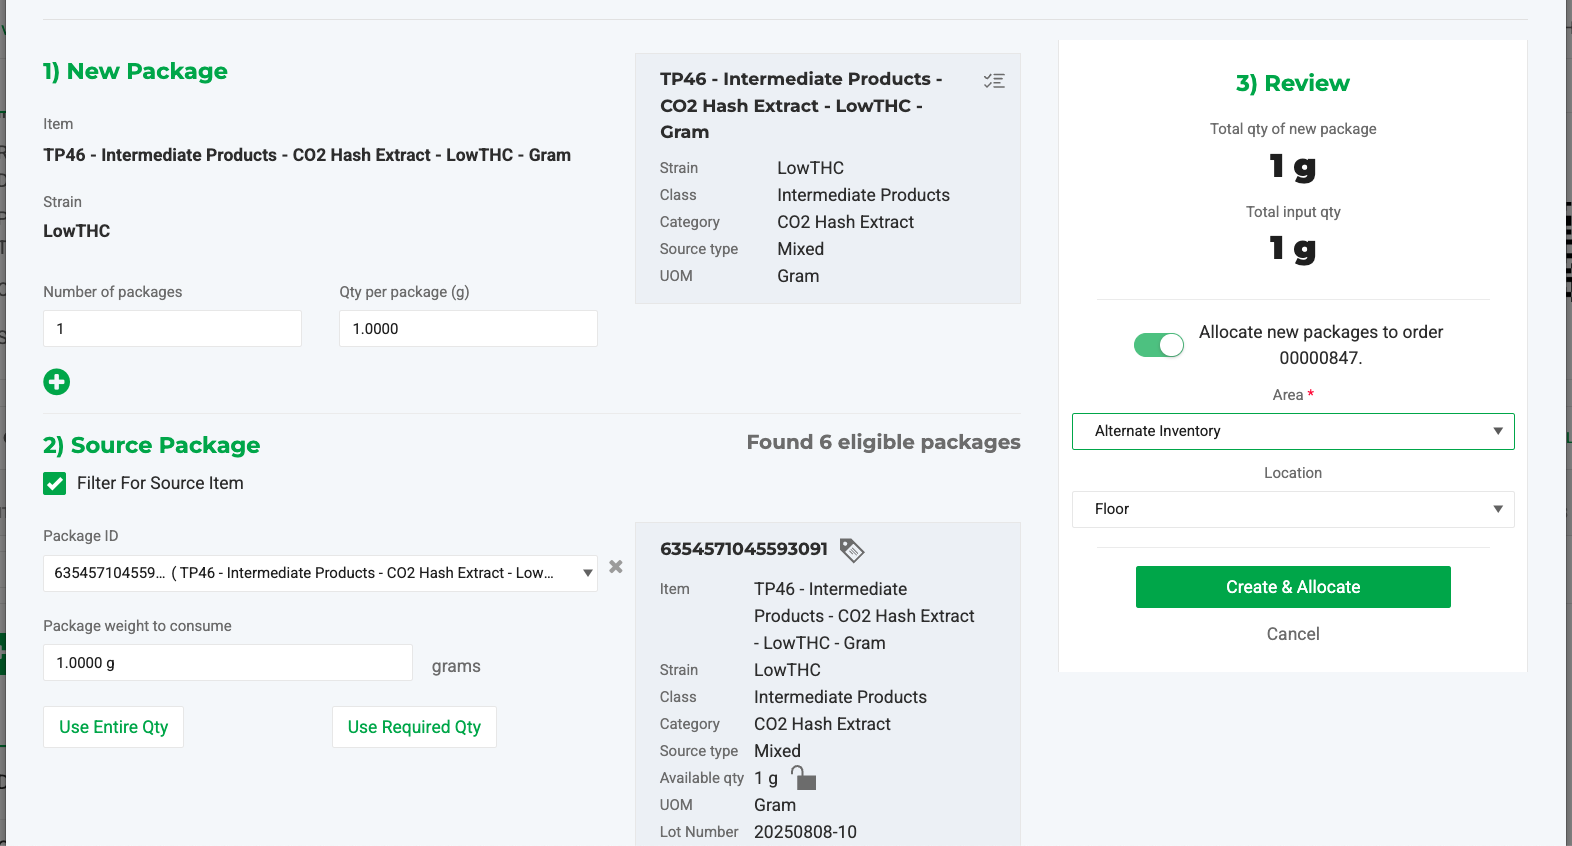
With BioTrack, when you need to split and create a new package while allocating, it is a split/Sublot action, so the verification screen is not required, and the process is one step shorter:
The steps:
- Click the allocation arrows

- Click the
 sign
sign - Fill in the details
- Select the Area
- Select the Location (if applicable)
- Click

- Watch for the success message
METRC - Allocate Already Shipped Packages to an Outbound Order
When you transfer a package in METRC directly — instead of creating and shipping it through Flourish — and you do not allocate it to an order in Flourish, our reverse sync will detect the shipment and update the package status to Shipped.
In this situation, you still need to allocate the shipped package to the outbound order in Flourish and complete the shipment in Flourish to keep reporting accurate.
We do not adjust the Available Quantity of the shipped packages because you need that available quantity to allocate packages to orders after transferring them in METRC. For METRC facilities, we allow allocation when the package is in Shipped status and has an Available Quantity > 0.
Follow these steps to allocate shipped packages to an outbound order:
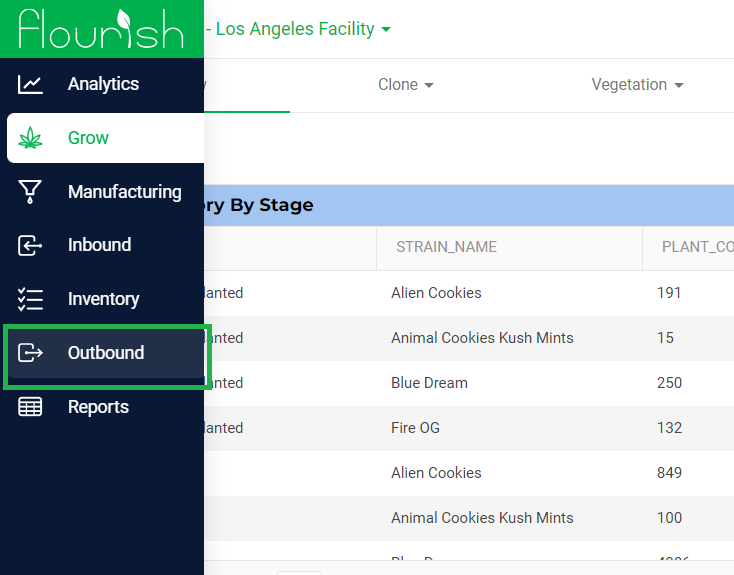
- Open Flourish Software and navigate to Outbound from the left side menu
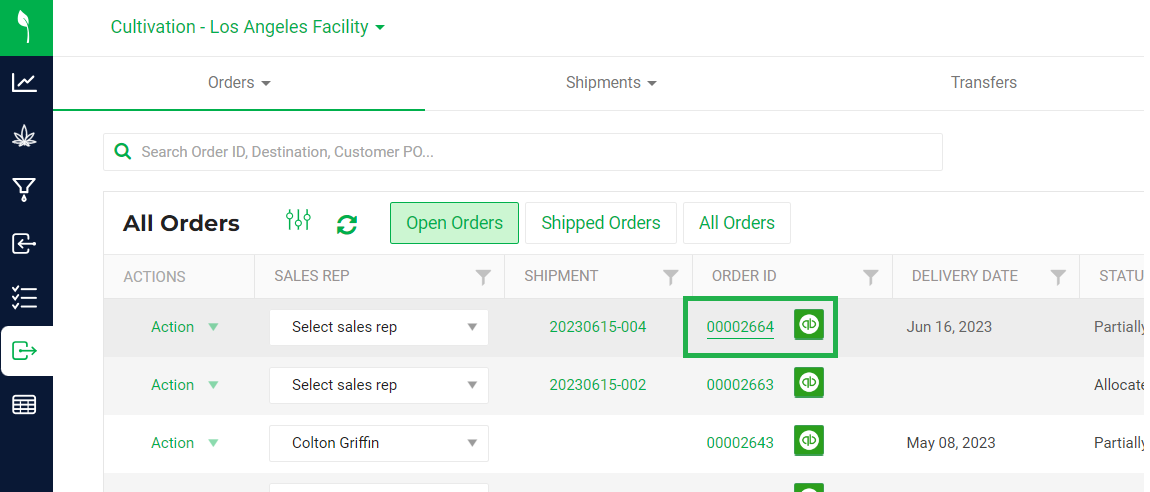
- Find the Order ID of the Sales Order you wish to allocate items to
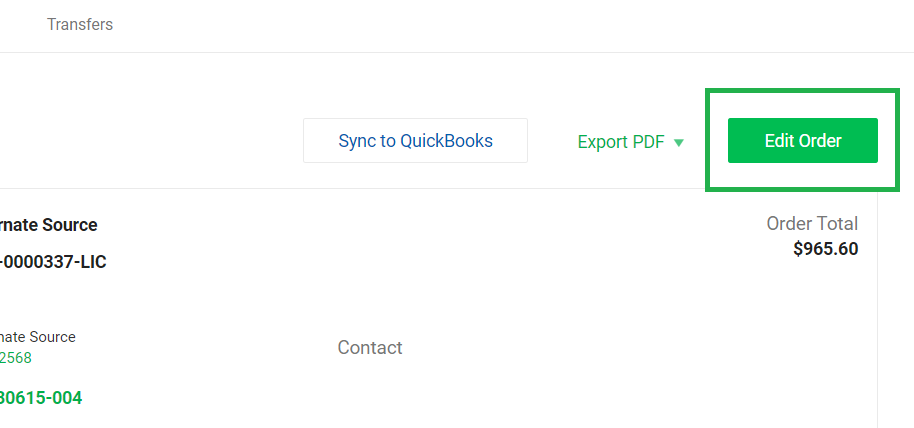
- Click Edit Order
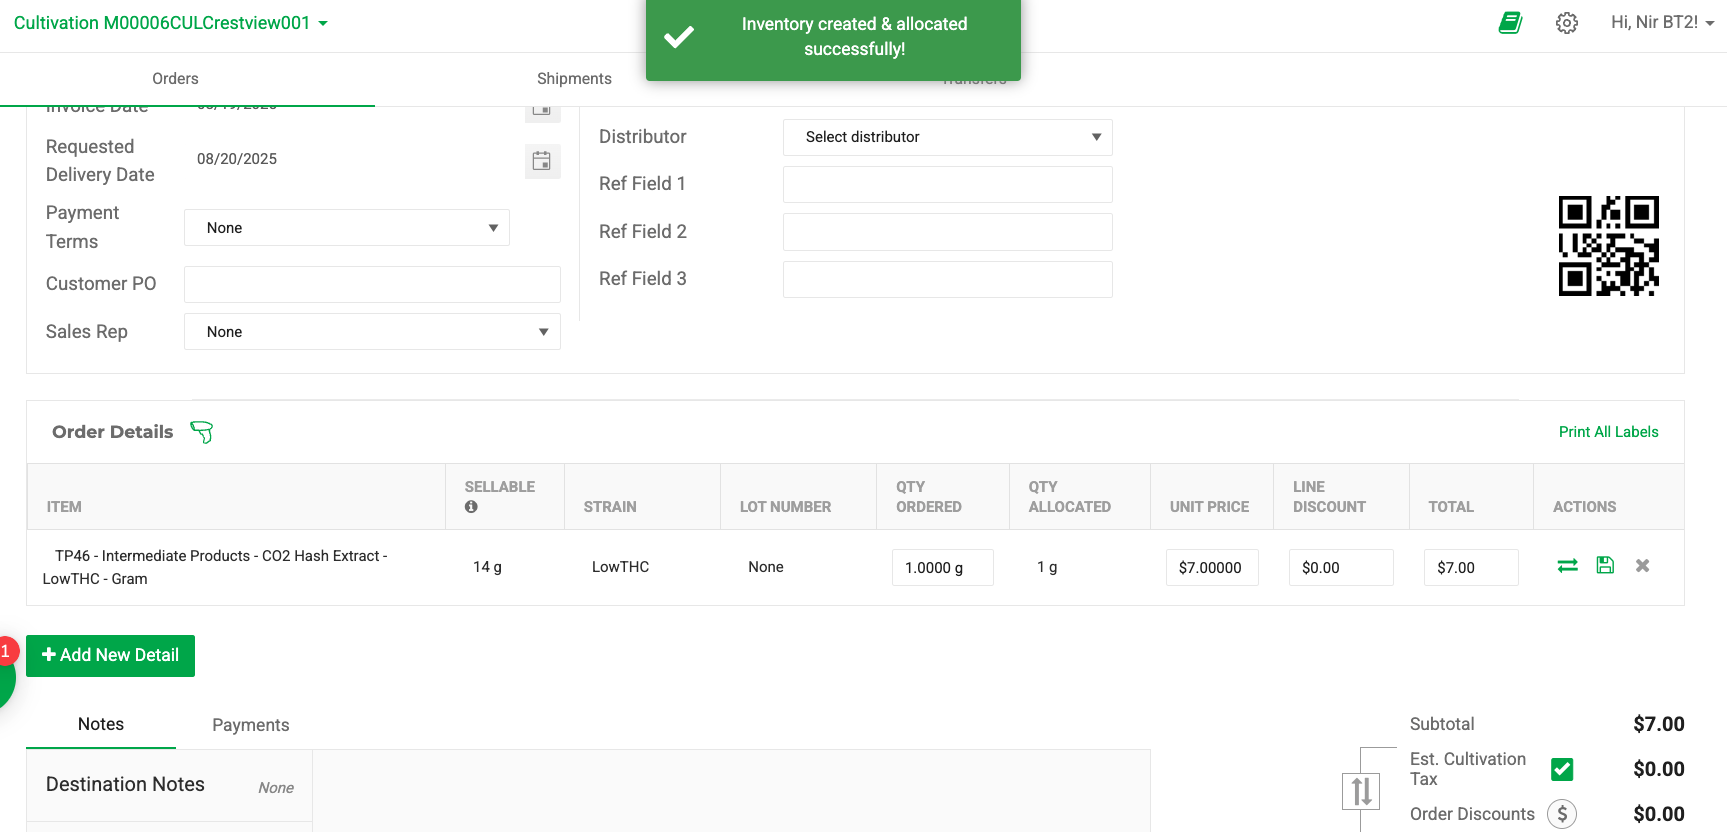
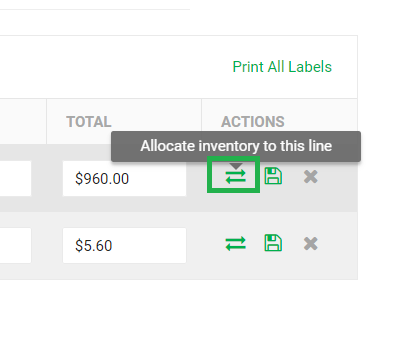
- Click Allocate inventory to this line
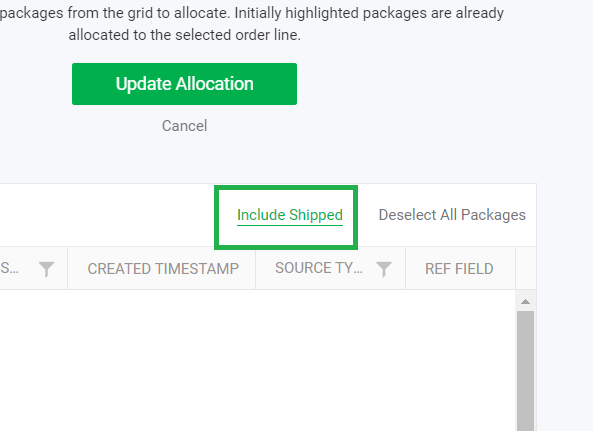
- Click Include Shipped
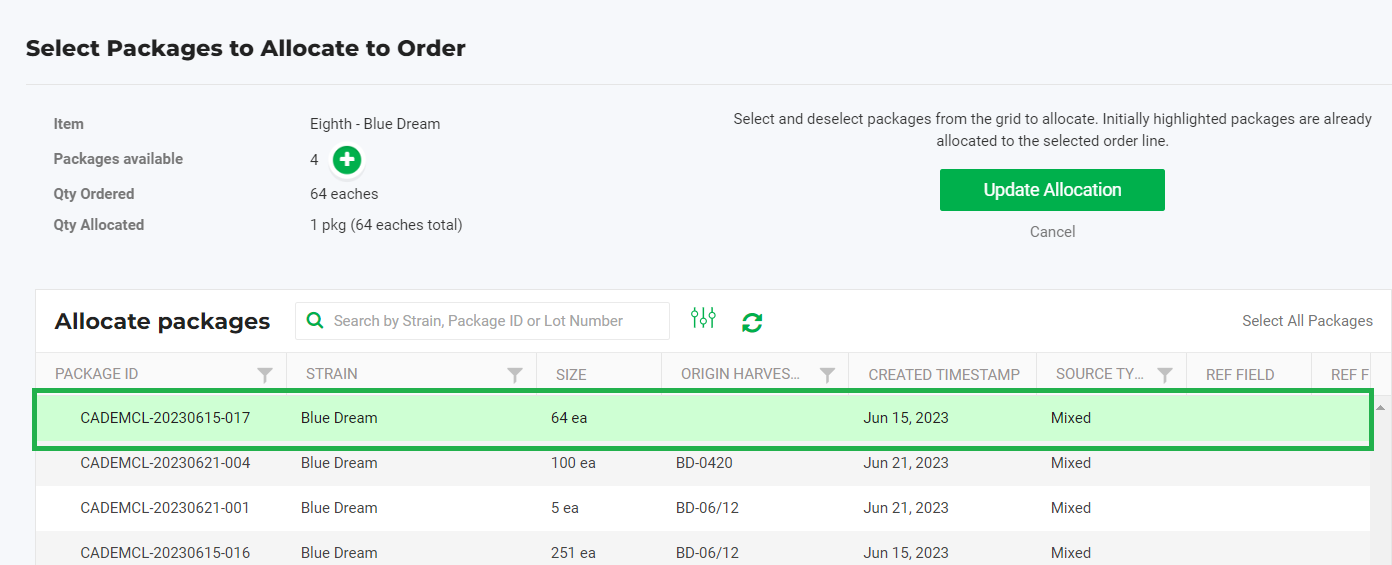
- Click to select the packages to allocate
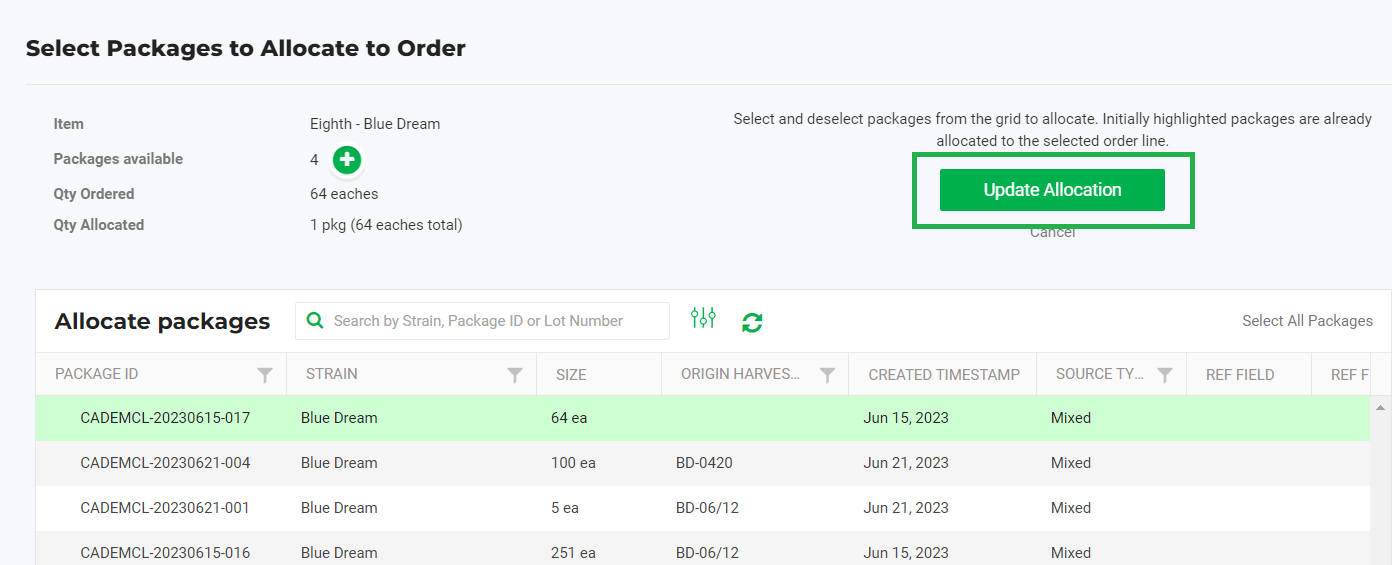
- Click Update Allocation
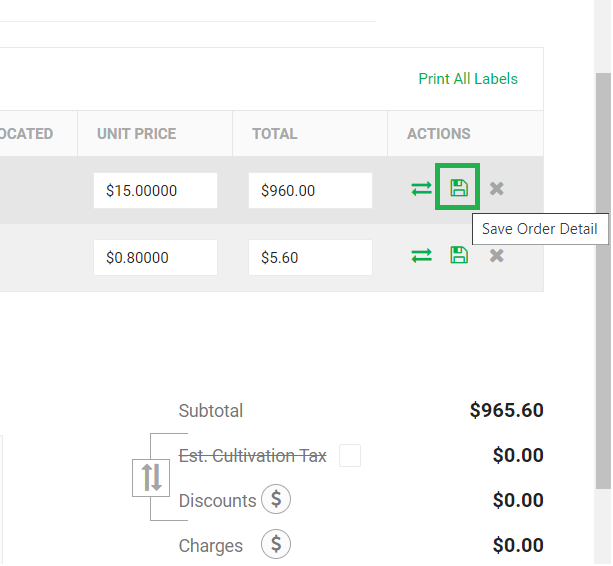
- Click Save Item
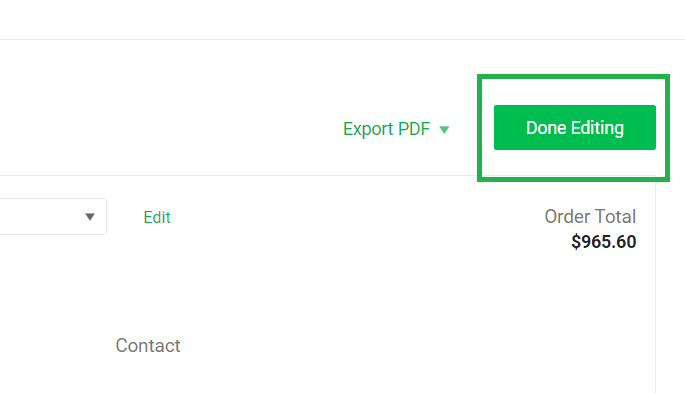
- Click Done Editing
You can now download your Picking List or Packing List, the Flourish Invoice PDF or your COAs.
Bulk Actions - Allocate packages from the Inventory module
Allocate multiple packages to an outbound order at the same time via the Inventory>All Packages grid. Here's how!
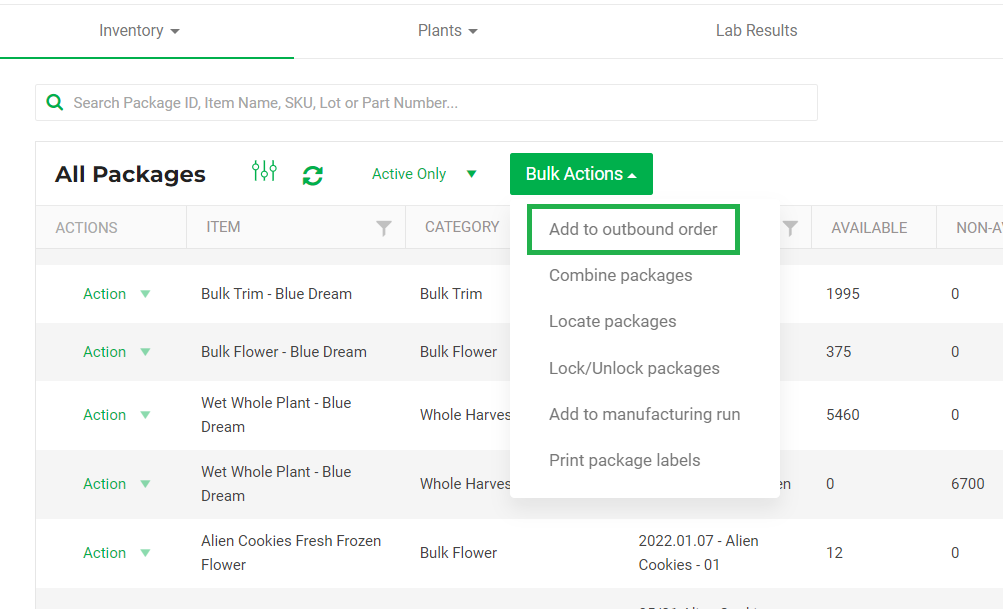
- Navigate to your Inventory module and click Bulk Actions > Add to outbound order
- Select packages you would like to add to an outbound order
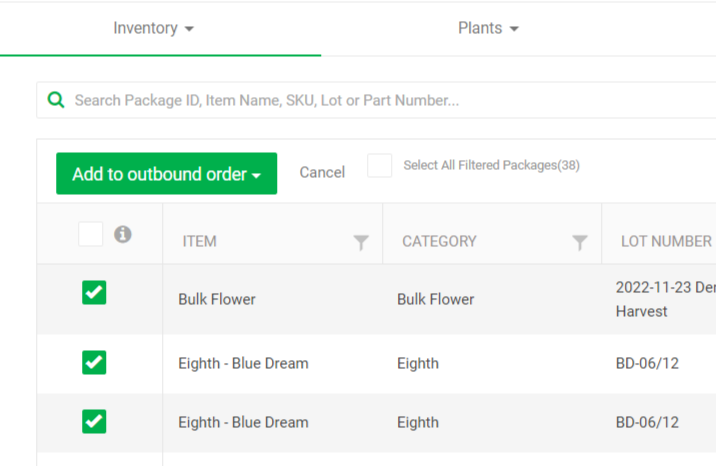
- Select New Order, Destination, and click Create New Order OR select Existing Order, the Destination, and click Add to Existing.
- The screen resolves back to the order you just created by using Bulk Actions. You can now fill in the rest of the order information on the screen.
- If METRC, please make sure you select the appropriate "Transfer Type" before clicking done editing.
- Make sure you have pricing filled in for BioTrack and any wholesale order in METRC, going from distribution facility to a retailer. Pricing is required for BioTrack transfers, and pricing is required for wholesale transfers in metrc.
Scan Packages to add Order Lines and Allocate Packages to Outbound Orders
We always strive to improve the efficiency of getting orders out the door. With a barcode scanner tethered to your computer via USB, you can scan packages to add order lines and allocate them.
Prerequisites
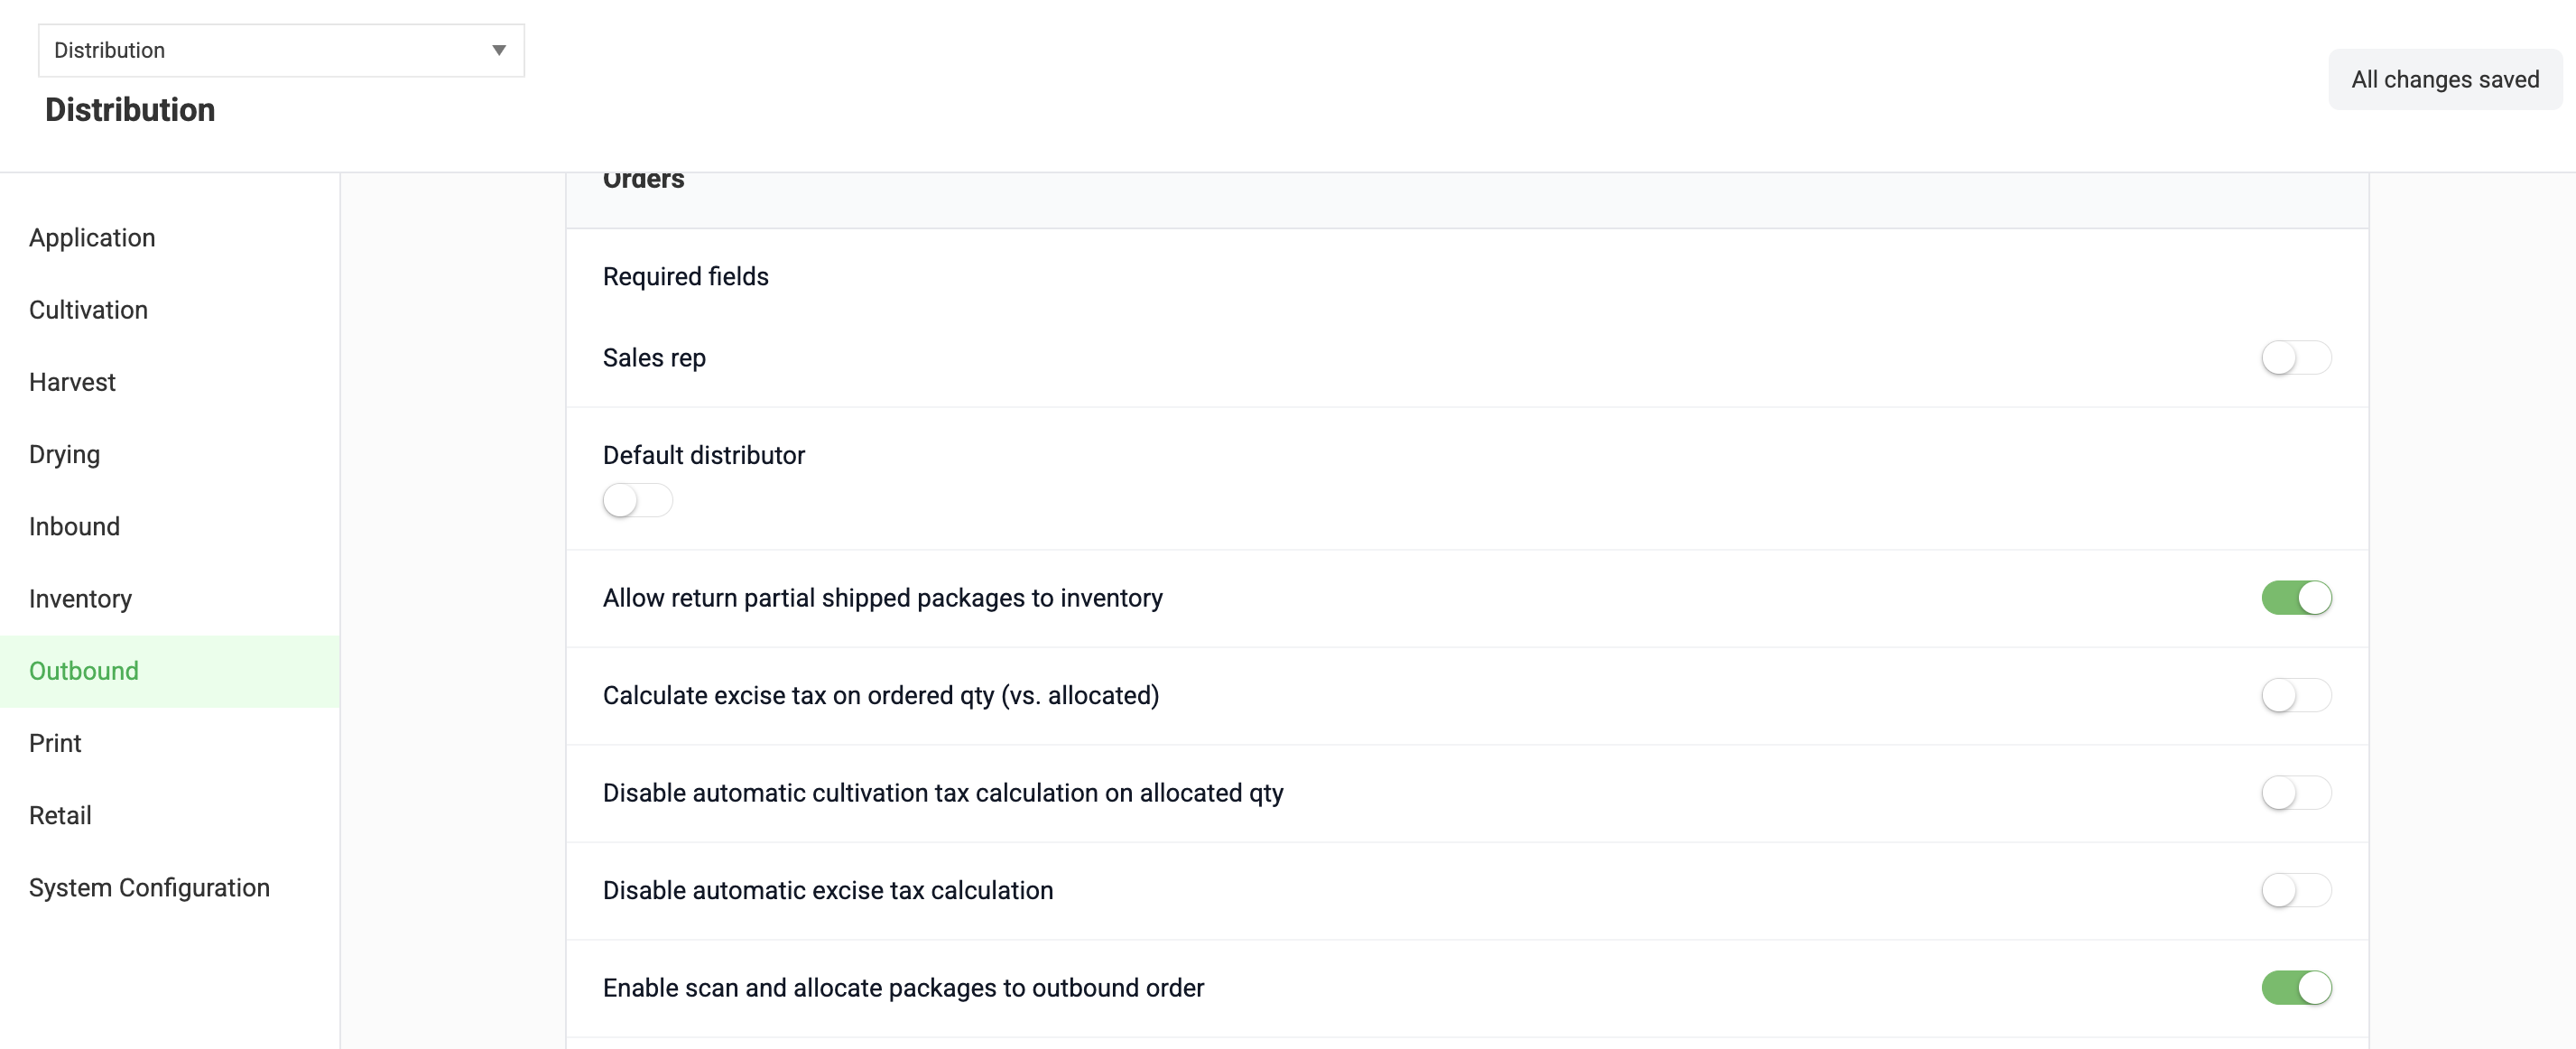
To enable this feature, you must toggle ON the 'Enable Scan and Allocate to Outbound Order' from the Outbound section under Admin>Configuration.
Be sure to select your facility on the top left facility drop-down , if you have more than one.
Scanning Process
- Go to Outbound and locate your Order.
- Click on the Order ID.
- Click Edit Order.
- Click on the scanner icon
 on the Edit Order screen.
- The "Scan Packages to Allocate" window pops up:
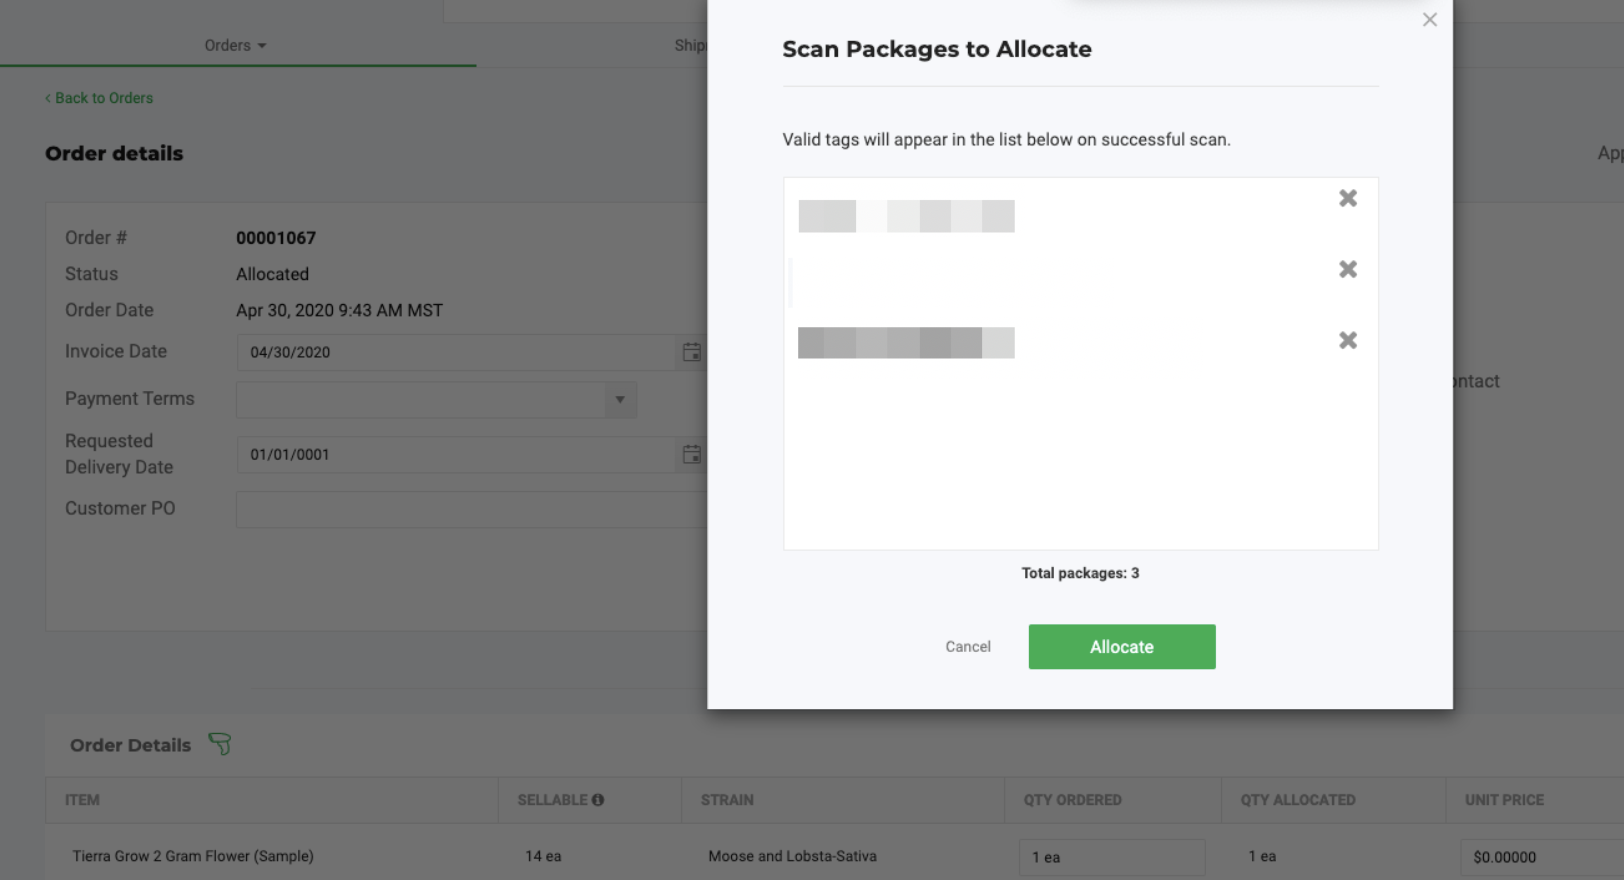
- From here, start scanning packages to add and allocate order lines.
- When you are done scanning, click the Allocate button!If you scan a package with an existing order line, the system will allocate the package to that line based on the item/variation/strain.
Must Know
- If the order is external (like Leaflink), Flourish will never adjust the order quantity and will not allow you to scan packages of an item that is not already on the order.
- Suppose the order is internal (created in Flourish). In that case, Flourish will not update the order quantity unless the allocated quantity ends up becoming greater than the order quantity, in which case it will be increased to match.
- If the order is internal (created in Flourish), Flourish will create a new order line if the package being scanned to an order is of an item not already on that order.
- Note: If the scanned package does not match an existing order line item, Flourish creates a new order line and allocates the full package.
Allocate Packages Using the Mobile App
- Please follow these guides for more details on fulfillment using the Flourish Mobile App.
- Open the Outbound module in the Flourish mobile app.
- Tap Orders.
- Search for the order by name or scan the order number.
- Tap the order to open it.
- Tap the order line you want to allocate.
- Tap Allocate.
- Scan the package barcode or select the package from the list.
- Confirm the packages to assign.
- Tap Allocate to confirm.
The order line updates to show the allocated quantity. Repeat for each order line until the order reaches Allocated status.
Note: If no packages are available to allocate to an order line, the app displays a Create Packages button. Tap it to create a new package, then return to allocate it to the order line.
Order Status Reference
Status | Meaning |
Created | Order has been placed but no packages have been allocated. |
Partially Allocated | At least one order line has been allocated, but not all. |
Allocated | All order lines are fully allocated. The order is ready to ship. |
Related articles
How did we do?
Creating New Outbound Orders
Split Packages During Order Allocation
