Table of Contents
Outbound - Return Rejected Items to Inventory
Sometimes you transfer packages out, and the client rejects them or a part of them. When that happens, follow the steps below to reject the package and send it, or part of it, back into your active i…
Sometimes you transfer packages out, and the client rejects them or a part of them. When that happens, follow the steps below to reject the package and send it, or part of it, back into your active inventory. Only rejecting the package enables you to allocate it to a different sales order.
* Connecticut BioTrack users, please follow the instructions on Connecticut BioTrack - Accepting Rejected Inventory
Why Reject?
What does rejecting the package in Flourish Software do?
- Captures the reason (see below to add new "Inventory Return Reasons") and (optional) comment to explain the rejection.
- Returns the package to your available inventory.
- Updates the line total, subtotal, and total price on your outbound invoice.
- Enables you to allocate the package to a different sales order by removing the link between the package and the original order.
Return a package
Locate the sales order
By the Shipment
- Go to Outbound / Shipments/All Shipments
- Locate the Shipped Shipment.
- Click on the Order ID.

By the Order
- Go to Outbound / Orders.
- Type the order ID and select "Shipped Orders".
- Click on the Order ID.

Return the package
- Find the order line you want to reject.
- Locate the REJECT column for the line item.
- Click the
 icon. The "Rejected Inventory" modal opens. See screenshot below.
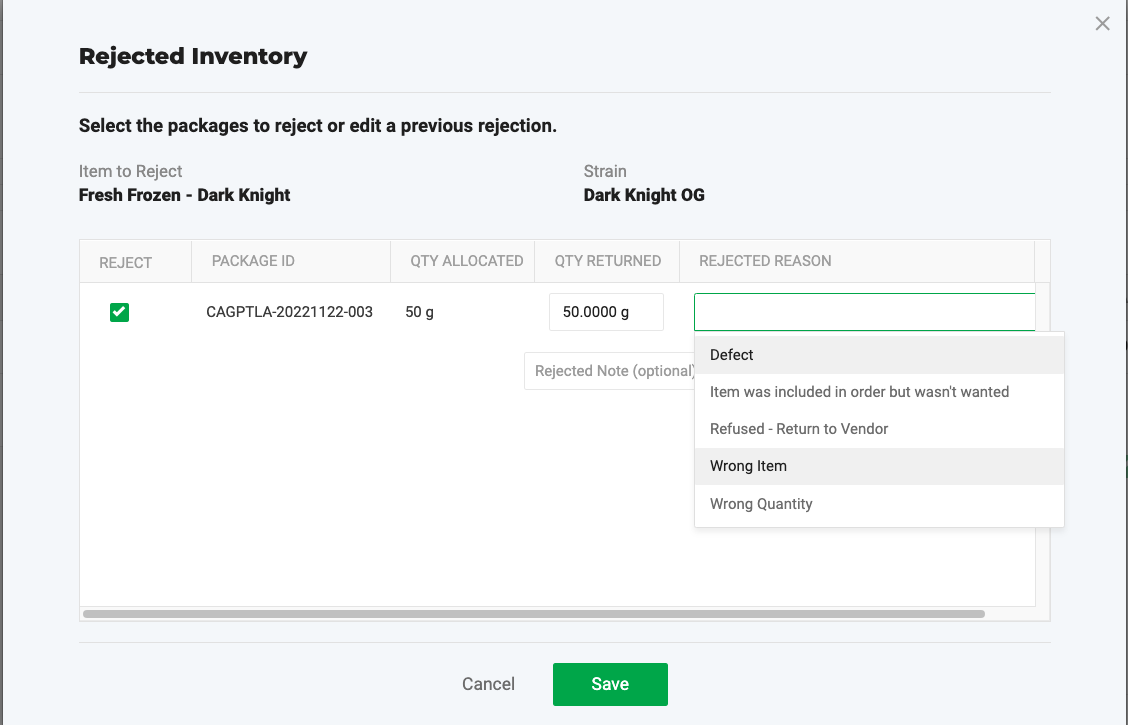
 - Check the box under the REJECT column.
- On Partial rejections, type the QTY RETURNED.
- Use the dropdown to select the REJECTED REASON.
- Optional - Type the Rejected Note.
- Click Save
Configuration Setting for Return Partial packages
If the client accepted a part of the package you sent them and rejected it, you need to set Flourish Software to enable you to reject a part of the quantity you sent in the package.
Manage Settings
- Click
 to go to Settings.
 - Select Configuration.
- Select the facility you need to configure.
- Locate Outbound.
- Toggle ON "Allow return partial shipped packages to inventory." See screenshot below.
- Changes are Auto-Saved.

Inventory Return Reasons
View Inventory Return Reasons
Add and edit the Inventory return reasons:
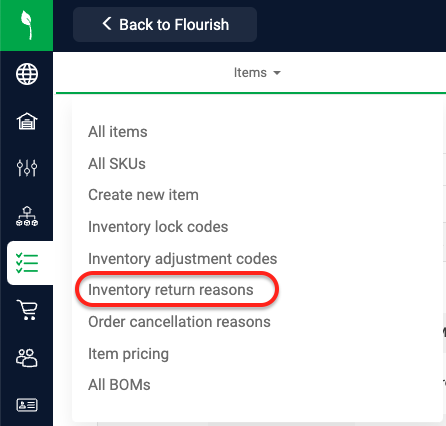
- Click to go to Settings.
- Select Inventory.
- Select Items / Inventory return reasons.
- Select the relevant facility.
Add a new Inventory Return Reason
- Follow steps 1-4 above
- Click
 .
. - Type the * Reason Name
- Verify the Enabled toggle.
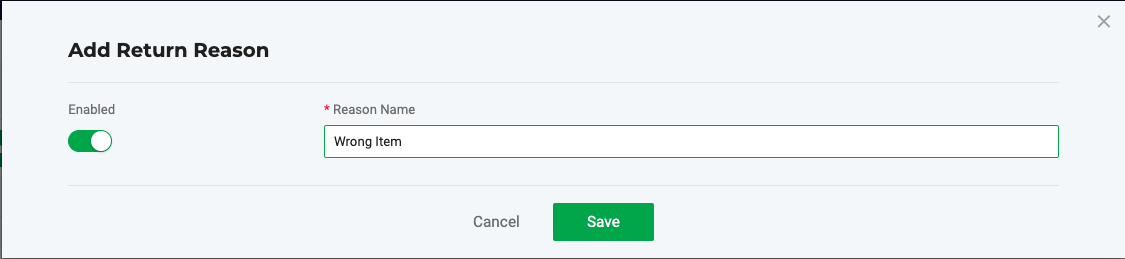
- Click Save.
Update an existing Inventory Return Reason
- Follow steps 1-4 above
- Locate the Return Reason you want to update.
- Click the pencil icon
 .
. - Edit the * Reason Name
- Verify the Enabled toggle.
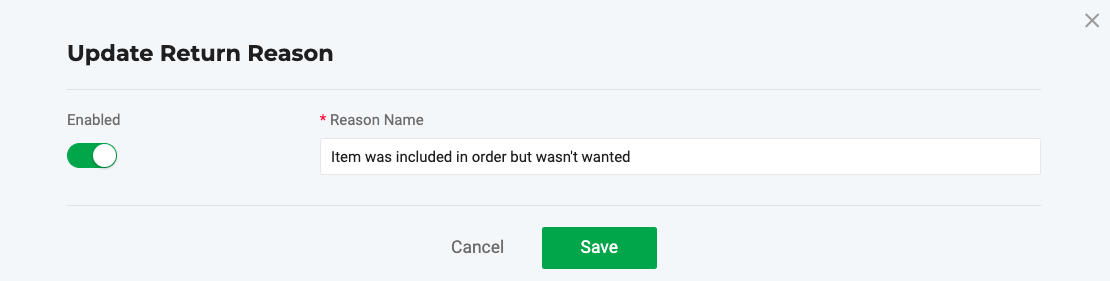
- Click Save.
Deactivate an existing Inventory Return Reason
- Follow steps 1-4 above
- Locate the Return Reason you want to update.
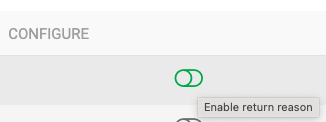
- The slider is green for an active reason. Toggle the slider off.

- View the confirmation message:

Re-activate a previously deactivated Inventory Return Reason
- Follow steps 1-4 above
- Select Disabled on the top right to find the disabled return reasons
- Locate the Return Reason you want to update.
- The slider is gray for an active reason. Toggle the slider On.
- View the confirmation message:

Handling Rejected Packages in METRC Facilities
When a client rejects a package, accept the rejection in METRC first. Then sync and update Flourish to reflect the returned inventory.
Step 1: Sync From METRC
- Navigate to Inventory > All Packages.
- Click Sync METRC Packages.
Flourish automatically updates any packages that were in Shipped status and are now returned to active inventory.
Package Status | Status After Sync From METRC |
Shipped via a Flourish shipment | Created |
Allocated to an order in Flourish | Assigned To An Order |
Never allocated or shipped in Flourish (transfer handled entirely in METRC) | Created — no further action needed |
Step 2: Update the Outbound Order
The next steps depend on how the package was originally processed in Flourish.
For Shipped Packages
If the package was shipped via a Flourish shipment:
- Locate the outbound order in Flourish. You can also go to Inventory > All Packages and click the Order ID next to the package to jump straight to it.
- Reject the order line. This will bring the package back into inventory in "Created Status"
For Allocated Packages
If the package was allocated to an order in Flourish but not shipped via a Flourish shipment:
- Locate the outbound order in Flourish.
- Remove the order line.
- Optionally, ship the shipment to update your records.
How did we do?
Creating New Outbound Shipments (Non-METRC)
Change Facility - Move an Outbound Order between Flourish Facilities.