Table of Contents
Transition an Item from "Inventory" to "Non-Inventory" types in Flourish and QBO.
General. This article describes transferring Flourish items synced with QuickBooks Online from Inventory Types "Inventory" to "Non-Inventory" on both platforms. Please coordinate with your CPA, Contr…
General
This article describes transferring a Flourish single item synced with QuickBooks Online from Inventory Type Inventory to Non-Inventory on both platforms.
Please coordinate with your CPA, Controller, or Bookkeeper for guidance on setting this up!
More on QBO Inventory Types.
The short version
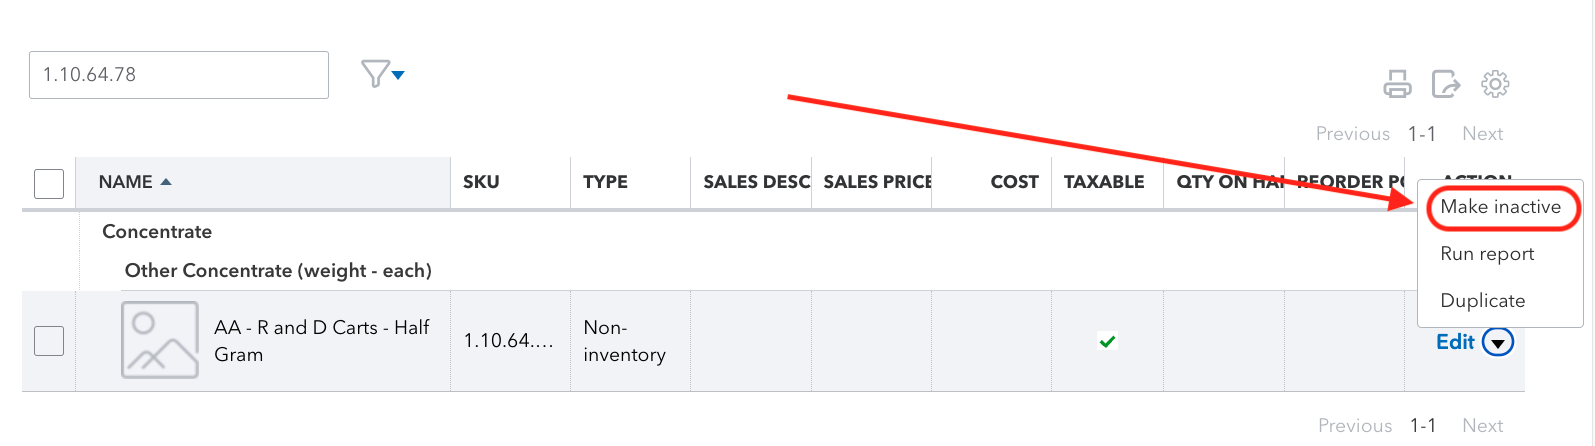
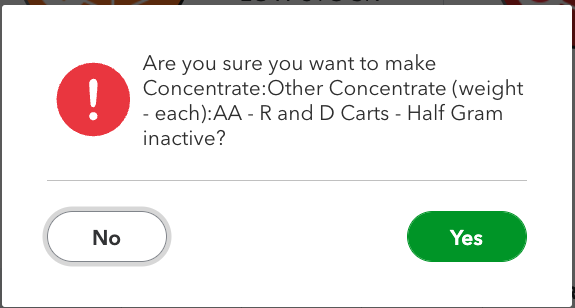
- In QuickBooks Online - Deactivate the item in QuickBooks Online.
- In Flourish Software:
- Unlink the Item from QuickBooks Online.
- Set the ITEM TYPE to Non-Inventory and ensure at least one Expense or Income account is selected.
- Sync to QuickBooks Online. The Sync action creates the item in QuickBooks Online as Non-Inventory.
Verify the item is in QuickBooks Online with the correct settings.
The steps
In QuickBooks Online
|   |
In Flourish Software
- Go to Manage Settings.
- Click Integrations (if you do not see Integrations, ensure it's turned on for your user role under Admin Roles).
- Click on the Pencil icon
 in the QuickBooks card.
 - Click Map Items.
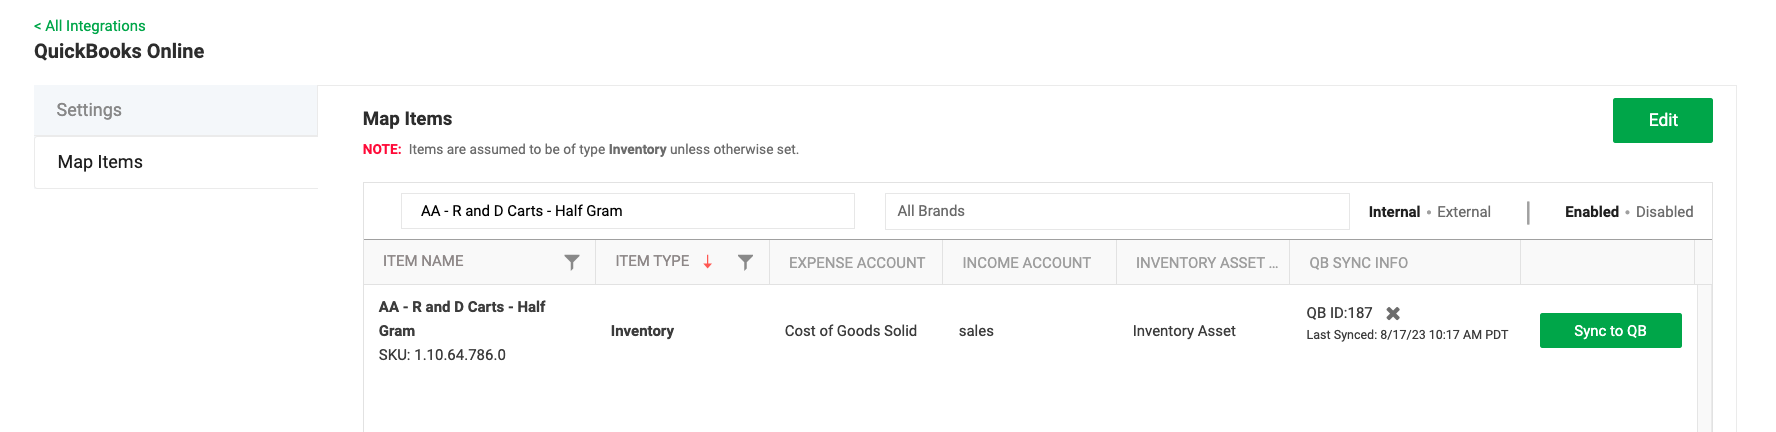
- Locate the Item.
- Under the QB SYNC INFO column, click the X icon next to the QB ID to remove the link from QBO.
- Click
 .
. - If you need to, Click
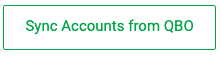 to import your accounts from QuickBooks Online. This action sets the values under the columns EXPENSE ACCOUNT, INCOME ACCOUNT, and INVENTORY ASSET ACCOUNT. This button turns green when you hover over it.
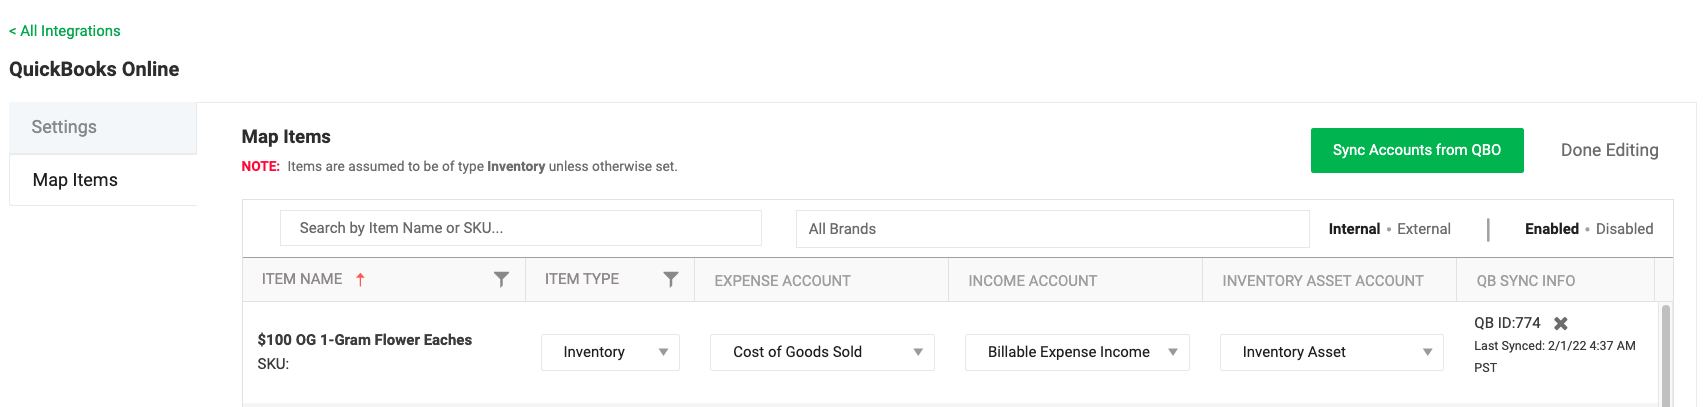
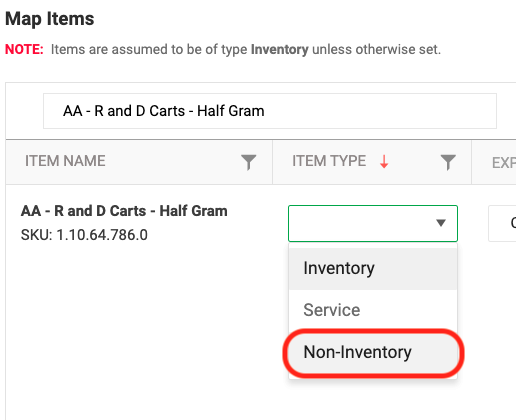
- Under ITEM TYPE, select Non-Inventory.
- Edit the other COAs.
- Click
 .
. - Click
 .
.
Verify the item is in QuickBooks Online with the correct settings.
Other Transitions
Inventory Type Transitions
In other transitions, you can skip a couple of steps:
- You don't need to deactivate the item in QuickBooks Online
- You don't need to unlink the item from Flourish Software
Transition types
- Non-Inventory to Service, or vice versa.
- Non-Inventory or Service to Inventory.
The steps
- Go to Manage Settings.
- Click Integrations (if you do not see Integrations, ensure it's turned on for your user role under Admin Roles).
- Click on the Pencil icon in the QuickBooks card.
- Click Map Items.
- Locate the Item.
- Click Edit.
- Change the ITEM TYPE.
- Click .
- Click .
How did we do?
Excise Tax Line Item Mapping for QuickBooks Online
Quickbooks Online: Syncing Order Discounts