Table of Contents
Set Up Ordo-Flourish Integration and Inventory Sync
Step-by-step guide for setting up Ordo-Flourish integration, syncing inventory, and establishing the order fulfillment workflow between the two platforms.
Table of Contents
Before you begin, check out the Ordo Flourish Integration Overview.
This article covers:
- Integration setup.
- Inventory sync.
- Workflow.
Integration setup
Add a Brand in Ordo
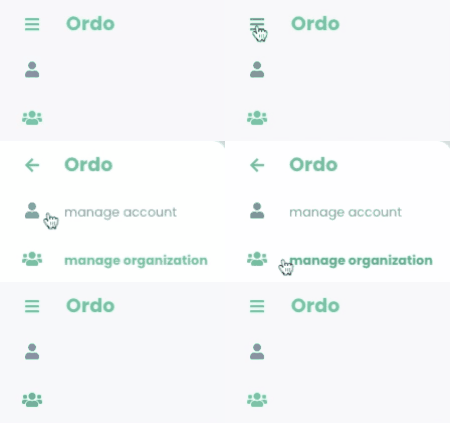
- In Ordo, Go to the top left and select Manage Organization.
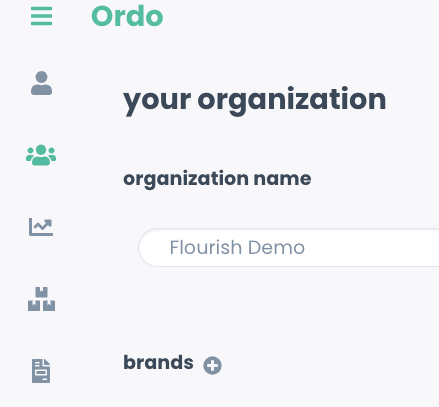
- On the "your organization" page, select company.

- Click the
 sign next to brands.
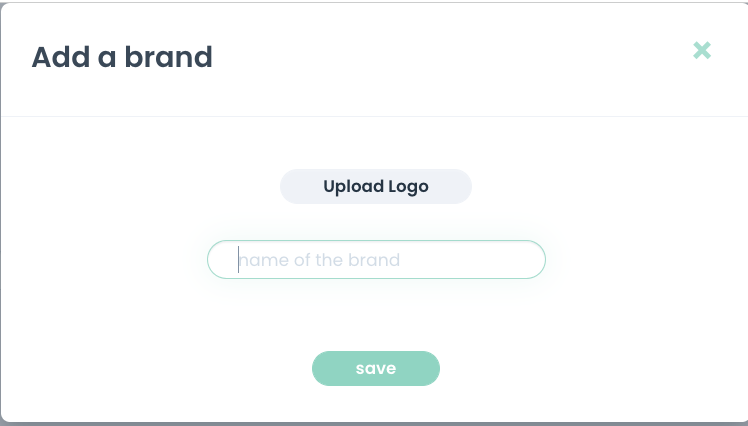
- On the "Add a brand" window, type the name of the brand and upload a picture in the upload logo part. Make sure this matches the brand name defined in Flourish.
- Click
 .
.
Add a license
- In Ordo, Go to the top left and select Manage Organization.
- On the "your organization" page, select compliance.

- Click the
 sign next to licenses:
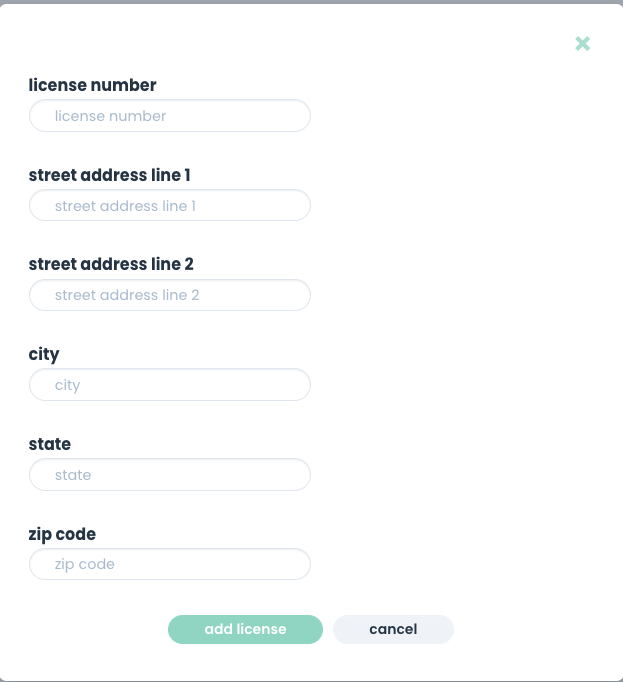
- Fill in the details and click "add license".The license number must match the one in Flourish.Currently, in Ordo, "street address line 2" is mandatory.
Flourish Integration
- In Flourish, Generate or Reset External API key.
Get the following from Flourish:- External API username.
- External API Key.
- Login to Ordo (you must be an Ordo Admin).
- In Ordo, Go to the top left and select Manage Organization.
- On the "your organization" page, select compliance.
- Click the
 on the flourish integration section.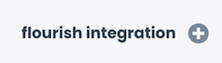
Update the details from Flourish Software and click  .
.
- API Username.
- API Key.
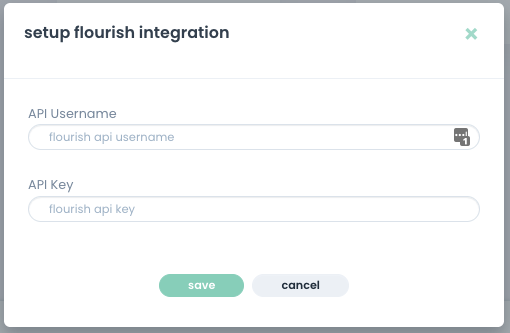
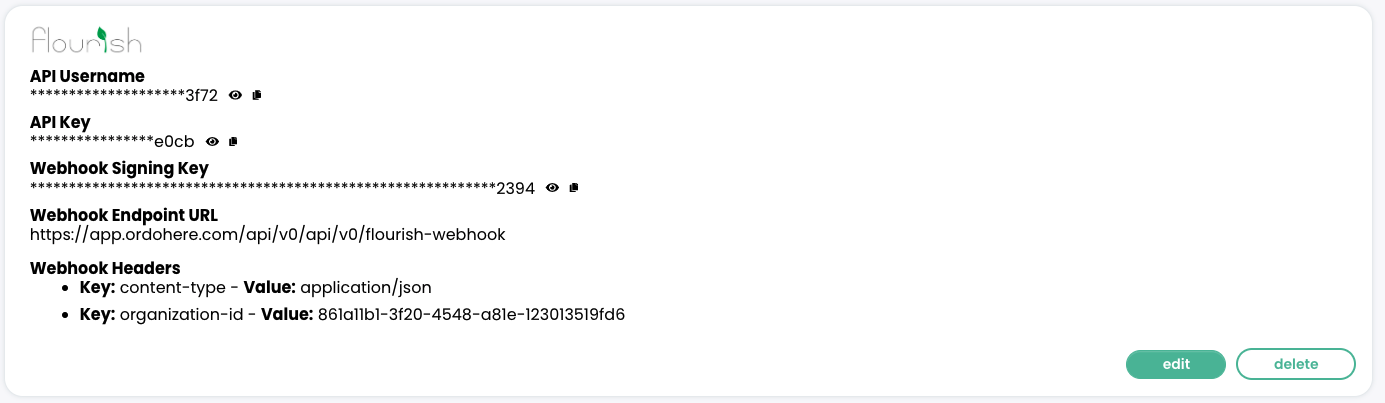
- Ordo generates the following data to submit in Flourish Software:
- Webhook Signing Key
- Webhook Endpoint URL
- Two Webhook Headers:
- Key:
- Value:
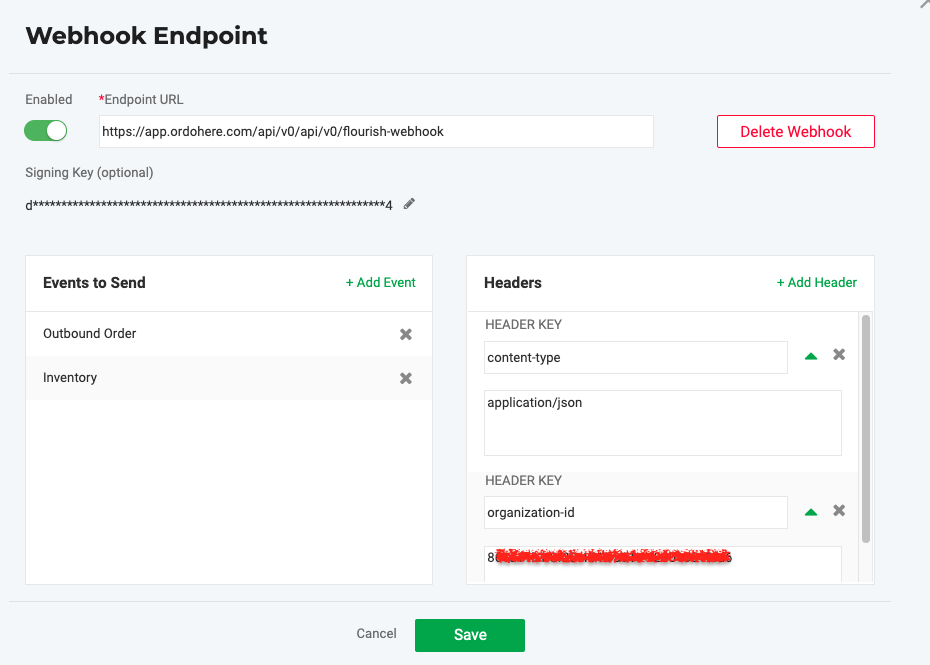
- Go to Flourish Software and add a new webhook.
- On the Webhook Endpoint screen, enter the data from Ordo:
- Endpoint URL.
- Signing Key (Mandatory! not optional).
- Click
 to add the two Headers.
 - On Events to Send, click
 to add the following:
- Outbound Order.
- Inventory.
Don't forget to click Save!
Inventory Sync
When you sync, the integration sends the items and their sellable quantities from Flourish to Ordo.
√ Brands that match the ones in Ordo.
√ All Items sync regardless of sellable quantities.
When do I sync?
- When you want to start working with Ordo.
- When you create a new item in Flourish and want to sync the item and its sellable quantity to Ordo.
- When you want to ensure the item and quantities are correct in Ordo. That is not required but may be useful to do periodically.
- When you want to sync Item data that you updated (although this may be done automatically if the inventory is adjusted or changed after you edited the item).
How do I sync?
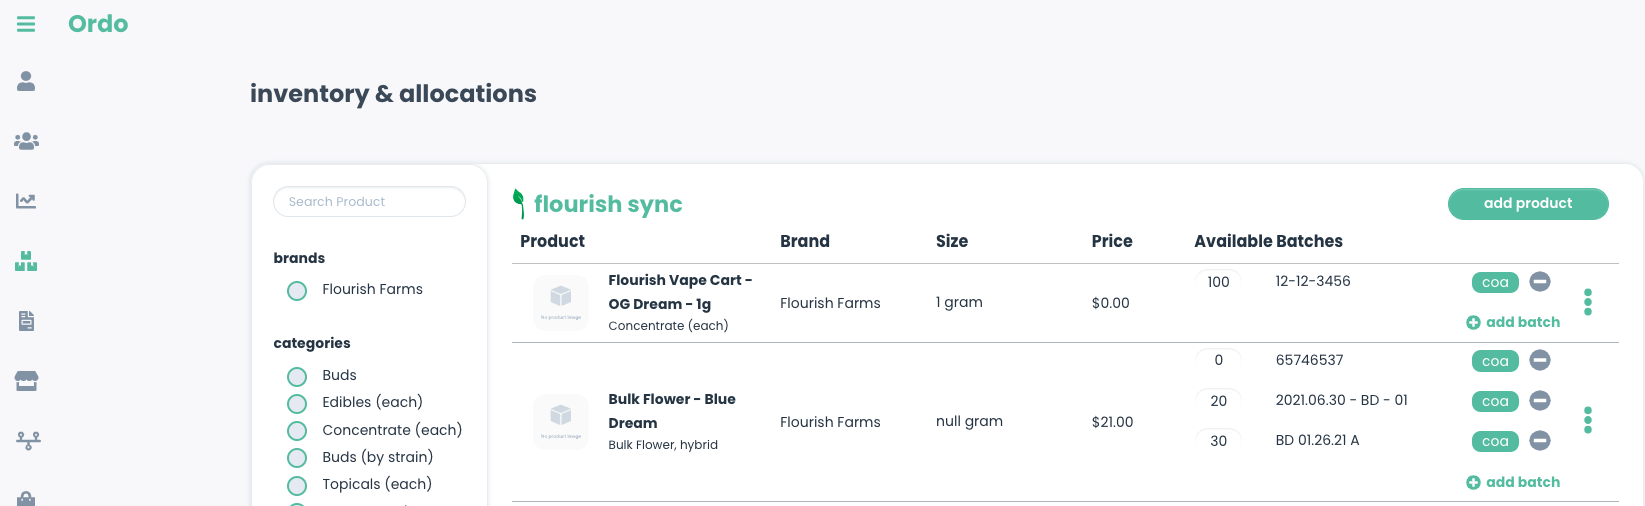
- Go to Ordo / Inventory
- In the "inventory & allocations" screen, click on
 .
.
Creating or editing Items
Create an item
When you create a new item in Flourish Software, the item will sync to Ordo as long as the item's Brand matches the Brand in Ordo
In case you created a new item in Flourish with no Brand or with a Brand that does not match the one in Ordo, you will need to do the following (The item is not required to have sellable inventory in Flourish):
- Edit the Item in Flourish Software.
- Add the Brand.
- Save in Flourish Software.
- Go to Ordo and sync.
Edit an item
If you want the edits made to an item in Flourish to update immediately in Ordo, go ahead and sync Inventory in Ordo.
Workflow
Ready to work?
Order creating and fulfillment steps
- In Ordo: 'Pending' order - when the order is not ready yet. The sales agent needs to click eh 'Confirm' button in Ordo.
- Once the representative clicks the 'Confirm' button: Ordo sends the order to Flourish Software.
- When Flourish receives the order, the order on Ordo will transition to "Awaiting delivery".At this point, you cannot edit the order in Ordo. Any changes to the order are only in Flourish.
- Edit, allocate, and ship in Flourish Software.
- Once the order is 'Shipped' in Flourish, it is set to 'Delivered' in Ordo. (Cash orders are set to Paid in Ordo).
- For Net Terms orders: Once a Payment Status in Flourish is Paid, the order is set to Paid in Ordo.
Step | Action | Flourish Order Status | Ordo Order Status |
1 | The order is not in Flourish yet. | Pending | |
2 |
| Created | “Awaiting Delivery” |
3, 4, |
|
| “Awaiting Delivery” |
5 |
| Shipped | "Delivered"(Collect Payment). For Cash terms - 'Paid'. |
6 |
| Paid | Paid (for ‘Net terms’ orders only.) |
How did we do?
Ordo Flourish Integration Overview
