Table of Contents
Creating a Customer Profile
Creating a Customer Profile. Purpose. Create a customer profile before check-in, order creation, purchase-history tracking, or customer-specific discounts. Search first. Creating another profile for…
Table of Contents
Creating a Customer Profile
Purpose
Create a customer profile before check-in, order creation, purchase-history tracking, or customer-specific discounts.
Search first. Creating another profile for an existing customer can split purchase history and eligibility data.
Prerequisites
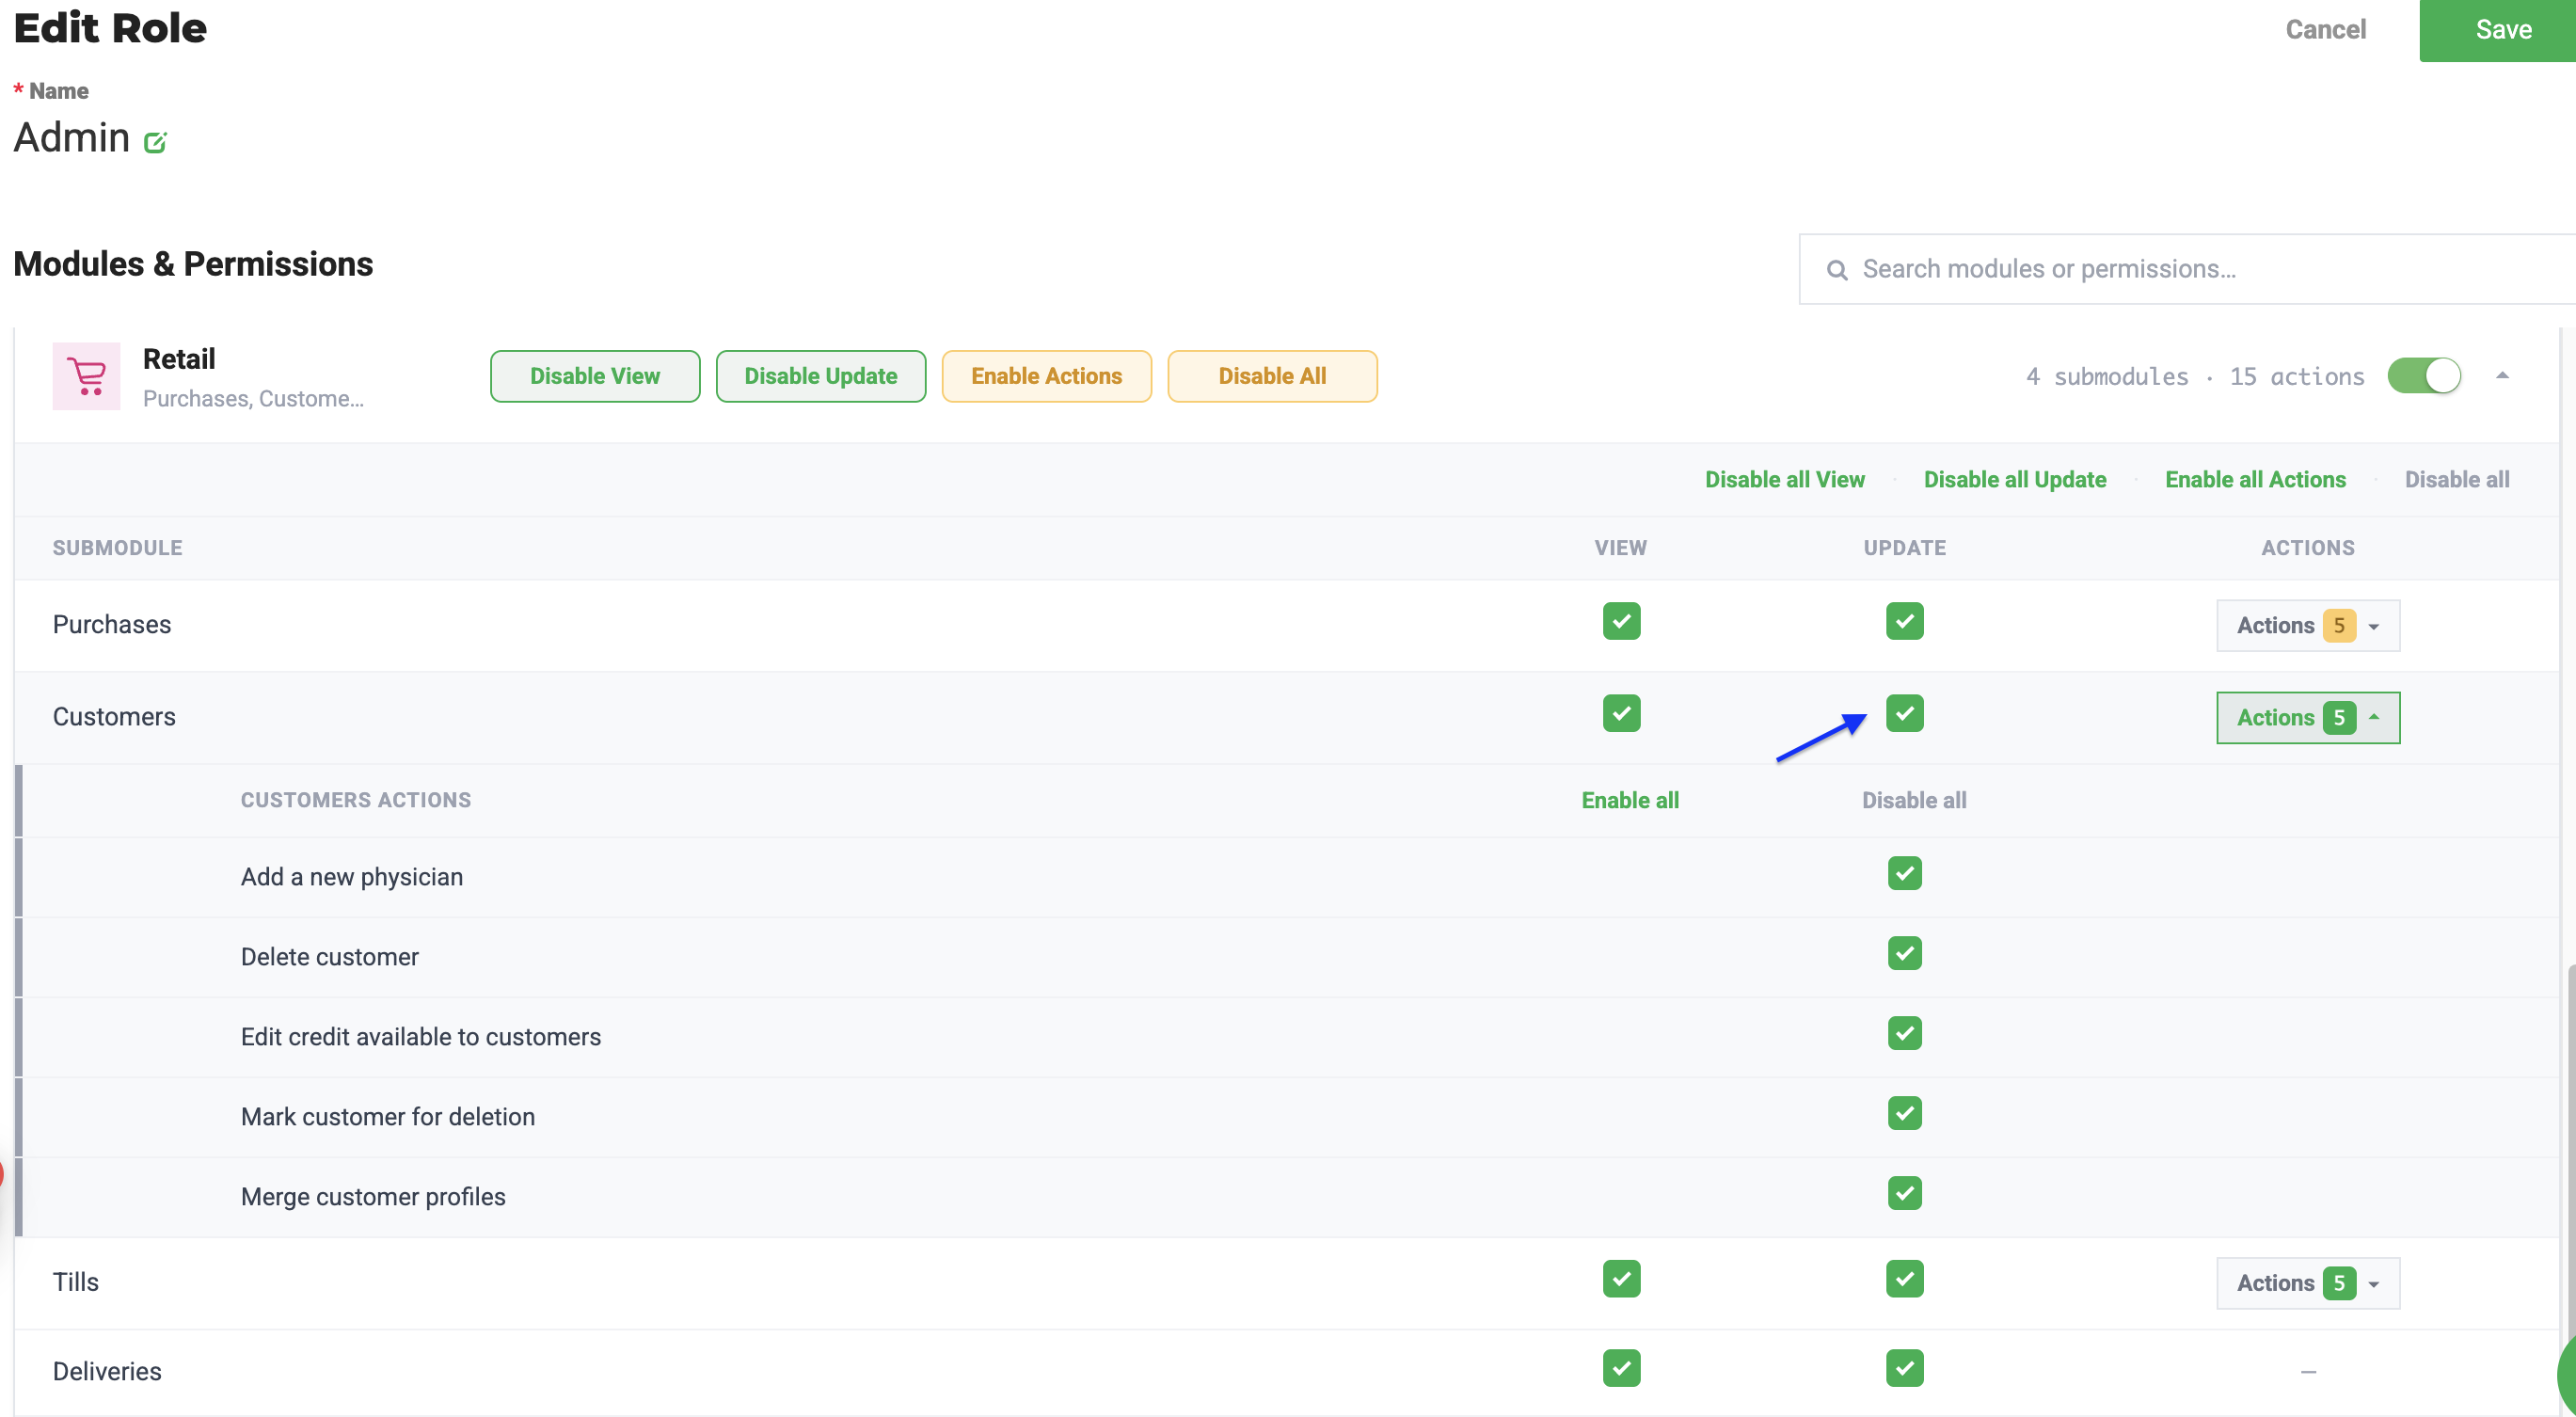
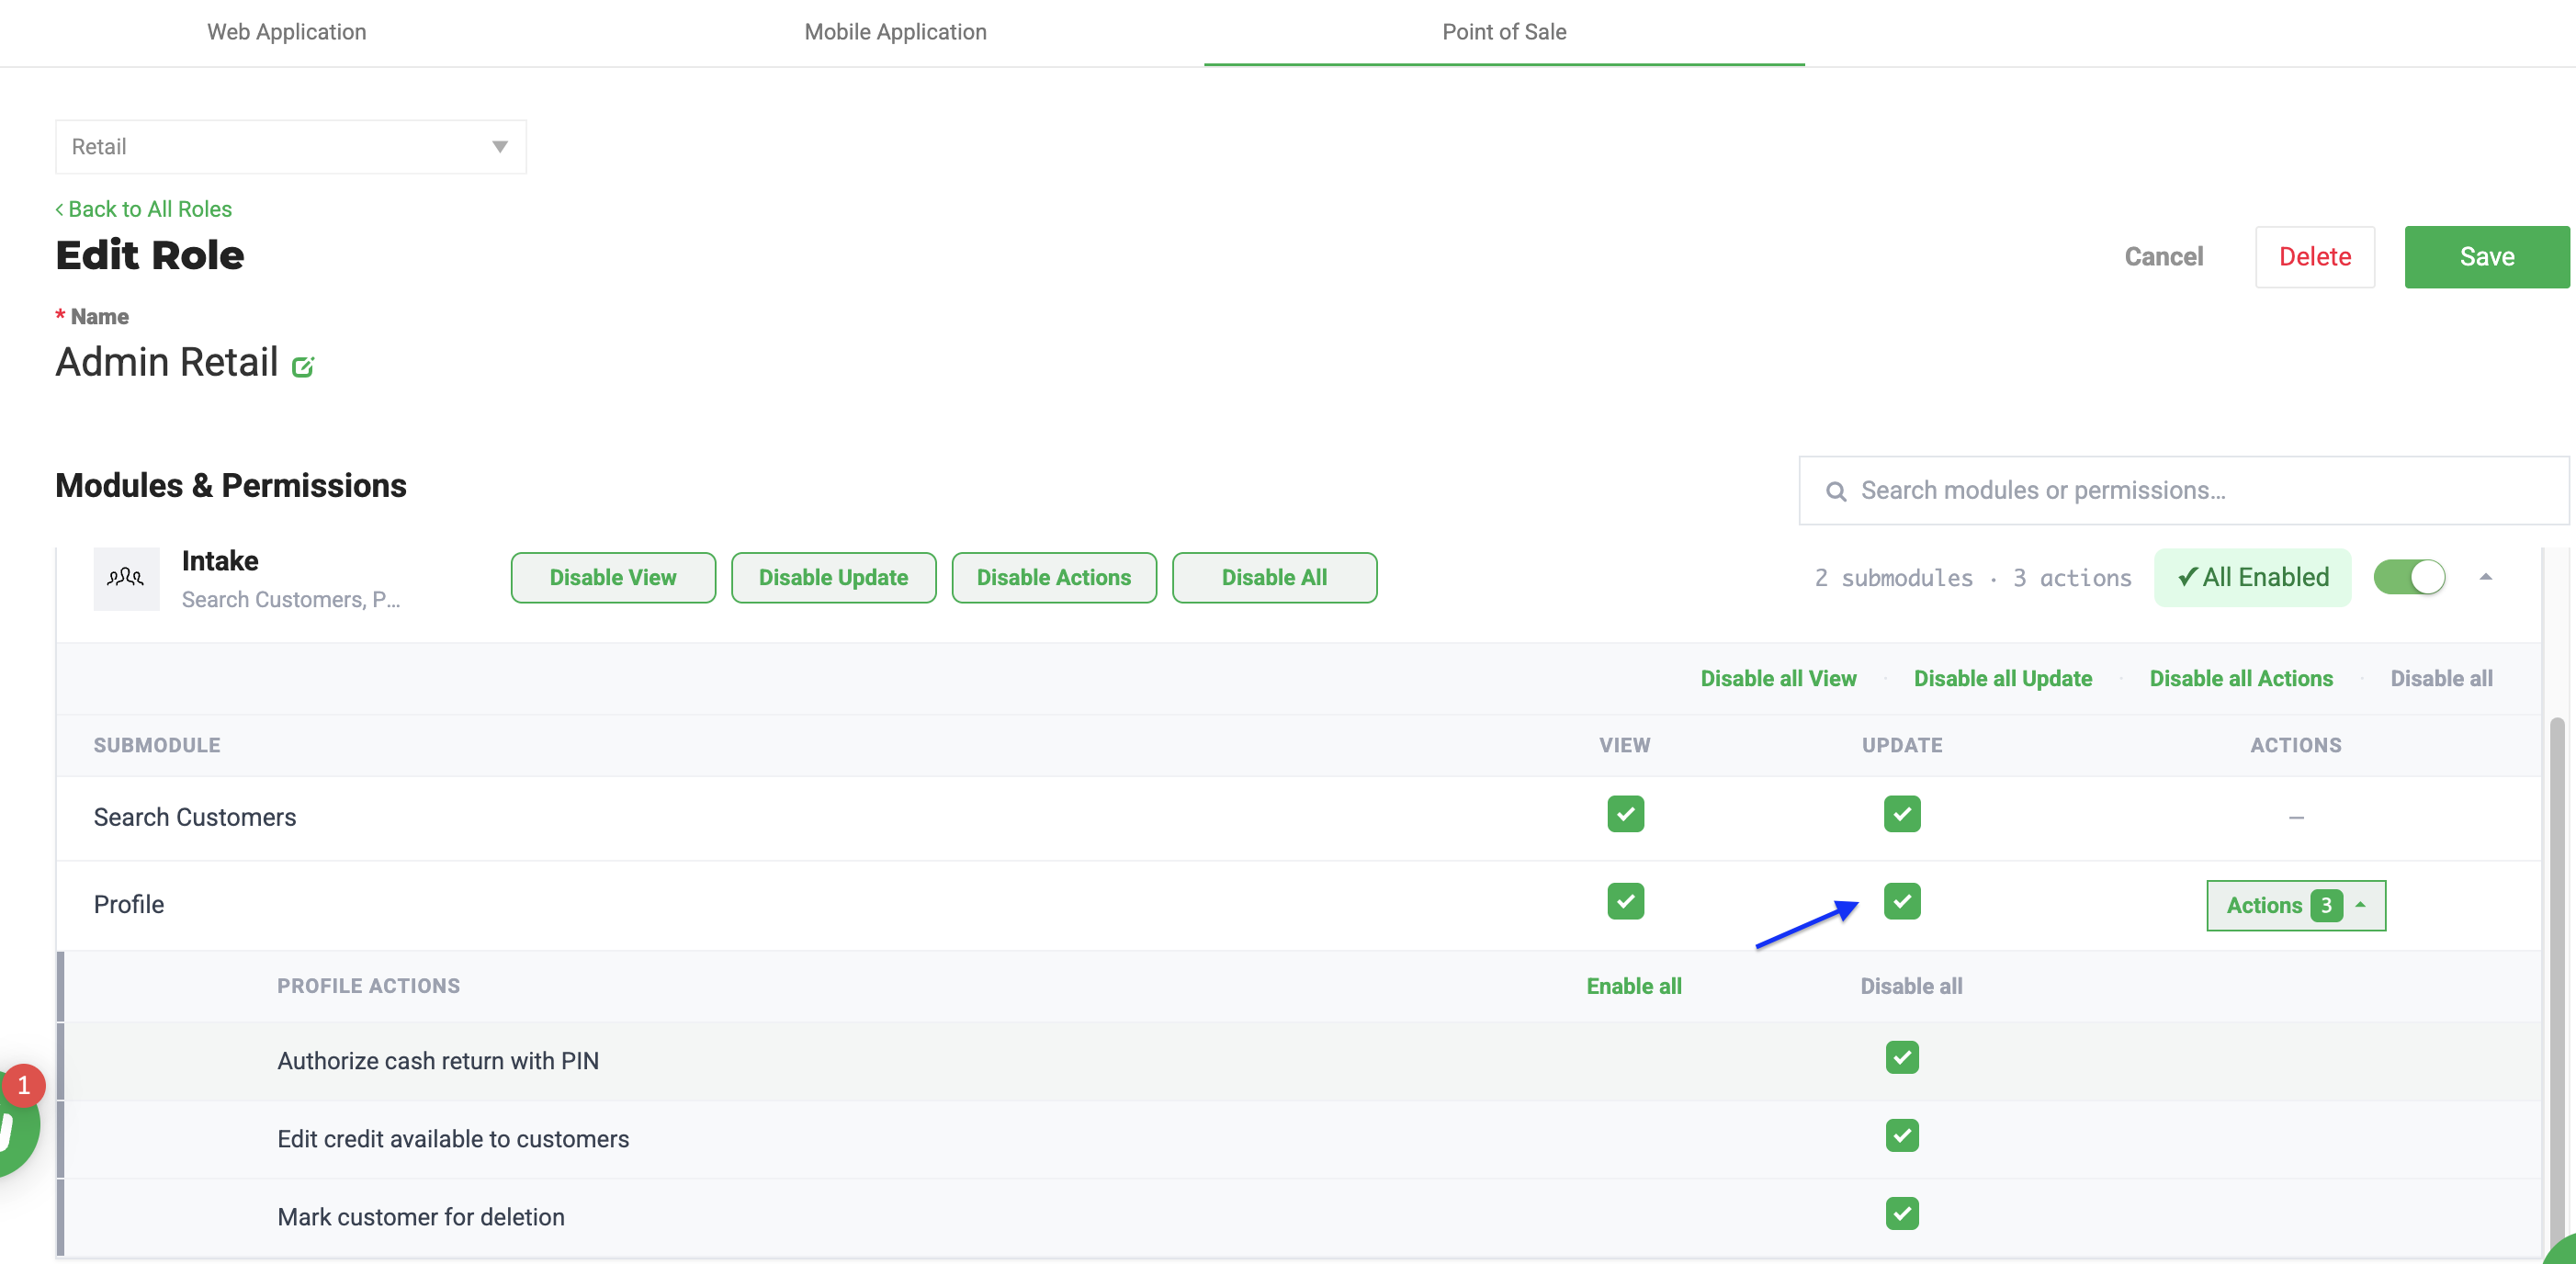
Required permissions: Ensure 'Update' Permissions are turned on for Customer Profiles in the user role for both the Web Application and Point Of Sale.
Web Application:
Point Of Sale:
Before you start:
- Search by Name, Phone, Email, Customer ID, State ID, and Medical Card Info when available.
- Confirm the customer's identity according to your facility's process.
- Collect the required contact and identity information.
- For a medical customer, collect the supported medical card and expiration information.
Create the Profile in Flourish Web
- Open Retail > Customers.
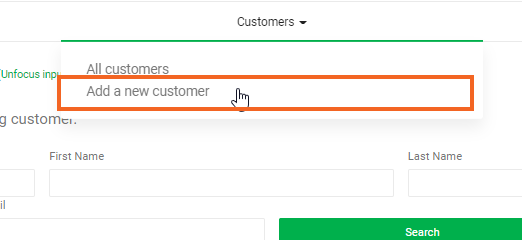
- Select Add a New Customer.
- Enter every required field (marked with an asterisk) in the Member Info card.
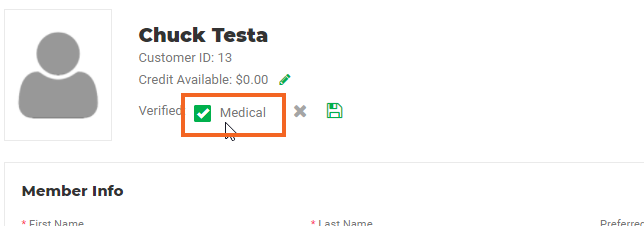
- For a medical customer, select the Medical checkbox beneath the customer's name.
- Review the information with the customer.
- Select Save.
Create the Profile in Retail POS
- From Intake, select Create New Customer.
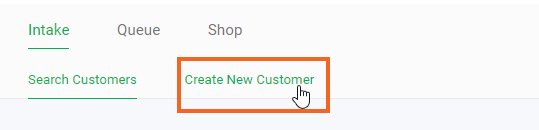
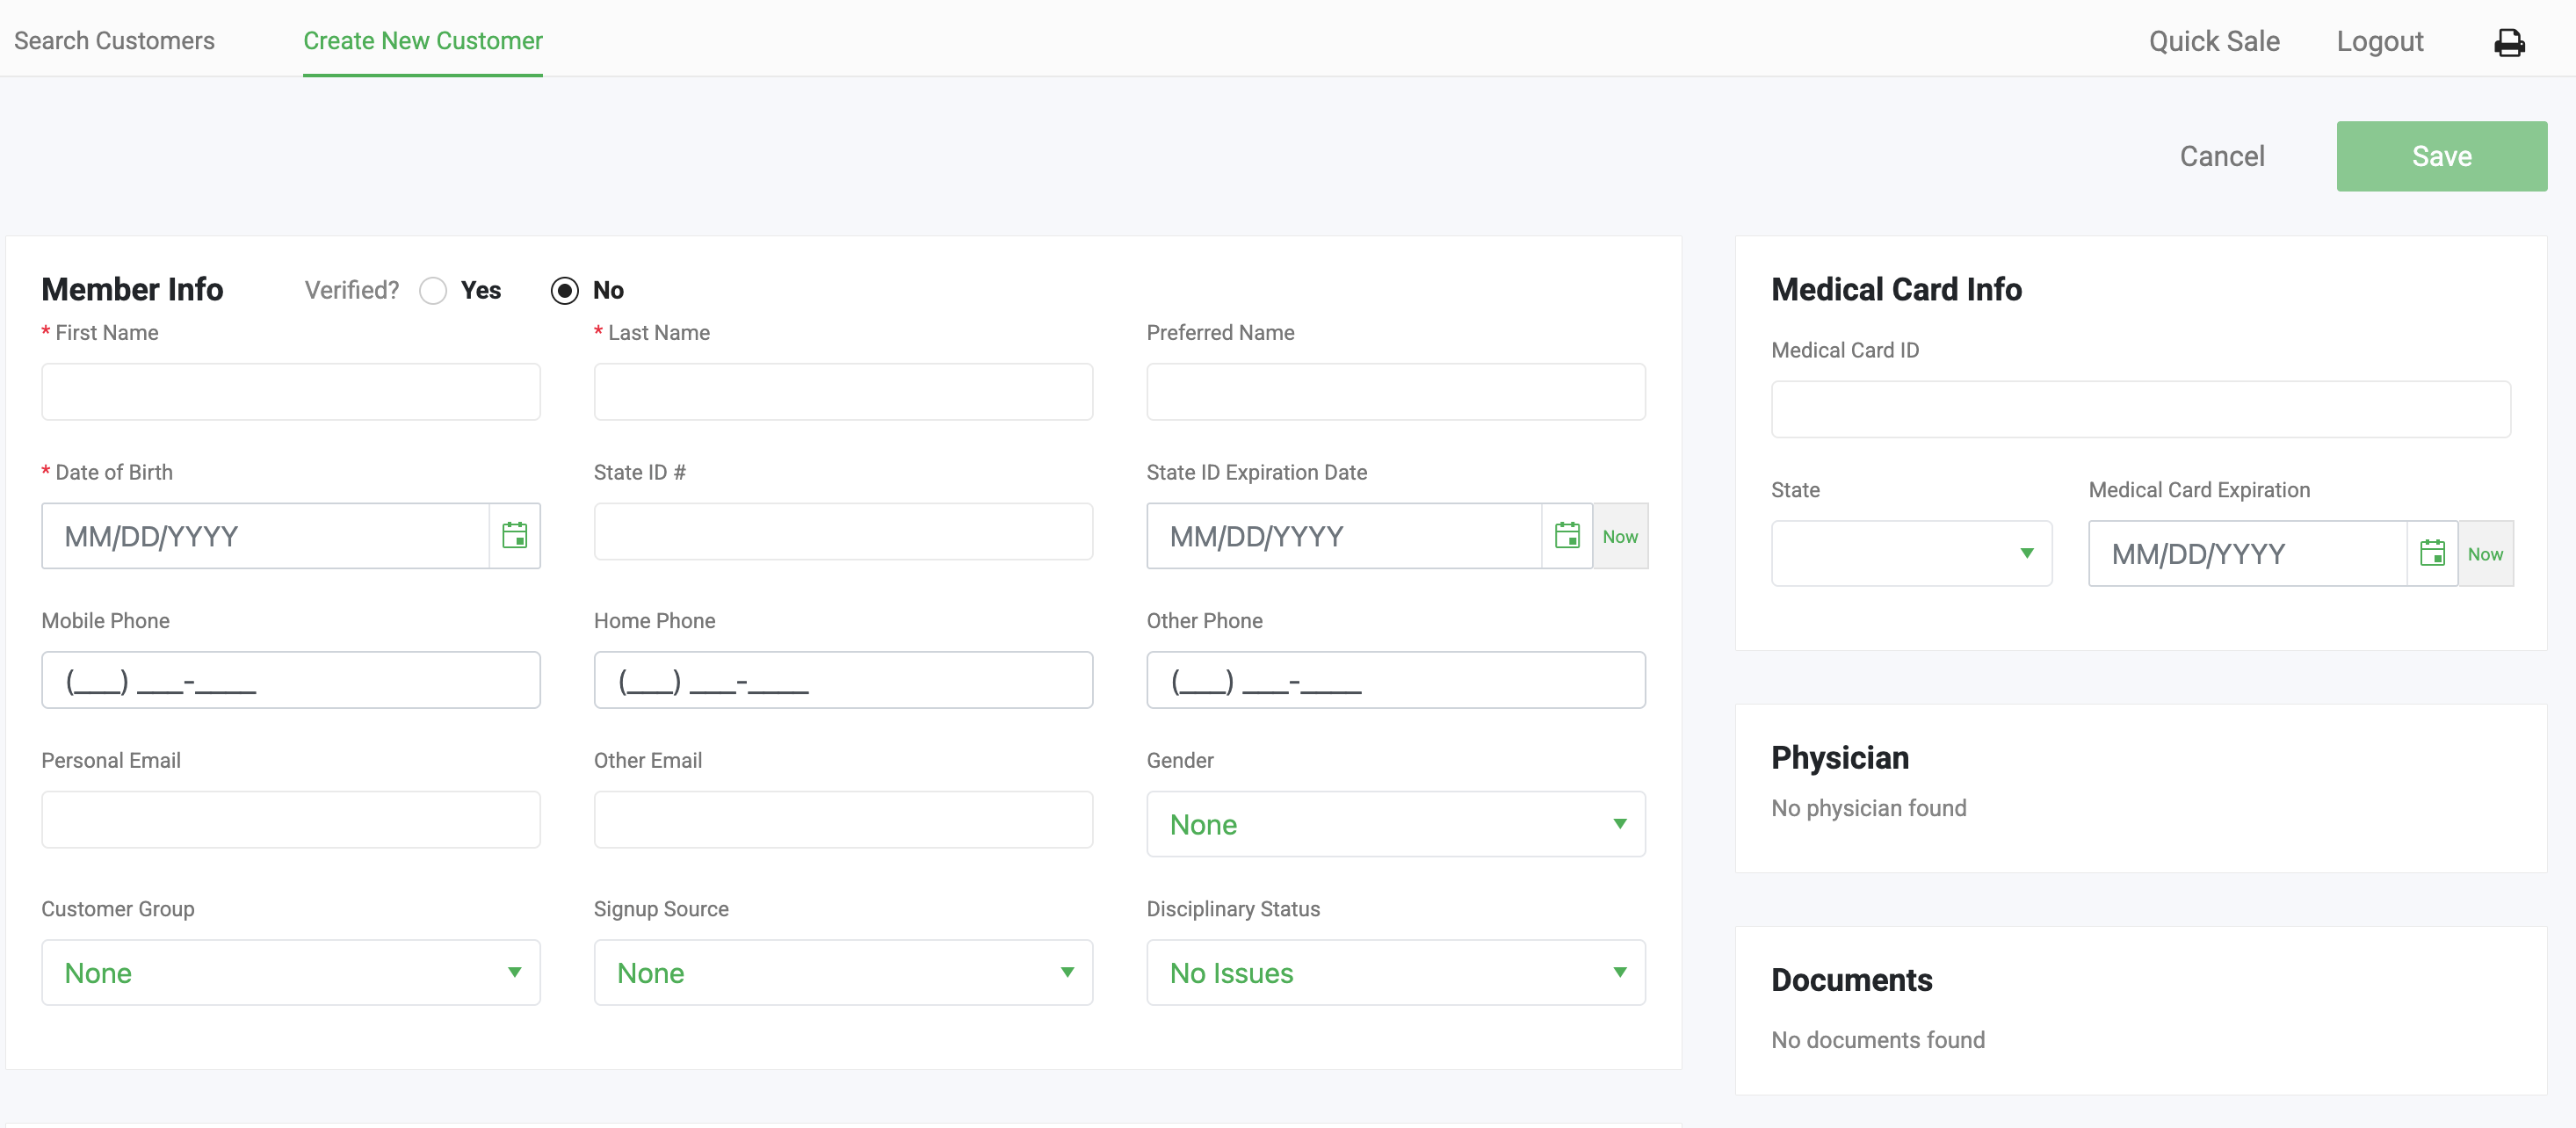
- Enter every required field in the Member Info card.
- For a medical customer, set the Verified dropdown to Yes.
- Review the information.
- Select Save.
Required Information
Flourish requires First Name, Last Name, Date of Birth, and Phone Number. Facility and jurisdiction requirements can add more fields.
Add Medical or Supporting Information
After saving the profile, select the pencil icon on the applicable card to add:
- Physician: required for medical customers purchasing at medical licenses.
- Medical Card Info: State and Expiration Date are required for medical customers.
- Customer Group: Employee, First Responder, Industry, Student, or Veteran.
- Disciplinary Status: No Issues, Warning Level 1, Warning Level 2, or Banned.
- Allergies or Notes: freeform text for allergies and internal observations.
- Delivery address, if your workflow requires it.
Do not mark a customer Verified unless the facility's verification process is complete.
Add Documents
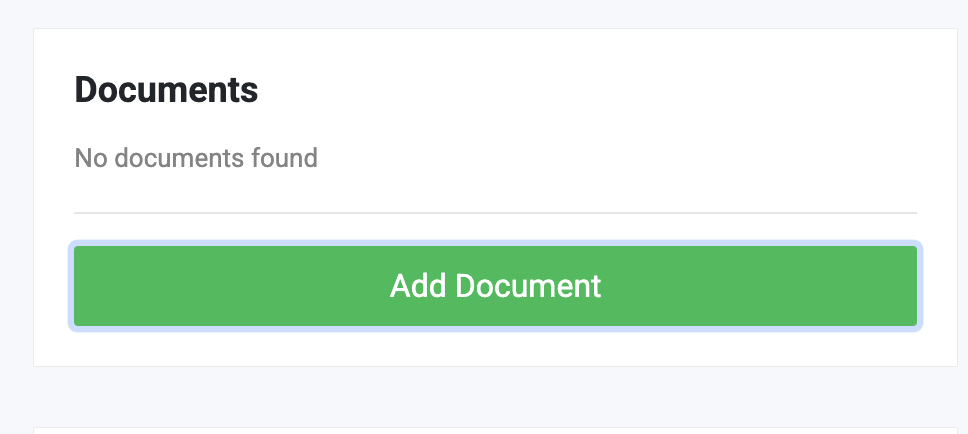
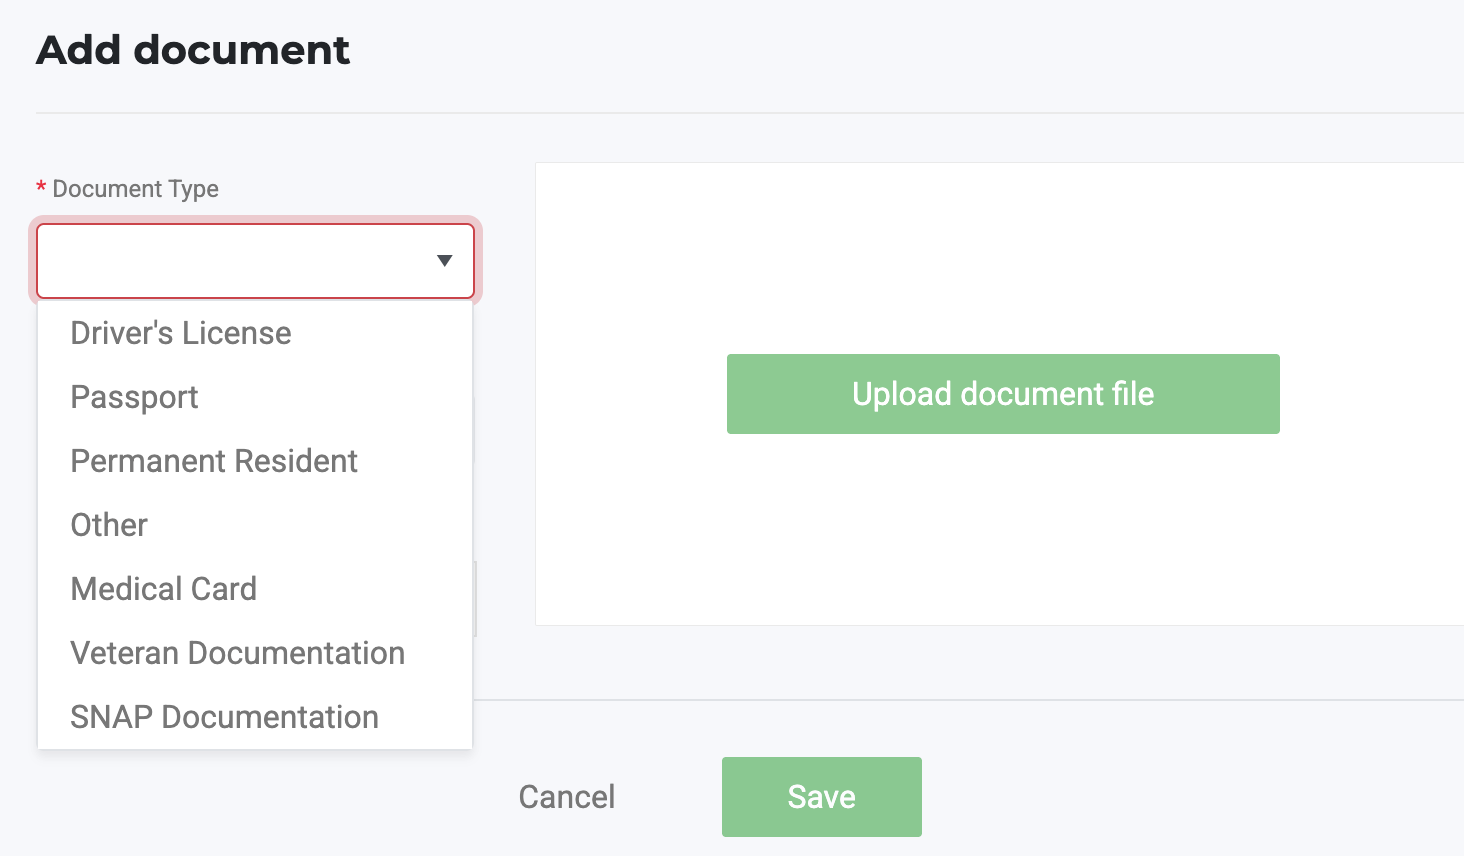
Add a driver's license, passport, medical card, or other supporting document from the Documents card. Click Add Document, or click Manage to review the documents already on file.
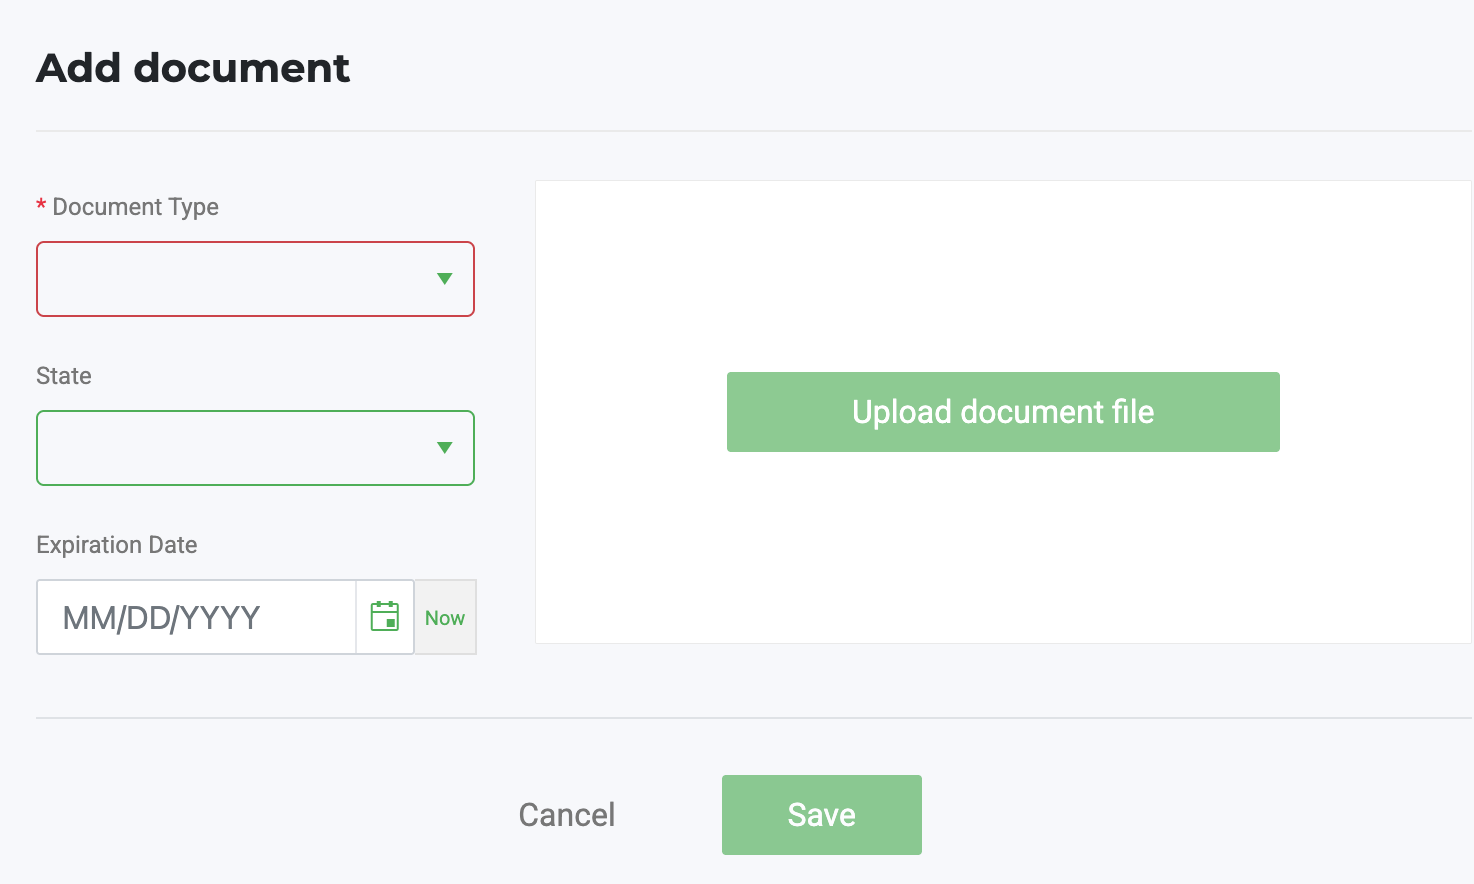
The fields Flourish requires depend on the document type. For example, a driver's license requires both a state and an expiration date, a passport requires only an expiration date, and a SNAP or Veteran document requires neither. See Manage Customer Documents for the full list, plus how to delete a document or cancel an upload.
Expected Result
The customer profile is saved and can be found in Web and POS. The customer is ready for the next approved workflow, such as check-in or order creation.
Related Articles
How did we do?
Adding a Physician
Deleting a Customer
